
Often referred to as the \"poor man's ribeye,\" chuck eye steak offers a deep, beefy flavor and marbling that rivals its more expensive cousin from the rib section. Cut from the shoulder area of the cow—specifically where the rib meets the chuck—this underrated cut is rich in connective tissue and fat, which, when handled correctly, transforms into a juicy, fork-tender masterpiece. Yet many home cooks overlook it, either due to unfamiliarity or fear of overcooking. This guide walks you through every phase: selection, preparation, cooking methods, resting, and serving, so you can confidently turn chuck eye into a restaurant-quality meal.
Understanding Chuck Eye: The Hidden Gem of the Beef Shoulder
The chuck eye is part of the longissimus dorsi muscle, the same muscle that gives us the prized ribeye. As it extends forward into the chuck primal, it becomes slightly tougher due to increased muscle use but retains much of the marbling and flavor. Because it’s less popular than ribeye, chuck eye is typically priced 30–50% lower, making it an excellent value for those who know how to treat it right.
Due to its moderate connective tissue content, chuck eye benefits from both high-heat searing and, optionally, low-and-slow finishing—especially if you're aiming for medium or beyond. Unlike leaner cuts like filet mignon, chuck eye rewards patience and proper technique rather than quick grilling alone.
“Chuck eye has all the flavor of a ribeye with half the price tag. It just needs a little more attention to moisture and heat control.” — Chef Marcus Ryle, Butcher & Grilling Instructor
Step-by-Step Guide to Perfectly Cooked Chuck Eye Steak
Cooking chuck eye well hinges on a sequence of deliberate steps—from choosing the right cut to letting it rest after cooking. Follow this timeline for consistent results:
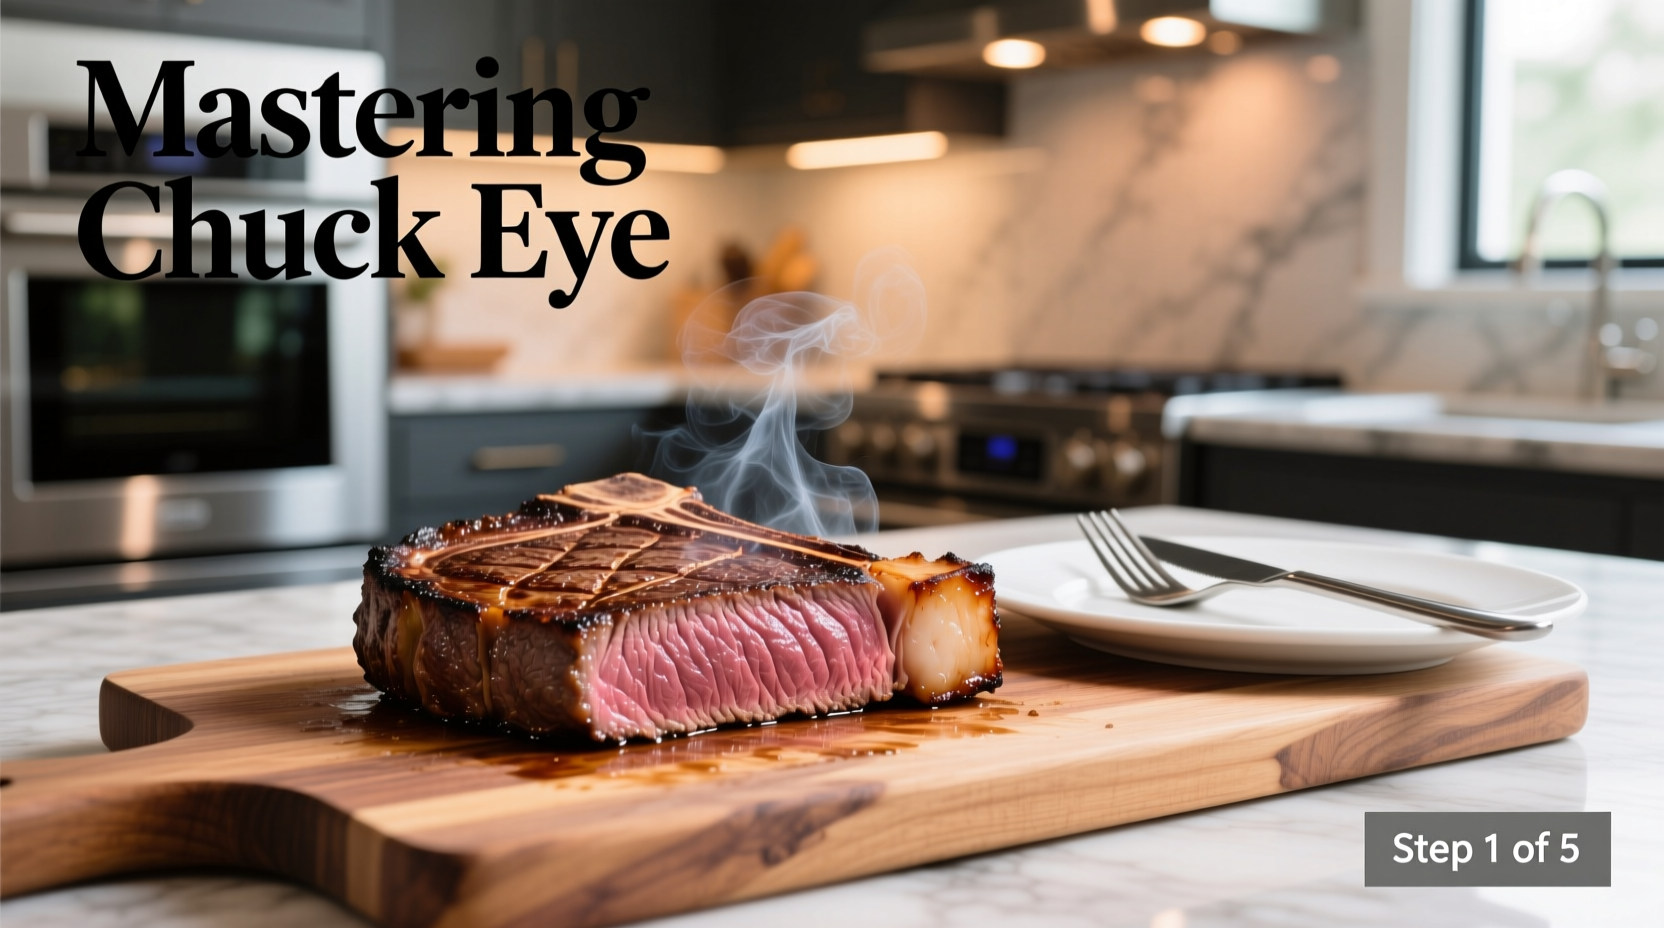
- Select a well-marbled steak: Look for even white flecks of fat throughout the meat. Thickness should be at least 1 inch (ideally 1.25–1.5 inches) for optimal sear without overcooking.
- Bring to room temperature: Remove steak from the fridge 45–60 minutes before cooking. Cold meat cooks unevenly.
- Dry-brine (optional but recommended): Sprinkle with kosher salt (½ tsp per side) up to 24 hours ahead. Store uncovered in the fridge to dry the surface for better browning.
- Pat dry: Right before cooking, use paper towels to remove surface moisture—critical for a good sear.
- Season simply: Use coarse salt, freshly ground black pepper, and optional garlic powder. Avoid heavy marinades that mask natural flavor.
- Sear over high heat: Use cast iron or grill at 450°F+. Sear 3–4 minutes per side for medium-rare, depending on thickness.
- Optional oven finish: For steaks thicker than 1.5\", transfer to a 375°F oven after searing until internal temp reaches 125–130°F for medium-rare.
- Rest for 8–10 minutes: Tent loosely with foil. This allows juices to redistribute, preventing dryness when sliced.
- Slice against the grain: Use a sharp knife and cut perpendicular to muscle fibers for maximum tenderness.
Best Cooking Methods Compared
While chuck eye shines on the grill or in a cast-iron skillet, different methods suit different goals. Here’s a comparison of three top techniques:
| Method | Best For | Pros | Cons |
|---|---|---|---|
| Cast-Iron Searing + Oven Finish | Thicker cuts (1.5\"+), precise doneness | Even cooking, excellent crust, full control | Requires oven; longer setup |
| Grilling (Direct Heat) | Outdoor cooking, smoky flavor | Fast, adds char, great for social meals | Harder to control flare-ups; risk of drying |
| Sous Vide + Sear | Perfect edge-to-edge doneness | Precise temperature, extremely tender | Requires special equipment; extra time |
For most home cooks, the cast-iron method delivers the best balance of control, flavor, and accessibility.
Avoiding Common Mistakes
Even experienced cooks can misstep with chuck eye. These pitfalls undermine texture and taste:
- Slicing too soon: Cutting before resting causes juices to spill out, leaving the steak dry.
- Over-seasoning: Heavy sauces or spice rubs overpower the natural beefiness.
- Cooking straight from the fridge: Cold centers lead to gray bands and overcooked exteriors.
- Using low heat only: Without a proper sear, you miss the Maillard reaction—the source of deep flavor.
- Ignoring the grain: Cutting with the grain makes the steak chewy, regardless of doneness.
Real Example: From Doubt to Dinner Success
Julia, a home cook in Denver, had tried chuck eye twice before giving up. Her first attempt was grilled quickly over high heat—resulting in a charred exterior and raw center. The second was baked without searing, yielding a gray, bland steak. After reading about dry-brining and reverse searing, she decided to try again. She salted the steak 18 hours ahead, refrigerated it uncovered, brought it to room temperature, then used a cast-iron skillet with a butter-baste finish (adding thyme and garlic). She let it rest 10 minutes before slicing. The result? “Juicy, flavorful, and tender like a ribeye,” she said. “Now it’s my go-to weeknight splurge.”
Essential Checklist for Cooking Chuck Eye
Before you start, ensure you’ve covered these key points:
- ✅ Select a thick-cut chuck eye (minimum 1 inch)
- ✅ Check for even marbling—avoid pale or dried edges
- ✅ Dry-brine with salt 12–24 hours ahead (optional but recommended)
- ✅ Bring steak to room temperature before cooking
- ✅ Pat dry thoroughly before seasoning
- ✅ Preheat skillet or grill to high heat
- ✅ Use tongs—not a fork—to flip (prevents juice loss)
- ✅ Monitor internal temperature (125°F for medium-rare)
- ✅ Rest for at least 8 minutes
- ✅ Slice against the grain with a sharp knife
Frequently Asked Questions
Can I cook chuck eye on a gas grill?
Yes. Preheat the grill to high (450–500°F). Sear each side for 3–4 minutes, then move to indirect heat if needed to reach desired doneness. Close the lid during cooking to maintain heat.
Is chuck eye suitable for slow cooking?
Not typically as a whole steak, but trimmed and cubed, chuck eye works well in stews or braises. However, its richness makes it better suited for dry-heat methods when served as a steak.
How do I know when it’s done without a thermometer?
You can use the hand test: Press the steak and compare firmness to the base of your thumb. Rare feels like touching your index finger to thumb, medium-rare like middle finger to thumb, and so on. However, a thermometer remains the most accurate method.
Final Thoughts: Elevate Your Steak Game
Mastering chuck eye steak isn’t about complexity—it’s about understanding its nature and responding with precision. With its bold flavor, generous marbling, and wallet-friendly price, it deserves a regular spot on your menu. Whether you’re feeding family or impressing guests, a properly cooked chuck eye delivers the satisfaction of a premium cut without the premium cost. The key lies in respecting the process: select wisely, season simply, sear boldly, rest patiently, and slice correctly.


 浙公网安备
33010002000092号
浙公网安备
33010002000092号 浙B2-20120091-4
Comments
No comments yet. Why don't you start the discussion?