
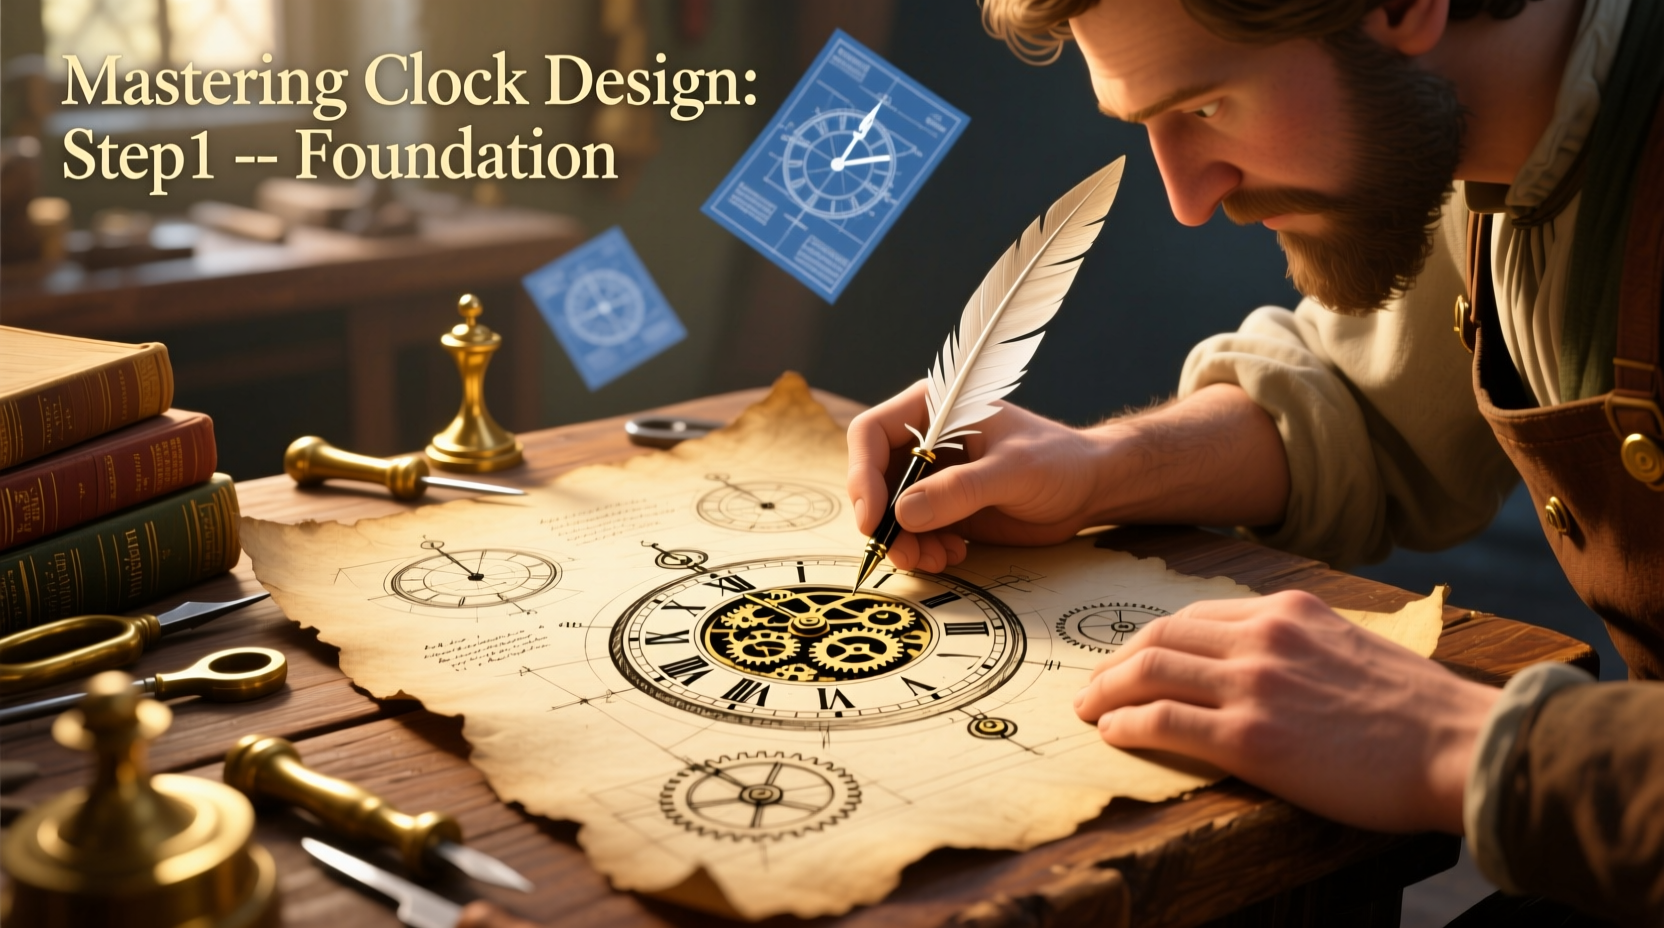
Drawing a clock may seem simple at first glance, but capturing both accuracy and aesthetic appeal requires attention to proportion, symmetry, and design detail. Whether you're an artist refining technical illustration skills, a designer brainstorming product concepts, or someone exploring creative expression through analog forms, mastering clock drawing opens doors to precision-based creativity. This guide walks through the fundamentals of crafting realistic and imaginative clocks, combining geometric discipline with artistic flair.
Understanding the Anatomy of a Clock
Before putting pencil to paper, it's essential to understand the core components of a typical analog clock. Each element plays a functional and visual role:
- Face (Dial): The circular surface displaying numbers or markers.
- Hour Markers: Numbers, lines, or symbols indicating each hour.
- Hands: Hour, minute, and sometimes second hands that rotate to show time.
- Center Cap: Small fixture where hands attach, often decorative.
- Bezel: Outer rim framing the face, sometimes engraved or textured.
- Case/Housing: The body enclosing mechanics, varying widely in style.
Recognizing these parts allows for more intentional design choices—whether aiming for minimalist elegance or ornate complexity.
Step-by-Step Guide to Drawing an Accurate Analog Clock
Follow this structured process to draw a balanced, proportional clock face with confidence.
- Sketch the Outer Circle: Use a compass or trace a round object. Ensure clean edges and even thickness when inking later.
- Find the Center: Draw two diagonal construction lines corner-to-corner across the circle. Their intersection marks the exact center.
- Add Hour Positions: Divide the circle into 12 equal segments. Use a protractor (30° increments) or estimate using known reference points (12, 3, 6, 9 o’clock first).
- Place Numerals or Markers: Choose between Roman numerals, Arabic numbers, or simple dashes. Align them evenly outside or inside the edge based on design preference.
- Draw the Hands: Begin with the hour hand—shorter and thicker. Then add the longer, thinner minute hand. Optionally include a slender second hand. All should originate from the center point.
- Incorporate Details: Add a small dot or ring at the center axis. Consider texture, shading, and depth on the dial (e.g., sunburst patterns, gradients).
- Refine and Ink: Once satisfied with layout, go over key lines with a fine liner. Erase guidelines carefully.
This method ensures mathematical accuracy while leaving room for personalization in style and embellishment.
Design Variations: From Classic to Creative
While accuracy matters, creativity elevates a drawing from technical sketch to compelling artwork. Explore these design directions:
| Style | Features | Ideal For |
|---|---|---|
| Minimalist | Clean lines, no numerals, monochrome palette | Modern interiors, branding projects|
| Vintage | Ornate bezel, serif fonts, aged texture | Story illustrations, historical themes|
| Futuristic | Glow effects, angular shapes, digital overlays | Concept art, sci-fi visuals|
| Surreal | Melting forms, floating elements, distorted perspective | Artistic expression, symbolic pieces
Experimentation is encouraged. Try merging styles—like a steampunk clock with exposed gears drawn in intricate detail—or invent entirely new mechanisms that defy physics but captivate imagination.
“Precision in drawing teaches patience and observation—skills that transfer far beyond the page.” — Lila Chen, Illustration Instructor at Royal Arts Academy
Avoiding Common Mistakes in Clock Illustration
Even experienced artists can fall into pitfalls when rendering symmetrical objects. Here are frequent errors and how to correct them:
- Uneven spacing of hour markers: Always use light guide lines before committing to final marks.
- Misaligned hands: Double-check angles. At 3:15, for example, the hour hand should be slightly past the 3.
- Neglecting perspective: If drawing a clock on a wall or wrist, apply basic one-point perspective to maintain realism.
- Over-detailing too early: Build layers gradually. Start with structure, then add texture and shadows last.
Mini Case Study: Designing a Commemorative Wall Clock
An independent designer was commissioned to create a custom wall clock celebrating a city’s bicentennial. She began with precise geometry to ensure readability but incorporated local architectural motifs into the numeral designs—using stylized bridges for “8” and clock towers for “12.” The hands were shaped like historic ship sails, nodding to the town’s maritime roots. By balancing structural accuracy with narrative-driven creativity, the final piece became both functional and meaningful, praised by community leaders and residents alike.
This project underscores how technical skill supports storytelling, transforming a utilitarian object into a cultural artifact.
Essential Tools and Materials Checklist
Equip yourself properly to streamline the drawing process and improve results:
- Compass or circular stencil set
- Protractor (for exact degree placement)
- Mechanical pencil with eraser
- Fine-line pens (0.1–0.5 mm)
- Ruler and triangle (for straight hands and guides)
- High-quality sketchbook or drawing paper
- Blending stump or soft brush (for shading dials)
- Digital tablet (optional, for vector refinement)
Having the right tools reduces frustration and increases consistency, especially when producing multiple variations or presentation-ready drafts.
Frequently Asked Questions
How do I make my clock look three-dimensional?
Add subtle gradients to the face—darker near the edges, lighter in the center. Cast a soft shadow beneath the hands and consider adding a slight bevel to the bezel using contour lines and strategic hatching.
Can I draw a working clock from imagination?
Yes, as long as you adhere to mechanical logic. Research internal gear systems if depicting movement. Even abstract interpretations benefit from understanding real-world mechanics to appear plausible.
What if my circles aren’t perfectly round?
Use a compass for precision. If freehanding, rotate the paper rather than your wrist for smoother curves. Practice circle drills daily to build muscle memory.
Conclusion: Time Well Spent
Drawing a clock is more than a test of symmetry—it's an exercise in merging function with form. With deliberate practice, anyone can move beyond basic sketches to produce detailed, expressive timepieces that reflect both technical mastery and individual vision. The discipline required nurtures focus, enhances observational skills, and deepens appreciation for everyday design.


 浙公网安备
33010002000092号
浙公网安备
33010002000092号 浙B2-20120091-4
Comments
No comments yet. Why don't you start the discussion?