
In a world increasingly aware of synthetic additives and environmental impact, more people are turning to homemade natural oils and ingredients. Creating your own botanical extracts, infused oils, and plant-based compounds isn’t just economical—it empowers you to control what goes on your skin, into your hair, and even into your body. With minimal equipment and accessible raw materials, you can craft high-quality, personalized products that rival commercial alternatives—without preservatives, fragrances, or hidden chemicals.
This guide walks you through the fundamentals of extracting and formulating natural oils, from selecting the right base carriers to mastering infusion techniques. Whether you're aiming to soothe dry skin, nourish damaged hair, or create aromatherapy blends, these time-tested methods will help you build a sustainable, effective, and safe home apothecary.
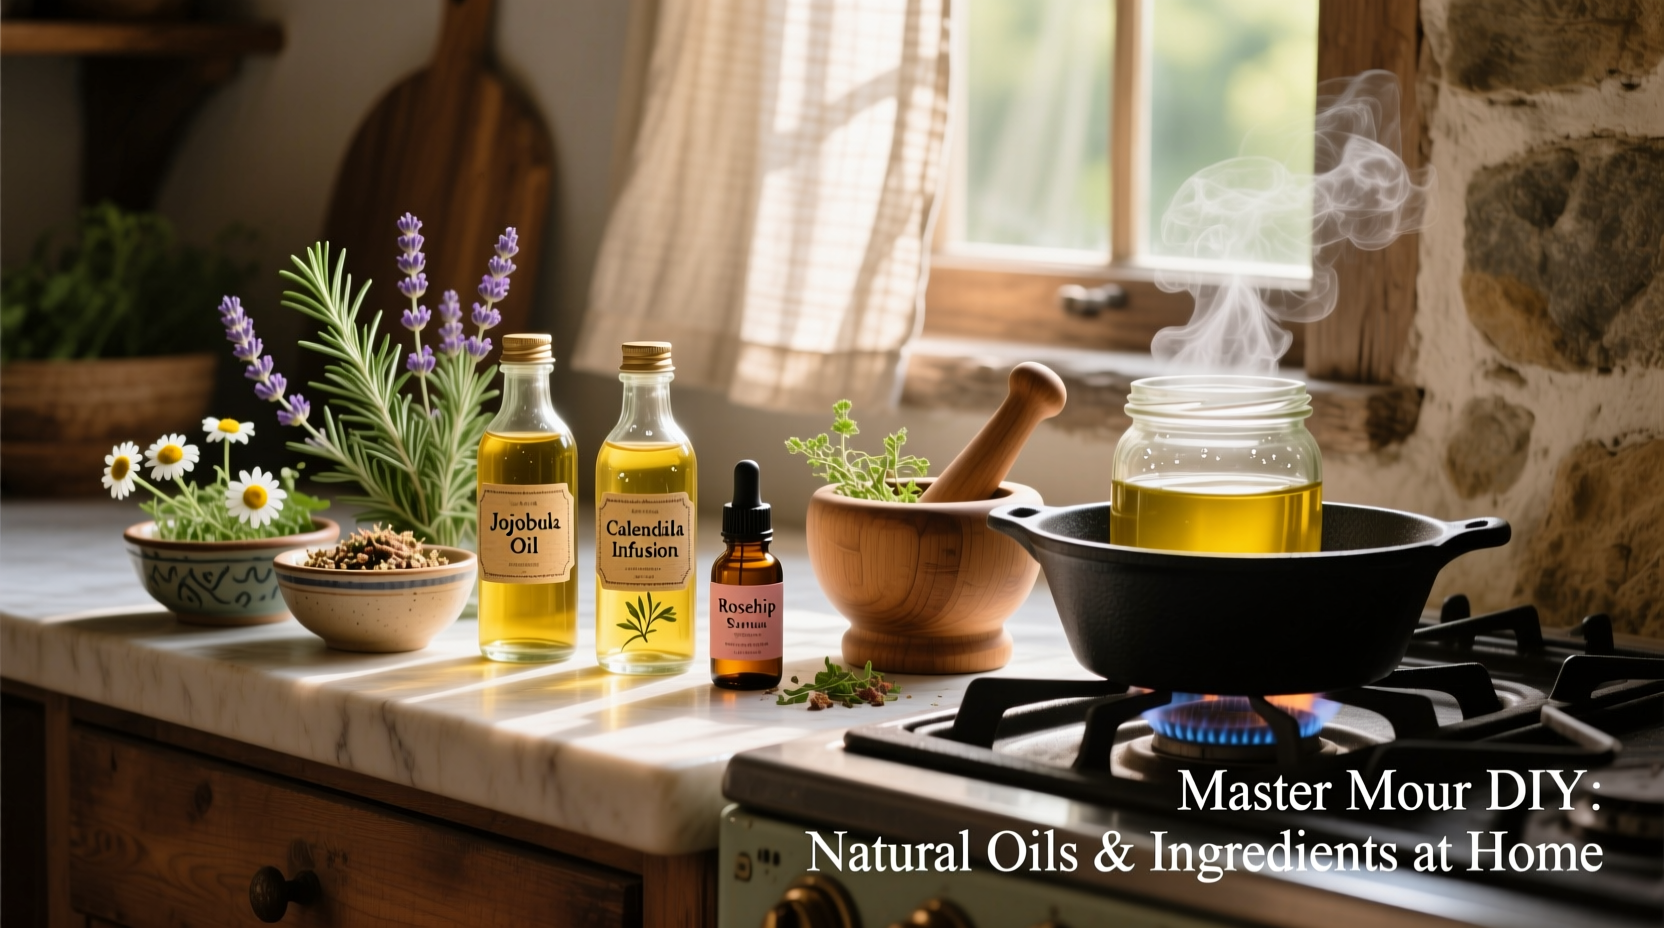
Why Make Your Own Natural Oils?
Commercial beauty and wellness products often contain fillers, stabilizers, and artificial scents that may irritate sensitive skin or degrade over time. When you make your own oils, you know every ingredient by name and source. You also reduce plastic waste, avoid greenwashing, and tailor formulations to your specific needs—dry scalp, acne-prone skin, joint discomfort, or relaxation.
Additionally, many herbs and kitchen staples possess potent therapeutic properties when properly extracted. Calendula soothes inflammation, rosemary stimulates circulation, and lavender calms nerves—all accessible in your garden or local market.
“Home extraction allows people to reconnect with the healing power of plants in its purest form.” — Dr. Lila Nguyen, Herbalist & Integrative Health Practitioner
Essential Tools and Ingredients
Before diving into recipes, gather a basic toolkit. You don’t need a laboratory—just clean, heat-safe containers and simple tools.
- Glass jars (amber or cobalt preferred for light protection)
- Fine mesh strainer or cheesecloth
- Double boiler or slow cooker
- Dropper bottles and storage tins
- Labels and permanent marker
- Carrier oils: olive, jojoba, sweet almond, coconut, or grapeseed
- Dried herbs (organic, pesticide-free)
Step-by-Step Guide to Infused Herbal Oils
Infused oils are the foundation of most natural skincare and haircare preparations. They capture the medicinal and aromatic qualities of plants using a carrier oil as a solvent.
- Choose your herb and carrier oil: Match the herb’s properties to your goal. For example, chamomile for calming, comfrey for tissue repair, or arnica for muscle relief.
- Fill a clean glass jar: Loosely pack dried herbs into a jar, leaving about an inch of headspace.
- Pour carrier oil over herbs: Use enough oil to fully submerge the plant material. Gently stir with a chopstick to release air bubbles.
- Seal and label: Write the herb, oil, and date on the jar.
- Warm infusion method: Place the jar in a slow cooker filled with water (don’t submerge the jar). Heat on low for 2–4 hours, checking occasionally to maintain water level.
- Cool and strain: Let cool completely, then strain through cheesecloth into a clean bottle.
- Store properly: Keep in a cool, dark place. Most infused oils last 6–12 months.
Cold Infusion Alternative
If you prefer no heat, fill a jar with herbs and oil, seal it, and place it on a sunny windowsill for 2–6 weeks. Shake daily. This method preserves delicate compounds but takes longer.
Common Carrier Oils and Their Best Uses
| Carrier Oil | Texture | Best For | Shelf Life |
|---|---|---|---|
| Jojoba | Light, waxy | Face oils, acne-prone skin, hair conditioning | 2+ years |
| Sweet Almond | Medium, slightly nutty | Body massage, dry skin, infant care | 1 year |
| Coconut | Thick, solid at room temp | Hair masks, lip balms, cooking | 2 years (solid) |
| Olive | Heavy, rich | Soap making, mature skin, cuticle care | 1–2 years |
| Grapeseed | Light, fast-absorbing | Facial toners, oily skin, summer lotions | 6 months |
DIY Essential Ingredient Recipes
Once you’ve mastered infused oils, expand your repertoire with these foundational recipes.
1. Soothing Calendula Skin Oil
- 1 cup dried calendula petals
- 1 cup sweet almond or olive oil
Follow the warm infusion method. Strain and use on cuts, rashes, or diaper areas. Excellent for eczema-prone skin.
2. Rosemary Hair Growth Oil
- 1/2 cup dried rosemary
- 1/2 cup jojoba oil
Infuse using the slow cooker method. Massage into scalp 2–3 times weekly to stimulate follicles and reduce dandruff.
3. Lavender Relaxation Oil
- 1/2 cup dried lavender buds
- 1/2 cup fractionated coconut oil
After infusion, use as a bedtime massage oil or add to bathwater. Promotes restful sleep and eases tension.
Mini Case Study: Sarah’s Kitchen Apothecary
Sarah, a 38-year-old teacher from Vermont, struggled with recurring hand dermatitis from frequent handwashing. Commercial creams offered only temporary relief and often contained allergens. She began experimenting with calendula-infused olive oil made from flowers grown in her backyard. After two weeks of nightly application, her skin softened and redness diminished. Encouraged, she expanded to rosehip and chamomile blends for her children’s eczema. Today, she teaches seasonal workshops on herbal infusions at her local co-op.
“It started out of necessity,” she says, “but now it’s part of how I care for my family—knowing exactly what’s in every drop.”
Safety and Best Practices Checklist
- ✅ Use only dried, mold-free herbs
- ✅ Sterilize jars before use (boil or oven-dry)
- ✅ Label all bottles with date and contents
- ✅ Store oils away from heat and sunlight
- ✅ Perform patch tests before full application
- ✅ Avoid using fresh plant material unless fermenting or distilling
- ✅ Never use essential oils undiluted on skin
FAQ
Can I use fresh herbs for oil infusions?
Fresh herbs contain moisture, which increases the risk of bacterial growth and spoilage. If you must use fresh material, wilt it overnight on a screen to remove excess water, and consume the oil within a few weeks. Dried herbs are safer and more stable.
How do I know if my infused oil has gone bad?
Rancid oils smell sour, metallic, or like old nuts. If the scent is off or the oil appears cloudy, discard it. Properly stored oils should remain clear and pleasant-smelling.
Can I make essential oils at home?
True essential oils require steam distillation equipment and large quantities of plant material. What you can make at home are infused oils or hydrosols using simpler setups. These are still effective but less concentrated than distilled essential oils.
Conclusion: Start Small, Grow Naturally
Creating your own natural oils is both a practical skill and a mindful ritual. It invites patience, observation, and respect for nature’s rhythms. Begin with one simple infusion—perhaps chamomile for soothing or rosemary for vitality—and build from there. Over time, you’ll develop intuition for combinations that work best for your body and lifestyle.


 浙公网安备
33010002000092号
浙公网安备
33010002000092号 浙B2-20120091-4
Comments
No comments yet. Why don't you start the discussion?