
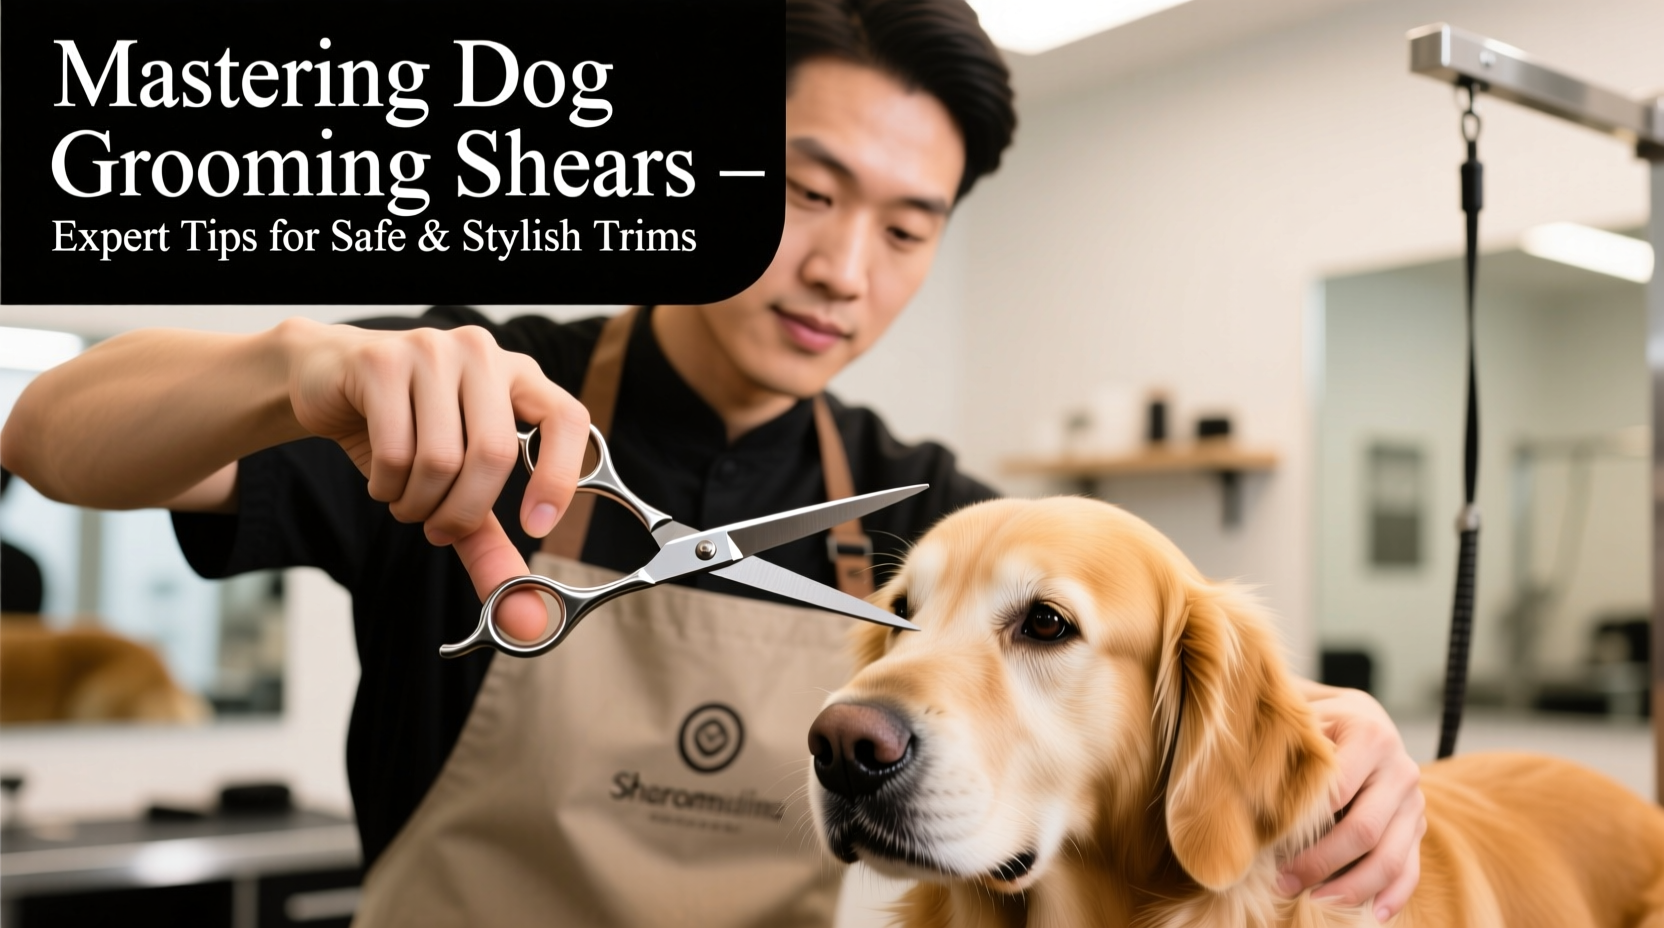
Dog grooming is both an art and a science, and the right pair of shears can make all the difference between a professional finish and a frustrating experience. Whether you're a seasoned groomer or a dedicated pet owner, mastering the use of grooming shears ensures your dog not only looks great but remains comfortable and safe during the process. With so many types of shears available and various techniques to apply, understanding how to choose, handle, and maintain your tools is essential.
Understanding Grooming Shear Types and Their Uses
Not all shears are created equal. The type you choose depends on your dog’s coat, the area being trimmed, and your skill level. Here’s a breakdown of the most common types:
- Straight Shears: Ideal for general trimming and shaping. Best for long-haired breeds like Shih Tzus or Maltese.
- Curved Shears: Designed to follow the natural contours of the body. Perfect for blending and smoothing transitions on legs and tail.
- Thinning Shears: Feature teeth that remove bulk without altering length. Use them to blend layers and soften harsh lines.
- Chunking Shears: Have wider gaps between teeth, used for removing large amounts of dense undercoat efficiently.
- Texturizing Shears: Combine thinning and point-cutting features for adding dimension and style.
Selecting the Right Shears for Your Needs
Choosing the perfect pair involves more than just appearance. Consider these factors:
- Blade Material: High-carbon stainless steel offers durability and resistance to rust. Japanese steel is often preferred for its sharpness and longevity.
- Handle Design: Offset handles reduce wrist strain by keeping your hand in a natural position. Look for ergonomic designs with adjustable tension screws.
- Size: Smaller shears (5.5–6 inches) offer precision for facial areas; larger ones (7–8 inches) are better for broad strokes on the body.
- Weight and Balance: A well-balanced pair feels like an extension of your hand. Test different models if possible before purchasing.
| Type of Shear | Best For | Avoid Using On |
|---|---|---|
| Straight Shears | General trimming, long coats | Fine detailing, matted fur |
| Thinning Shears | Bulk reduction, blending | Short-coated dogs, close trims |
| Curved Shears | Body contouring, smooth finishes | Flat surfaces, beginners |
| Texturizing Shears | Styling, feathering edges | Dense mats, coarse undercoats |
Step-by-Step Guide to a Safe and Stylish Trim
A successful grooming session starts with preparation and ends with proper cleanup. Follow this timeline for consistent results:
- Brush Thoroughly: Remove tangles and mats before cutting. Use a slicker brush followed by a metal comb.
- Wash and Dry Completely: Clean fur allows for even cutting. Never cut damp hair—it clumps and dulls blades quickly.
- Section the Coat: Use clips to divide the dog into manageable areas: head, neck, body, legs, tail.
- Start with Larger Areas: Begin trimming the torso using straight or curved shears with long, smooth strokes.
- Blend with Thinning Shears: After shaping, use thinning shears along seams (like where leg meets body) to eliminate harsh lines.
- Detail the Face and Paws: Switch to small straight shears. Work slowly around eyes, ears, and paw pads.
- Check Symmetry: Step back frequently to assess balance. Compare left and right sides.
- Clean and Sanitize Shears: Wipe blades after each use. Oil weekly to prevent corrosion.
“Precision in grooming comes from patience, not pressure. Let the shears do the work—your fingers guide, but don’t force.” — Carlos Mendez, Master Canine Stylist & NHCA Certified Instructor
Avoiding Common Mistakes
Even experienced groomers occasionally slip up. These pitfalls are easily avoided with awareness:
- Cutting Too Close: Especially near joints and thin-skinned areas, aggressive trimming increases injury risk.
- Using Dull Blades: Dull shears tug at hair, causing discomfort and uneven cuts. Sharpen every 3–6 months depending on use.
- Ignoring Ergonomics: Poor posture or grip leads to fatigue and shaky hands. Take breaks and stretch regularly.
- Over-Thinning: Removing too much volume creates a patchy look. Limit thinning passes to 1–2 per section.
- Skipping Maintenance: Failing to clean and oil shears shortens their lifespan and compromises hygiene.
Real-World Example: Transforming a Matted Cocker Spaniel
Sarah, a home groomer in Portland, struggled with her Cocker Spaniel, Benny. His long ears and feathered legs were constantly matted despite daily brushing. After one particularly stressful session ended in nicks and tears, she consulted a local grooming school for advice.
The instructor recommended starting with detangling spray and a dematting tool before any cutting. For trimming, Sarah switched to 6.5-inch offset straight shears for control and added 7-inch curved shears for body work. She learned to clip sections and use thinning shears only on the outer coat to preserve volume.
Within three sessions, Benny sat calmly during grooming, and his coat had a balanced, polished appearance. The key wasn't new tools alone—it was technique, patience, and proper sequencing.
Grooming Shear Care Checklist
To keep your shears performing like new, follow this routine:
- ✅ Wipe blades with a soft cloth after each use
- ✅ Remove hair and debris from pivot screw weekly
- ✅ Apply 1–2 drops of shear oil monthly (or after heavy use)
- ✅ Check tension regularly—blades should glide smoothly without wobble
- ✅ Schedule professional sharpening every 3–6 months
- ✅ Store in a dry, padded case away from humidity
Frequently Asked Questions
How do I know when my shears need sharpening?
If the blades crush hair instead of slicing cleanly, or if you feel resistance during cutting, it's time for sharpening. Another sign is needing to re-cut the same area multiple times.
Can I use human hair scissors on my dog?
No. Human scissors lack the strength and precision needed for dog fur. They dull quickly and increase the risk of pulling or cutting skin. Always use professional-grade grooming shears.
Are expensive shears worth the investment?
Yes. High-quality shears last years with proper care and deliver superior performance. Cheaper models often have inconsistent blades, poor ergonomics, and require frequent replacement—costing more over time.
Conclusion: Elevate Your Grooming Game
Mastering dog grooming shears isn’t about owning the fanciest tools—it’s about understanding how to use them safely, effectively, and with confidence. From selecting the right type to maintaining sharp, clean blades, every detail contributes to a healthier coat and a happier dog. Whether you're shaping a show-winning poodle or simply keeping your terrier neat, precision and care go hand in hand.


 浙公网安备
33010002000092号
浙公网安备
33010002000092号 浙B2-20120091-4
Comments
No comments yet. Why don't you start the discussion?