
In Linux, managing storage devices isn't just about plugging in a USB or SSD—it's about understanding how the system recognizes, integrates, and secures access to those drives. Mounting is the bridge between physical hardware and usable filesystems. Whether you're setting up a dual-boot system, expanding server storage, or simply accessing an external hard drive, mastering drive mounting is essential. This guide walks through the fundamentals, advanced techniques, and real-world scenarios that apply to both new users and experienced administrators.
Understanding the Basics of Mounting
In Linux, all storage devices are accessed through the unified directory tree. Unlike Windows, which assigns drive letters (C:, D:), Linux \"mounts\" devices at specific directories, known as mount points. When a drive is mounted, its contents become accessible under that directory.
The process involves two key components: the device file (like /dev/sdb1) and the mount point (such as /mnt/external). The kernel uses filesystem drivers to interpret data structures on the drive—whether it’s ext4, NTFS, or exFAT—and present them through the virtual filesystem layer.
Common commands used include:
lsblk– lists block devices and their mount statusfdisk -l– shows partition tablesmount– manually attaches a filesystemumount– safely detaches a filesystem
umount /mnt/mydrive to prevent data corruption.
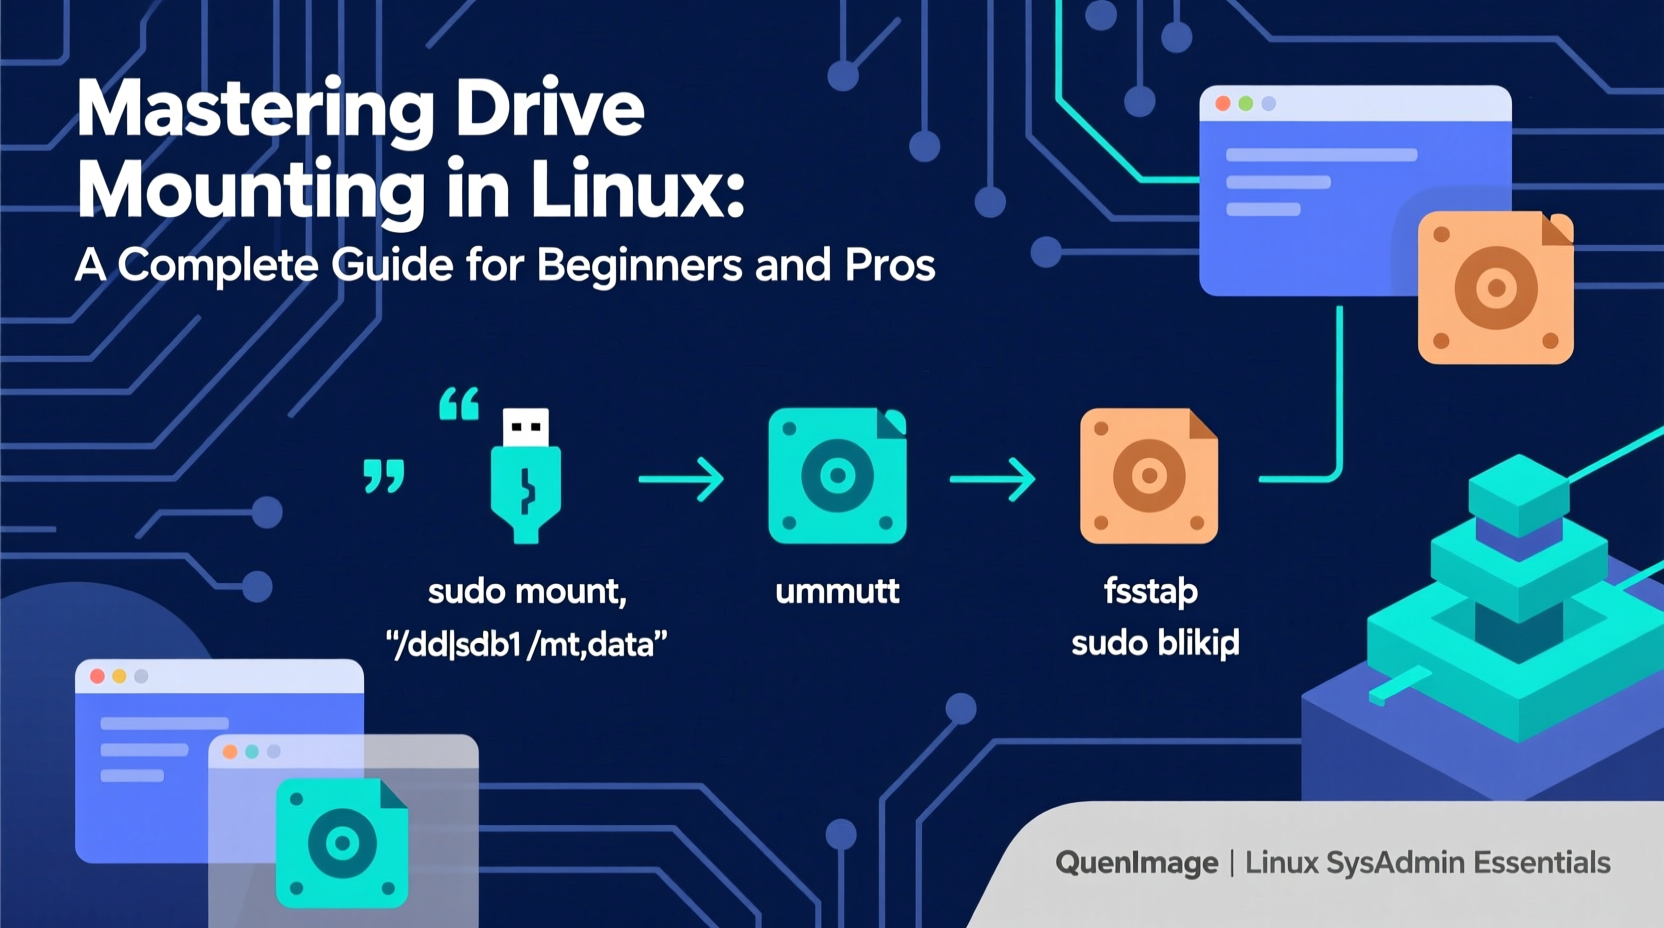
Step-by-Step: Manually Mounting a Drive
Suppose you’ve connected a USB drive with a single partition formatted as ext4. Here’s how to access it:
- Identify the device: Run
lsblkand look for a new entry likesdbwith a partitionsdb1. - Create a mount point:
sudo mkdir /mnt/usbdrive - Mount the drive:
sudo mount /dev/sdb1 /mnt/usbdrive - Verify access:
ls /mnt/usbdriveshould show the contents. - Unmount when done:
sudo umount /mnt/usbdrive
If the drive uses NTFS (common for Windows-formatted drives), ensure ntfs-3g is installed:
sudo apt install ntfs-3g  # Debian/Ubuntu
sudo mount -t ntfs-3g /dev/sdb1 /mnt/windows
For exFAT drives (often used in cameras and newer USBs), install exfat-fuse:
sudo apt install exfat-fuse exfat-utils
Automating Mounts with /etc/fstab
To make drives available automatically at boot, edit the /etc/fstab file. Each line defines a device, mount point, filesystem type, options, dump frequency, and fsck order.
Example entry:
# Device           Mount Point      Type   Options                  Dump Pass
/dev/sda2          /home            ext4   defaults,noatime         0    2
UUID=abcd-1234     /mnt/data        ntfs   rw,uid=1000,gid=1000     0    0
Using UUIDs instead of device names (/dev/sdX) is more reliable because device naming can change—especially with multiple drives.
To find a partition’s UUID:
sudo blkid
“Reliance on static device paths like /dev/sdb1 leads to boot failures in dynamic environments. UUIDs eliminate ambiguity.” — Linus Torvalds, in a 2010 kernel mailing list discussion
Key Do’s and Don’ts When Mounting Drives
| Do’s | Don’ts |
|---|---|
Use UUIDs in /etc/fstab for reliability |
Never edit /etc/fstab without testing first |
| Always unmount before removing hardware | Avoid mounting read-write on untrusted media |
Set proper ownership with uid and gid options |
Don’t use auto for external drives unless necessary |
Enable noatime to reduce disk writes |
Never force mount a corrupted filesystem without backup |
sudo mount -a. If errors occur, they’ll appear immediately instead of breaking the boot process.
Real Example: Recovering Access After a Failed Boot
A system administrator installed a second SSD for backups and added it to /etc/fstab using /dev/sdc1. After moving the drive to another SATA port, the system failed to boot, hanging at “Waiting for /dev/sdc1.”
The issue? The device name changed to /dev/sdd1 due to detection order. Since the fstab relied on a non-persistent path, the init system waited indefinitely.
Solution:
- Boot from a live USB.
- Mount the root partition:
sudo mount /dev/sda1 /mnt. - Edit
/mnt/etc/fstab, replacing/dev/sdc1with its UUID fromblkid. - Reboot—the system now boots normally.
This scenario underscores why UUIDs or labels should be preferred over device paths in permanent configurations.
Advanced Mounting: Network and Temporary Filesystems
Mounting isn’t limited to local disks. Linux supports mounting remote shares via protocols like NFS and CIFS.
Example: Mount a Windows share:
sudo mount -t cifs //server/share /mnt/winshare -o username=user,password=pass,uid=1000
For temporary needs, consider tmpfs—a RAM-based filesystem ideal for caching or session data:
sudo mount -t tmpfs tmpfs /tmp/cache -o size=512M
Add to /etc/fstab for persistence:
tmpfs /tmp/cache tmpfs size=512M,mode=1777 0 0
This improves performance and reduces wear on SSDs by avoiding unnecessary writes.
Checklist: Secure and Reliable Drive Setup
Follow this checklist when adding any new drive:
- ✅ Identify the device with
lsblkorblkid - ✅ Create a dedicated mount point (e.g.,
/mnt/data) - ✅ Determine filesystem type and install required tools if needed
- ✅ Test manual mount before editing
/etc/fstab - ✅ Use UUID instead of
/dev/sdXin configuration files - ✅ Set appropriate mount options (
noatime,uid,gid) - ✅ Validate with
mount -abefore rebooting - ✅ Document the setup for future reference
Frequently Asked Questions
Why won’t my drive mount? I get “unknown filesystem” error.
This usually means the kernel lacks support for the filesystem. For NTFS, install ntfs-3g; for exFAT, install exfat-fuse. Also verify the partition isn’t corrupted using fsck (for non-NTFS) or Windows tools.
Can I mount the same drive in two places at once?
Yes, using bind mounts: sudo mount --bind /source /destination. Both locations reflect the same data. Useful for making a drive accessible in multiple directories without duplication.
How do I make a drive read-only?
Use the ro option: sudo mount -o ro /dev/sdb1 /mnt/readonly. In /etc/fstab, add ro to the options field. Ideal for archival media or forensic analysis.
Mastery Through Practice
Drive mounting in Linux combines practical command-line skills with system-level understanding. Beginners can start with simple USB mounts and progress to automating persistent storage. Professionals will appreciate the precision offered by UUIDs, mount options, and network integration. The key is consistency: use reliable identifiers, test configurations, and document changes.
Whether you're building a home media server or managing enterprise infrastructure, robust storage management starts with confident mounting practices. Apply these principles today to create systems that are not only functional but resilient and maintainable.


 浙公网安备
33010002000092号
浙公网安备
33010002000092号 浙B2-20120091-4
Comments
No comments yet. Why don't you start the discussion?