
The Iron Man MK85 action figure stands as one of the most detailed and articulated collectibles in modern pop culture. With its sleek design, advanced articulation, and signature red-and-gold finish, it deserves more than just shelf space—it deserves to be captured in motion, power, and presence. Whether you're sharing your collection online, building a portfolio, or simply enjoying creative photography, mastering dynamic posing is essential. This guide walks through practical techniques, lighting strategies, and composition principles to elevate your figure photography from static to cinematic.
Understanding the Anatomy of the MK85
The MK85’s design mirrors Tony Stark’s final armor in *Avengers: Endgame*—a suit built for speed, precision, and combat efficiency. Its high articulation allows for a wide range of movement, including rotating wrists, double-jointed elbows, ball-jointed shoulders, and ankle rockers. To create convincing dynamic poses, you must first understand how these joints function under tension and balance.
Unlike earlier Iron Man figures with limited mobility, the MK85 can achieve flying, repulsor-firing, landing, and mid-air combat stances. However, overextending joints without support leads to stress on plastic connectors and potential breakage. Always test pose stability before committing to a shot.
Creating Convincing Dynamic Poses
A dynamic pose implies motion, intent, and energy. It tells a story: Is the MK85 engaging Thanos? Launching from Stark Tower? Intercepting a missile? The key is aligning body mechanics with narrative context.
Pose Types That Work Best
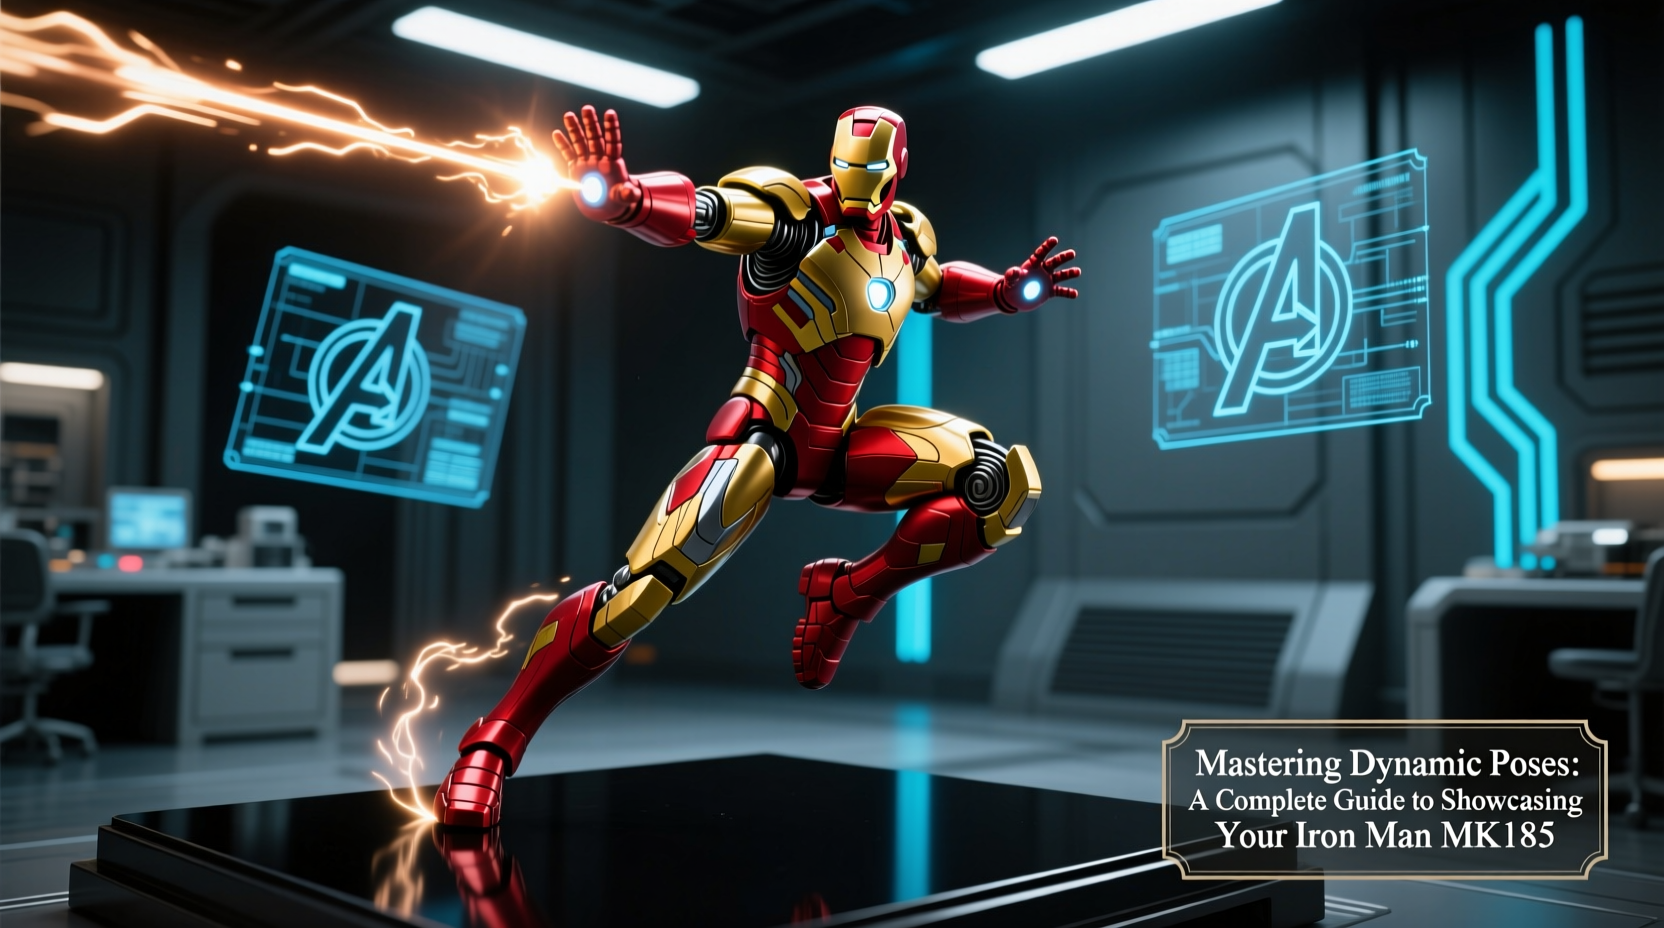
- Flying Descent: One arm forward, repulsor glowing; legs slightly bent as if entering atmosphere.
- Repulsor Blast: Both palms forward, torso leaned back slightly to convey recoil force.
- Landing Impact: One knee down, opposite leg extended, arms stabilizing—dust implied beneath feet.
- Mid-Air Turn: Torso twisted, head tracking an off-camera threat, one hand raised defensively.
“Great figure photography isn’t about showing every detail—it’s about capturing a moment that feels alive.” — Daniel Reyes, Collectible Photography Specialist
Weight Distribution and Balance
Even though the MK85 is lightweight, realistic posing requires attention to center of gravity. For example, a forward thrust pose should tilt the upper body ahead of the hips to simulate propulsion. Avoid stiff, upright stances unless depicting standby mode.
Lighting Techniques for Metallic Realism
The MK85’s glossy finish reflects light dramatically, which can enhance realism—or create distracting glare. Controlling light direction, intensity, and diffusion is critical.
Three-Point Lighting Setup (Recommended)
- Key Light: Main source positioned at 45 degrees to the figure’s front. Use softbox or diffused LED to prevent hotspots.
- Fill Light: Opposite side, lower intensity, reduces shadows without flattening depth.
- Back Light: Behind the figure, highlights edges and separates it from the background.
For dramatic effect, use colored gels—blue for cold energy fields, orange for engine glow. A small flashlight or phone LED behind the chest reactor can simulate internal arc reactor illumination.
| Lighting Goal | Tool/Method | Avoid |
|---|---|---|
| Metallic sheen | Soft, angled daylight lamp | Direct overhead flash |
| Repulsor glow | Mini LED inside palm (if modded) or post-edit glow | Overexposure washing out details |
| Atmospheric depth | Fog machine or translucent scrim | Dust on lens or sensor |
Step-by-Step Guide to Shooting Your MK85
- Prep the Figure: Clean fingerprints with microfiber cloth. Check joint tightness.
- Choose a Theme: Decide on a scene—combat, flight, stealth approach.
- Select Background: Solid colors (black, gray) work best. Consider miniature cityscapes or sky backdrops.
- Set Up Lighting: Apply three-point setup. Test with phone camera first.
- Posing & Support: Achieve stance using putty or hidden wires. Ensure symmetry where needed.
- Camera Settings: Use manual focus, low ISO (100–200), f/8–f/11 aperture for depth.
- Shoot Multiple Angles: Hero angle (slightly below), eye level, and close-ups of helmet/hands.
- Post-Processing: Adjust contrast, remove supports, add subtle motion blur or lens flare if appropriate.
Common Mistakes and How to Avoid Them
Even experienced photographers misstep when working with highly reflective figures. Recognizing these pitfalls improves consistency.
- Harsh Shadows: Caused by unfiltered direct light. Diffuse with parchment paper or white fabric.
- Fake-Looking Flight: Limbs too symmetrical or floating unnaturally. Introduce asymmetry and tension.
- Over-Retouching: Excessive glow or digital smoke makes the image cartoonish. Keep effects subtle.
- Poor Focus: Autofocus often locks on wrong plane. Switch to manual and focus on the eyes or helmet visor.
Real Example: Capturing \"Final Stand\"
Jamal, a hobbyist photographer in Austin, wanted to recreate the moment Tony activates “Nano-Build” in *Endgame*. He used black velvet as a backdrop to mimic space, positioned a warm spotlight from above to simulate energy surge, and posed the MK85 mid-stride with one arm deploying nanotech. Fishing lines held the left leg slightly elevated. In post, he added a faint golden particle trail leading from the gauntlet. The image gained 12K likes on Instagram and was featured in a fan art roundup.
Essential Checklist Before Every Shoot
- ✅ Clean the figure surface
- ✅ Confirm joint stability
- ✅ Set up diffused lighting
- ✅ Choose thematic background
- ✅ Test pose with smartphone preview
- ✅ Use tripod for DSLR/mirrorless
- ✅ Capture in RAW format if possible
- ✅ Take reference shots from multiple angles
FAQ
Can I safely modify my MK85 for lighting effects?
Yes, but proceed carefully. Some collectors install micro-LEDs in the palms or chest using non-invasive methods like magnetic inserts. Avoid drilling unless you’re experienced. Test battery heat to prevent warping.
What’s the best camera for action figure photography?
Any camera with manual settings works. Smartphones with portrait mode and macro lenses are surprisingly effective. For higher quality, entry-level DSLRs like Canon EOS Rebel or mirrorless Sony a6000 series offer excellent control.
How do I make my photos look less staged?
Incorporate environmental storytelling—add debris, smoke, or dynamic angles. Shoot from low perspectives to exaggerate scale. Slight lens distortion (wide-angle) enhances drama when used subtly.
Conclusion
Capturing the Iron Man MK85 in dynamic action goes beyond technical skill—it’s about honoring the character’s legacy through visual storytelling. With thoughtful posing, controlled lighting, and attention to detail, your photos can evoke the same awe as the films themselves. Don’t wait for perfect conditions; start experimenting with what you have. Refine each shot, learn from what works, and let your creativity take flight.


 浙公网安备
33010002000092号
浙公网安备
33010002000092号 浙B2-20120091-4
Comments
No comments yet. Why don't you start the discussion?