
Tactical backpacks are designed to carry more than just essentials. Whether you're a military professional, law enforcement officer, outdoor responder, or serious adventurer, the ability to securely and efficiently attach external gear can make the difference between mission success and unnecessary strain. From sleeping bags and trekking poles to helmets and hydration bladders, how you attach equipment externally affects balance, accessibility, and endurance. Mastering this skill requires understanding your pack’s architecture, choosing the right attachment method, and practicing load distribution.
Understanding Your Tactical Backpack’s External Attachment Systems
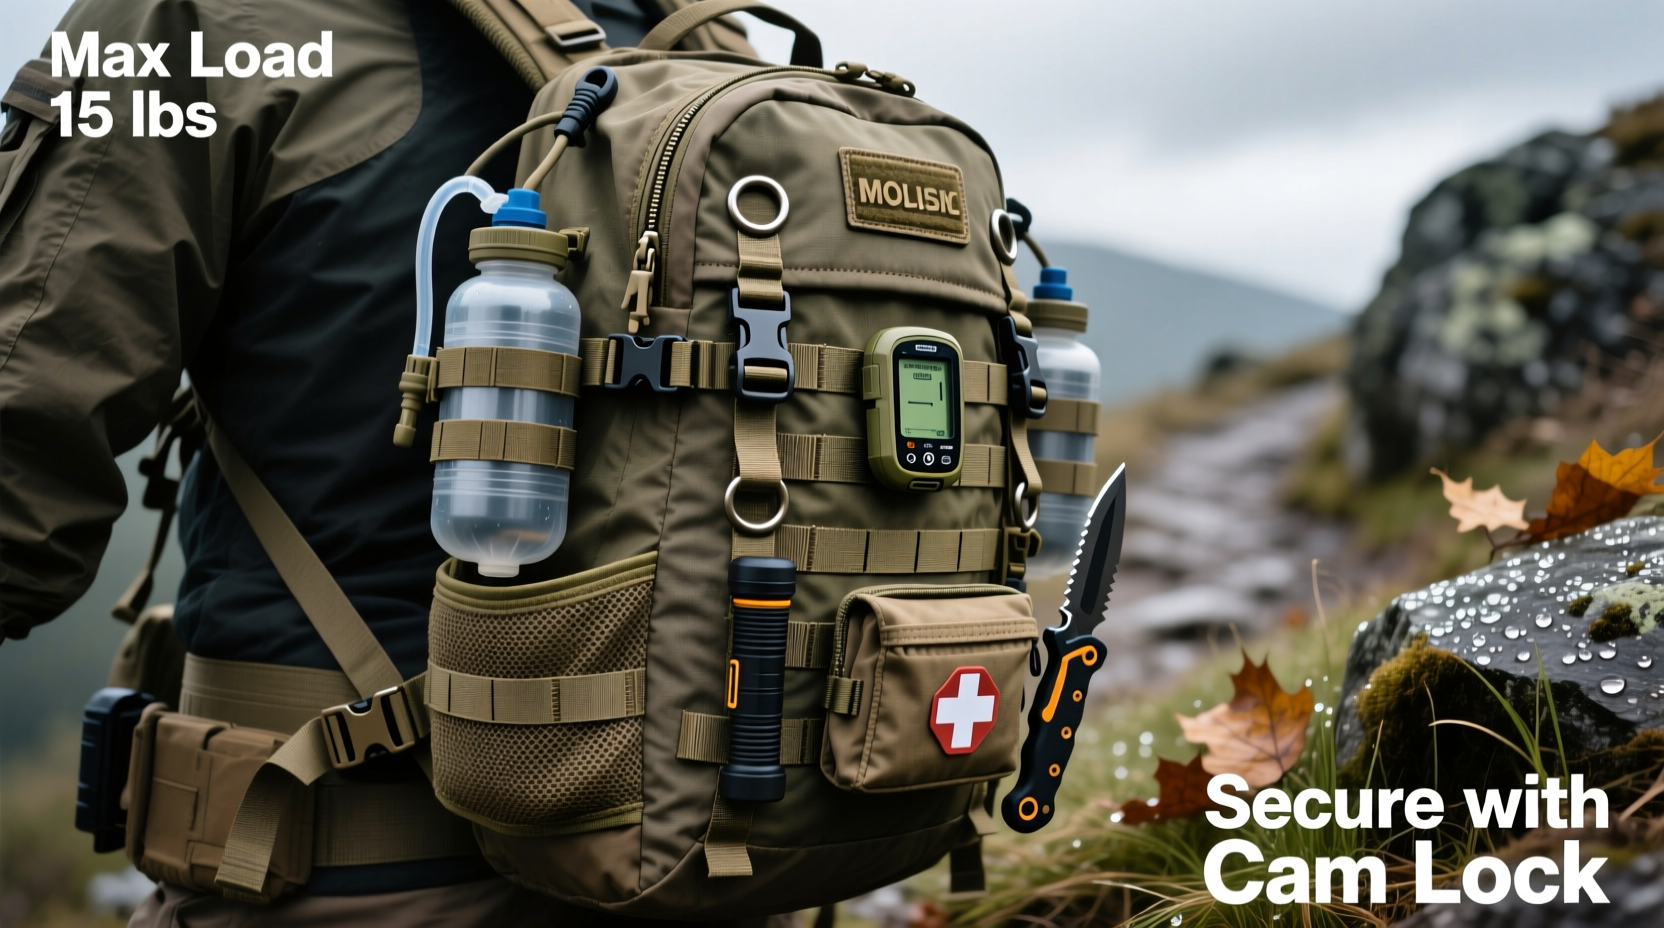
Most tactical backpacks come equipped with multiple integration points specifically designed for external load carriage. These include MOLLE webbing, compression straps, daisy chains, haul loops, and dedicated tool ports. Each system serves a unique function:
- MOLLE (Modular Lightweight Load-carrying Equipment): A grid of heavy-duty nylon webbing stitched vertically across the pack. It allows modular pouches and accessories to be attached using PALS (Pouch Attachment Ladder System) threading.
- Compression Straps: Located on the sides and bottom, these stabilize the internal load but can double as anchor points for rolled mats or extra clothing.
- Daisy Chains: Webbing loops sewn along the edges of the pack, ideal for clipping carabiners or lashing small items like gloves or flashlights.
- Haul Loops and Top Handles: Useful for lifting the pack, but also serve as emergency tie-down points when combined with paracord.
- Ice Axe/Tool Ports: Reinforced sheaths near the base or side panels that secure long tools such as axes or probes.
Knowing where and how each system functions helps prevent overloading weak points or misusing components not intended for heavy loads.
Best Practices for Secure and Balanced Load Distribution
The goal of external attachment isn’t just to strap things on—it’s to maintain center of gravity, reduce sway, and keep critical items accessible. Poorly distributed weight leads to fatigue, instability, and even injury over long distances.
Follow these principles:
- Keep weight low and centered: Attach heavier items like sleeping bags or cooking gear near the base and close to your back. This keeps the center of gravity aligned with your hips.
- Avoid top-heavy configurations: Never hang bulky or dense items from shoulder straps or the top lid unless absolutely necessary.
- Balance side loads: If carrying asymmetrically (e.g., a rifle scabbard), counterbalance with lighter gear on the opposite side.
- Minimize frontal load: Front-mounted items shift your posture forward, increasing spinal pressure. Use chest-mounted platforms only for lightweight, frequently accessed tools.
When attaching large items like sleeping pads, compress them tightly and run both horizontal and vertical straps through existing anchor points to prevent lateral movement.
Step-by-Step Guide: Attaching a Sleeping Bag Underneath the Pack
- Roll or stuff the sleeping bag into a compact, aerodynamic shape.
- Place it beneath the main compartment, aligning it with the pack’s central axis.
- Thread the lower compression straps through the sleeping bag’s loops or stuff sack.
- Cross the side straps diagonally if possible to lock the bag in place.
- Secure all buckles and test by shaking the pack gently—no shifting should occur.
Choosing the Right Method: Tie-Down vs. Modular vs. Hybrid
There are three primary approaches to external gear attachment, each suited to different scenarios.
| Method | Best For | Pros | Cons |
|---|---|---|---|
| Tie-Down (Straps & Cordage) | Irregular shapes, temporary loads | Highly adaptable, uses minimal hardware | Time-consuming, less consistent |
| Modular (MOLLE/PALS) | Frequent-use tools, standard pouches | Fast access, highly secure, scalable | Limited to compatible gear, adds bulk |
| Hybrid (Combination) | Mixed-load missions, dynamic environments | Balances speed and flexibility | Requires planning and practice |
For example, a medic might use MOLLE-mounted trauma pouches on the front panel for instant access while tying down a folded stretcher underneath using compression straps. The hybrid approach maximizes readiness without sacrificing stability.
Real-World Example: Urban Search and Rescue Deployment
During a simulated urban collapse response, a rescue team member needed to carry a K9 vest, pry bar, helmet, thermal imager, and hydration bladder—all beyond the internal capacity of their 50L tactical pack. Using a combination strategy, they:
- Mounted the thermal imager in a MOLLE-side pouch for rapid deployment.
- Secured the K9 vest under the lid using daisy chain clips.
- Inserted the pry bar vertically into a side compression strap channel, locking it with a half-hitch at the top.
- Attached the helmet via chin strap to the front haul loop.
- Ran a hydration tube externally along the shoulder strap for easy sipping.
This configuration allowed full mobility, immediate access to life-saving tools, and no noticeable imbalance—even during stair climbs and debris navigation. After six hours of operation, none of the external items had shifted or snagged.
“External load management is not about how much you can carry—it’s about how efficiently you can move with it.” — Sgt. Daniel Reyes, U.S. Army Ranger (Ret.), Tactical Gear Instructor
Common Mistakes and How to Avoid Them
Even experienced users fall into traps that compromise safety and efficiency. Here are frequent errors and their fixes:
- Overloading MOLLE strips: Just because you can attach something doesn’t mean you should. Limit rigid or heavy modules to waist-level or below.
- Ignoring weather exposure: Items tied externally are vulnerable. Use waterproof covers or store moisture-sensitive gear internally.
- Creating snag hazards: Loose straps or protruding handles can catch on brush or doorframes. Trim excess length or tuck ends into loops.
- Mounting gear upside down: Ensure pouches open upward or sideways—never downward where contents could spill during movement.
Checklist: Pre-Deployment External Load Verification
- ✅ All attachments are within manufacturer weight limits
- ✅ Heavy items are low and centered
- ✅ No loose straps or dangling cords
- ✅ Critical tools are accessible without removing the pack
- ✅ Gear does not obstruct ventilation panels or hip belt pockets
- ✅ Helmet, radio, or weapon mounts do not interfere with head movement or draw speed
FAQ
Can I attach a rifle scabbard to any tactical backpack?
Not all packs are rated for weapon carriage. Only use scabbards on packs with reinforced side panels and integrated retention systems. Improvised mounts may fail under stress or create unsafe handling conditions.
How tight should external straps be?
They should eliminate movement without deforming soft gear. You should not be able to slide a hand between the strap and the item, but avoid excessive tension that damages fabric or distorts load balance.
Is paracord better than elastic cord for tie-downs?
Paracord offers higher tensile strength and knot security, making it ideal for heavy or permanent attachments. Elastic (shock) cord is faster to deploy and retract, best for lightweight, frequently removed items.
Conclusion
Mastering external gear attachment on tactical backpacks is a blend of engineering awareness, physical intuition, and disciplined preparation. It’s not simply about maximizing capacity—it’s about optimizing performance under pressure. By leveraging the right systems, distributing weight wisely, and validating every setup before movement, you ensure that your gear works with you, not against you. Whether you’re operating in hostile environments, remote wilderness, or high-stakes emergency zones, refined load management translates directly into agility, endurance, and mission effectiveness.


 浙公网安备
33010002000092号
浙公网安备
33010002000092号 浙B2-20120091-4
Comments
No comments yet. Why don't you start the discussion?