
Drawing the human face is one of the most rewarding yet challenging aspects of visual art. A well-rendered face can convey emotion, identity, and narrative depth in a single glance. Yet many artists struggle with proportion, symmetry, and expression—common hurdles that stem not from lack of talent, but from gaps in foundational understanding. With structured practice and targeted techniques, anyone can improve their ability to draw faces convincingly. This guide explores time-tested methods used by professional illustrators, animators, and portrait artists to create expressive, anatomically sound facial drawings.
The Foundation: Understanding Facial Proportions
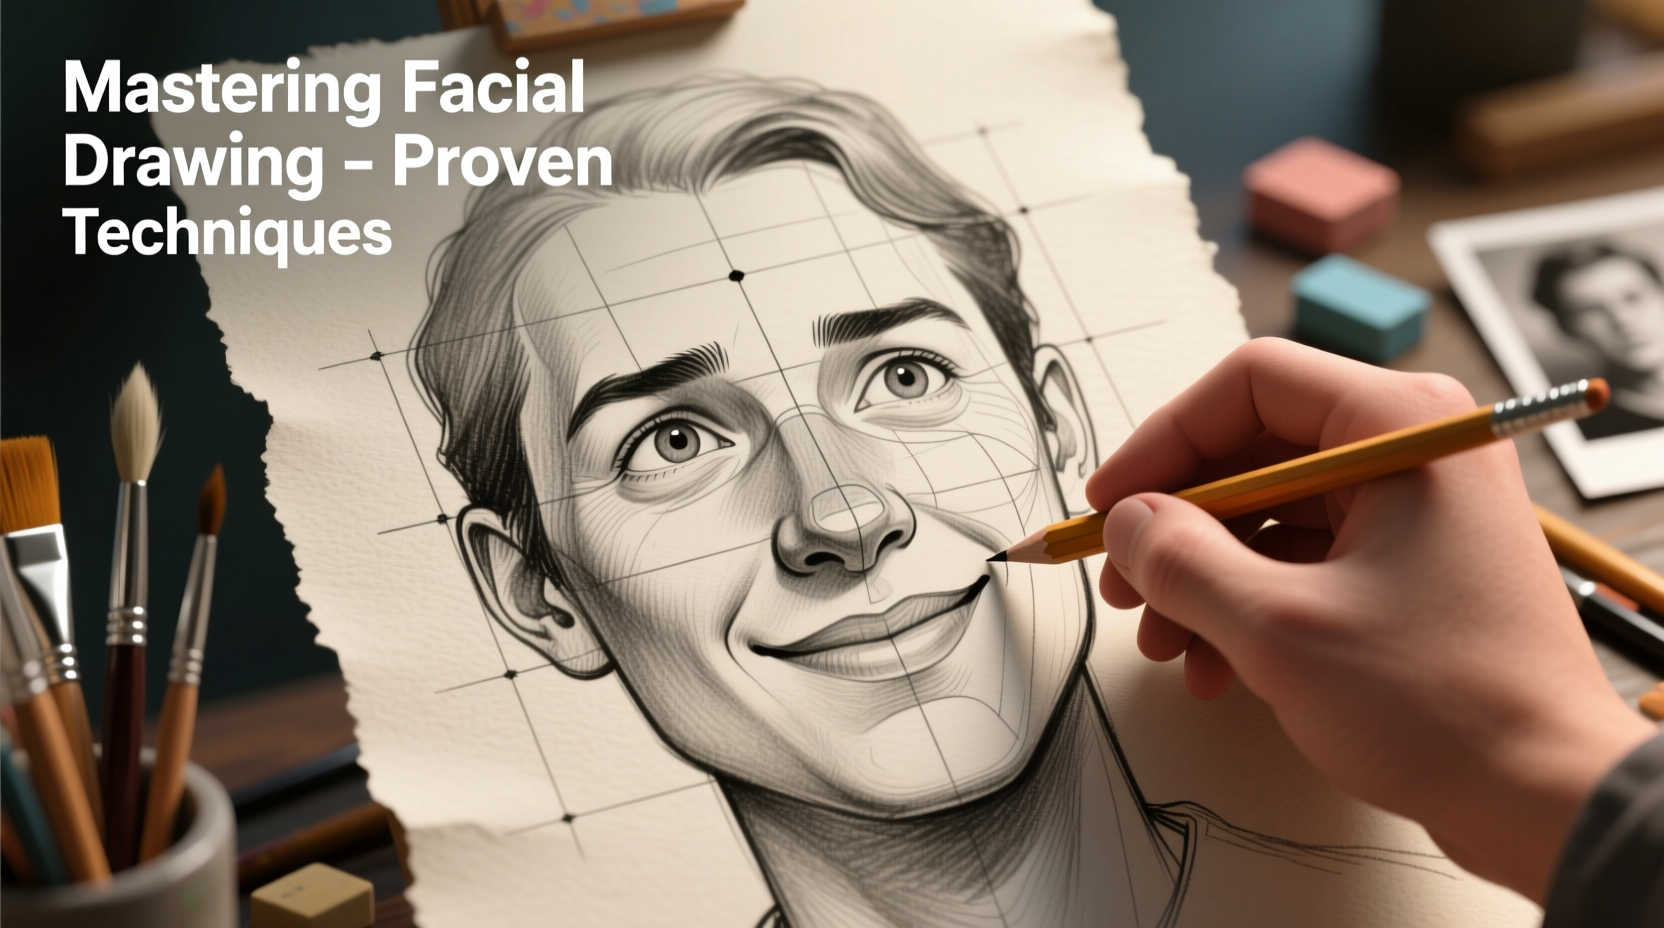
Accurate facial drawing begins with proportion. The human head follows predictable spatial relationships when viewed from the front or in three-quarter view. Ignoring these can result in features that appear “off,” even if individual eyes or noses are well-drawn.
A standard adult face can be divided using simple guidelines:
- The eyes sit at the halfway point of the head’s total height.
- The bottom of the nose aligns with a horizontal line one-third down from the eyes to the chin.
- The mouth is positioned halfway between the nose and the chin.
- The distance between the eyes is typically equal to the width of one eye.
- Ears extend from the brow line to the base of the nose.
These rules apply to adults; children have different proportions—larger foreheads, smaller lower faces—which must be adjusted for realism. Consistent use of measurement ensures structural accuracy before detailing begins.
Anatomy and Structure: Beyond the Surface
To move beyond flat, mask-like faces, artists must understand the underlying skull and muscle structure. The face is not a smooth oval—it has planes, angles, and volume shaped by bone and tissue.
Key structural landmarks include:
- Zygomatic bones: Define cheek prominence and influence eye socket shape.
- Supraorbital ridge: Forms the brow line, casting natural shadow above the eyes.
- Mandible: Determines jawline angle and chin projection.
- Nasal spine: Anchors the bridge of the nose and affects profile depth.
Thinking in terms of geometric forms—spheres for eyes, cylinders for the neck, ovoids for the cranium—helps maintain volume. Artists often begin with a 3D head construction using boxes or mannequin diagrams to establish correct perspective.
“Drawing the face without understanding its architecture is like building a house on sand. Structure gives expression its foundation.” — Daniel Park, Figure Drawing Instructor, NYSchool of Art
Capturing Expression: The Language of Emotion
Lifelike expressions emerge not from exaggerated features, but from subtle shifts in muscle groups. The face contains over 40 muscles, many of which contract during emotional states. Learning how key muscles affect appearance improves authenticity.
| Emotion | Key Muscle Actions | Visual Cues |
|---|---|---|
| Happiness | Orbicularis oculi contracts (squinting), zygomaticus major lifts corners of mouth | Crow’s feet around eyes, upward curve of lips, cheeks rise |
| Sadness | Depressor anguli oris pulls mouth down, frontalis creates forehead wrinkles | Corners of mouth droop, inner eyebrows rise, lower eyelids tighten |
| Anger | Corrugator supercilii furrows brows, levator labii elevates upper lip | Brows drawn together, narrowed eyes, flared nostrils, tense jaw |
| Surprise | Frontalis lifts eyebrows, orbicularis oris stretches wide | High arched brows, wide-open eyes, mouth open in an oval |
Observing real people—whether through life drawing sessions or candid photography—builds intuition for how emotions manifest physically. Avoid relying solely on cartoons or stylized references, which often distort anatomy for effect.
Step-by-Step Guide to Drawing a Lifelike Face
Follow this sequence to build a realistic facial drawing from start to finish:
- Sketch the head oval with a light vertical centerline and horizontal midline for eye placement.
- Add the jaw and chin using angular lines that follow the subject’s bone structure.
- Mark feature positions: Place eyes on the midline, space them one eye-width apart, then locate nose and mouth using proportional thirds.
- Construct facial planes with light lines indicating forehead tilt, cheekbones, and jaw angles.
- Refine五官 (eyes, nose, mouth, ears) using anatomical knowledge—avoid copying symbols (e.g., “( )” for eyes).
- Define form with value: Apply shading based on a consistent light source, emphasizing orbital sockets, nasal ridges, and jaw contours.
- Adjust for expression: Modify eyebrow angle, mouth curvature, and skin tension to reflect intended emotion.
- Finalize and refine: Strengthen key outlines, enhance contrast, and erase guidelines.
This method prioritizes structure over detail, preventing premature focus on eyelashes or hairlines before the foundation is secure.
Common Mistakes and How to Fix Them
Even experienced artists repeat certain errors. Recognizing them early accelerates improvement.
- Asymmetrical features: Often caused by drawing one side first and mirroring incorrectly. Solution: Work both sides simultaneously, constantly comparing distances.
- Flat-looking faces: Result from uniform shading or ignoring bony landmarks. Add depth by darkening cavities (e.g., under brow, inside nostrils) and highlighting protrusions (cheekbones, chin).
- Expressionless eyes: Caused by neglecting the upper eyelid overlap and iris positioning. The iris should partially hide behind the upper lid in relaxed states.
- Over-detailing too soon: Distracts from overall accuracy. Reserve fine details (pores, wrinkles) for final stages.
“I used to draw eyes like stickers pasted on a ball. Once I learned about ocular spheres and socket depth, my portraits gained realism overnight.” — Lena Tran, Portrait Artist
Practice Checklist for Daily Improvement
Consistency matters more than perfection. Use this checklist to guide daily or weekly practice:
- □ Draw 5-minute head constructs (focus on proportion and plane)
- □ Complete 3 gesture expression studies
- □ Study one master portrait (anatomical breakdown)
- □ Sketch from life or high-quality photo references (avoid low-res or filtered images)
- □ Review previous work to identify recurring errors
- □ Experiment with one new angle (profile, extreme foreshortening)
Frequently Asked Questions
How long does it take to get good at drawing faces?
With regular practice (3–5 sessions per week), most artists see noticeable improvement within 3–6 months. Mastery takes years, but foundational competence is achievable quickly with focused drills.
Should I always use reference photos?
Yes, especially in early stages. Drawing from memory often reinforces bad habits. Use diverse references—different ages, ethnicities, lighting conditions—for broader understanding.
Why do my drawings look “cartoony” even when I try to be realistic?
This usually stems from oversimplified shapes or exaggerated features. Compare your work to anatomical diagrams and ask: Are the eye sockets deep enough? Is the jaw connected to the neck? Realism lives in subtlety.
Conclusion: Your Journey to Expressive Mastery
Drawing lifelike faces isn’t about innate talent—it’s about disciplined observation, anatomical awareness, and persistent practice. Every great portrait artist started with lopsided eyes and awkward smiles. What separates them is not perfection, but persistence. By mastering proportions, respecting structure, and studying the nuances of expression, you equip yourself with tools that transform blank paper into living presence.


 浙公网安备
33010002000092号
浙公网安备
33010002000092号 浙B2-20120091-4
Comments
No comments yet. Why don't you start the discussion?