
In today’s digital-first world, carrying cash or even a wallet is becoming optional. With Google Pay, Android users can make seamless transactions anytime, anywhere—whether at a retail store, inside an app, or on a website. But to truly benefit from its speed and security, you need more than just a smartphone. Understanding how to set up, use, and protect your Google Pay experience ensures every transaction is both convenient and safe.
Why Google Pay Is Essential for Android Users
Google Pay isn’t just another payment app—it's built into the Android ecosystem. Unlike third-party wallets that require separate downloads and permissions, Google Pay integrates smoothly with your device’s hardware and software. This means faster access, deeper security, and broader compatibility across millions of terminals worldwide.
It supports contactless payments via NFC (Near Field Communication), peer-to-peer transfers, loyalty cards, boarding passes, and even subscriptions. Whether you're buying groceries, splitting dinner with friends, or booking travel, Google Pay streamlines the process while keeping your financial data protected behind encryption and tokenization.
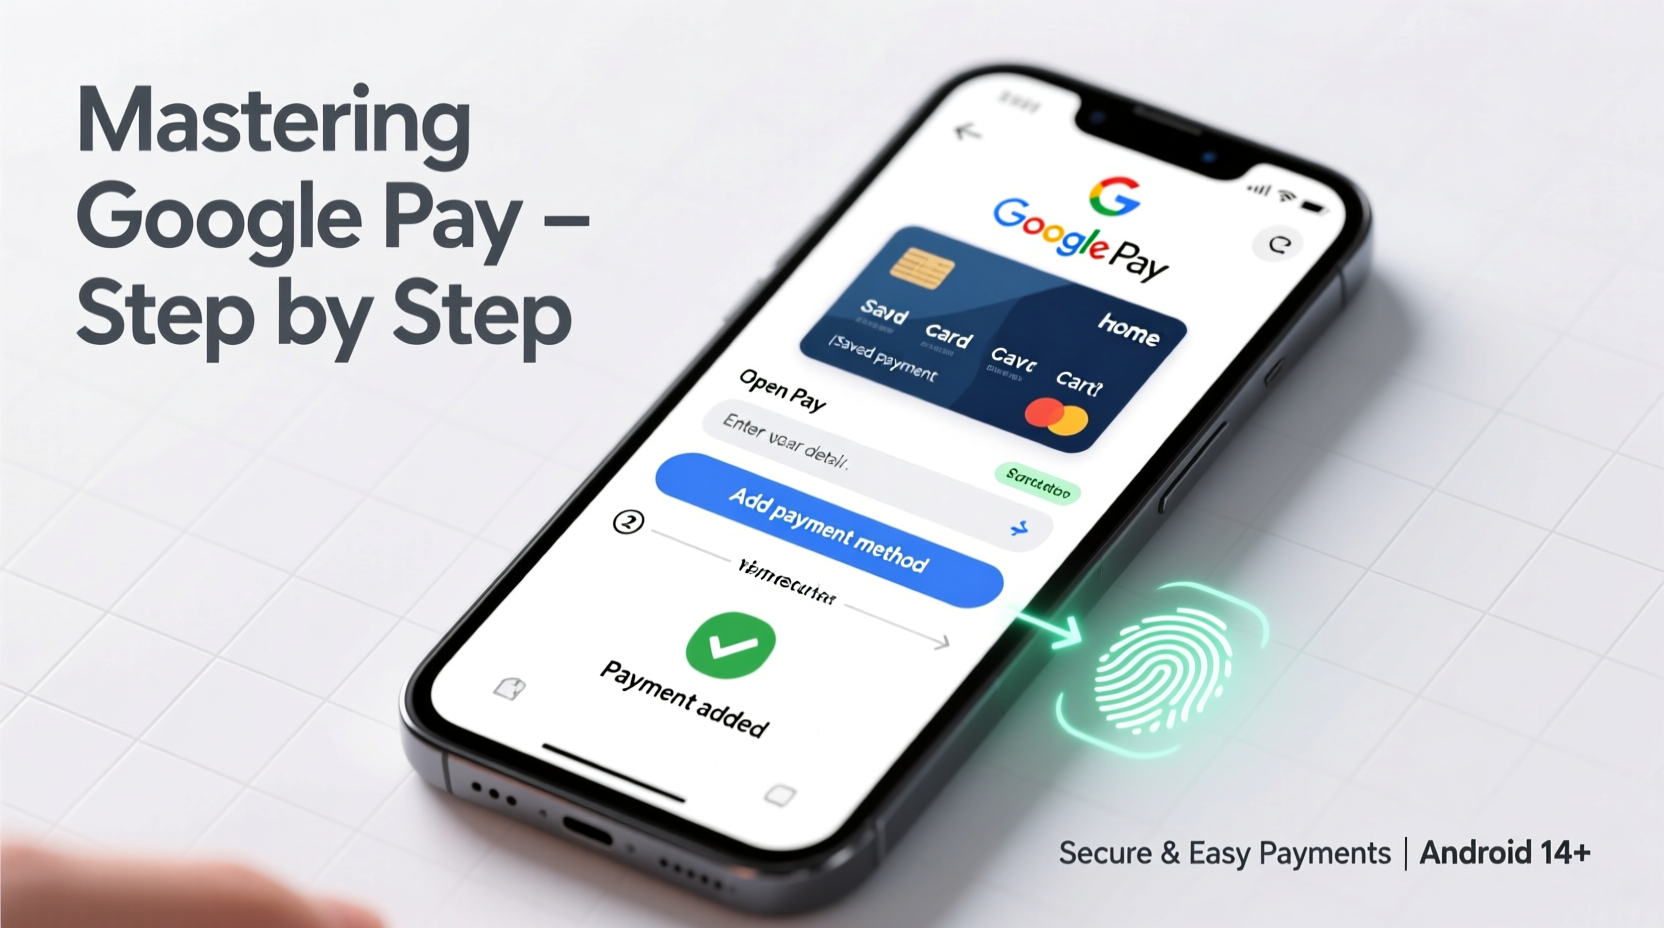
Setting Up Google Pay: A Step-by-Step Guide
Getting started with Google Pay takes only minutes. Follow these steps to activate your digital wallet and begin using it confidently.
- Check Device Compatibility: Ensure your Android phone runs Android 5.0 (Lollipop) or higher and has NFC enabled. Most devices from 2017 onward support this.
- Download & Open Google Pay: While preinstalled on many devices, if not present, download it from the Google Play Store.
- Sign In with Your Google Account: Use the same account linked to your device for seamless syncing.
- Add a Payment Method: Tap “Payment” > “Add Payment Method.” You can add debit/credit cards manually or use your phone’s camera to scan them.
- Verify Your Card: Depending on your bank, verification may happen instantly, via SMS code, or through a small temporary charge.
- Set as Default (Optional): Choose your preferred card for quick checkout without switching each time.
- Enable Quick Tap: Go to Settings > \"Unlock for Payments\" and allow tap-to-pay when the screen is off or locked.
Once completed, hold your phone near any contactless terminal—the back of the device should be close to the reader—and wait for the vibration or sound confirming the payment.
Using Google Pay Across Different Scenarios
Google Pay works in multiple environments, each with slight variations in execution.
In-Person Transactions
At physical stores, simply unlock your phone (or keep it unlocked if allowed), then tap the back against the payment terminal. No need to open the app—Google Pay activates automatically when NFC detects a compatible reader.
Within Mobile Apps
When shopping in apps like Uber, Airbnb, or food delivery services, look for the Google Pay button during checkout. One tap authorizes the purchase using your default card, reducing form-filling and minimizing input errors.
On Websites
During online purchases, select Google Pay at checkout. A prompt appears asking you to confirm the payment method and shipping details. After authentication (PIN, fingerprint, or face unlock), the transaction completes securely without entering card numbers.
Peer-to-Peer Transfers
To send money to friends or family, open Google Pay, tap “Send,” enter the recipient’s email or phone number, specify the amount, and confirm. The funds are transferred directly to their bank account or Google Pay balance, usually within minutes.
| Use Case | How It Works | Security Feature |
|---|---|---|
| In-store tap | NFC communication with POS terminal | Tokenized card number; no real data shared |
| App purchases | One-tap authorization | Biometric/PIN confirmation required |
| Online checkout | Auto-fill of payment & shipping info | End-to-end encryption |
| Money transfers | Email or phone-based sending | Two-factor authentication available |
Maximizing Security: Protecting Your Digital Wallet
While Google Pay is designed with robust safeguards, user behavior plays a critical role in maintaining safety.
- Use Screen Locks: Always enable PIN, pattern, fingerprint, or facial recognition. Without this, anyone could access your wallet.
- Turn On Find My Device: If your phone is lost, remotely lock or erase it through Google’s Find My Device service.
- Review Transaction History: Regularly check recent activity in the Google Pay app for unauthorized charges.
- Avoid Public Wi-Fi for Sensitive Actions: When adding cards or transferring money, use secure networks only.
- Remove Old Cards Promptly: Delete expired or canceled cards immediately to reduce clutter and risk.
“Google Pay uses dynamic security tokens instead of actual card numbers, making it significantly safer than swiping a physical card.” — Sarah Lin, Cybersecurity Analyst at TechShield Labs
Common Issues and How to Fix Them
Even reliable tools encounter hiccups. Here are frequent problems and practical solutions:
- Payment Not Going Through: Check NFC status (Settings > Connected Devices > Connection Preferences > NFC). Ensure it’s turned on and that the merchant accepts contactless payments.
- Card Verification Fails: Contact your bank to confirm they allow digital wallets. Some institutions block virtual provisioning by default.
- Phone Doesn’t Wake Up for Payment: Disable battery saver mode temporarily, as it often restricts background processes including NFC.
- Duplicate Charges: Wait a few minutes—sometimes pending transactions appear twice but settle once. If confirmed, dispute via Google Pay support.
Mini Case Study: Maria’s First Week Using Google Pay
Maria, a busy teacher in Portland, decided to go cashless for one week using only Google Pay. She added her primary debit card and enabled fingerprint authentication. On day one, she paid for coffee with a simple tap—no fumbling for her wallet. Later, she used Google Pay inside a rideshare app, saving time during pickup. By midweek, she sent rent contribution to her roommate via peer-to-peer transfer. When her phone died unexpectedly, she used a friend’s charger and resumed payments after unlocking with her PIN. By Friday, she’d made 17 transactions—all smooth, all secure. Her biggest takeaway? “I didn’t miss my wallet at all.”
Quick Checklist: Master Google Pay in 7 Steps
- ✅ Confirm your Android device supports NFC
- ✅ Install or open the Google Pay app
- ✅ Sign in with your Google account
- ✅ Add a credit or debit card
- ✅ Verify the card with your bank
- ✅ Set up biometric or PIN protection
- ✅ Enable “Unlock for Payments” for faster checkout
Frequently Asked Questions
Is Google Pay free to use?
Yes. There are no fees for making purchases, sending money to contacts, or adding cards. However, standard data rates may apply when using mobile internet.
Can I use Google Pay without an internet connection?
You can make in-person contactless payments offline since NFC doesn’t require internet. However, adding new cards or viewing recent transactions needs connectivity.
What happens if I lose my phone?
Immediately use Find My Device (findmydevice.google.com) to lock or erase your phone remotely. Any stored card details are already tokenized, meaning thieves cannot retrieve real card numbers even if they gain access.
Final Thoughts: Take Control of Your Digital Financial Life
Mastering Google Pay transforms how you interact with money daily. It reduces friction, enhances privacy, and adapts effortlessly to modern lifestyles. From morning commutes to weekend outings, every transaction becomes faster and more secure. More importantly, understanding its features empowers you to move confidently through a cashless society without sacrificing control.


 浙公网安备
33010002000092号
浙公网安备
33010002000092号 浙B2-20120091-4
Comments
No comments yet. Why don't you start the discussion?