
Searching the web has evolved far beyond text. With Google Reverse Image Search, you can use a photo as your query—whether it’s a product, artwork, person, or meme—and discover where it came from, how it’s used, or even locate higher-resolution versions. This powerful tool is underutilized by many, yet it offers unmatched advantages for researchers, marketers, shoppers, and curious minds alike.
Reverse image search works by analyzing the digital signature of an image and matching it against billions of indexed visuals online. Unlike traditional keyword-based searches, it bypasses language barriers and taps directly into visual data. Mastering this technique unlocks faster answers, better verification, and deeper insights across countless real-world scenarios.
How Google Reverse Image Search Works
At its core, Google Reverse Image Search uses computer vision algorithms to identify patterns, shapes, colors, and metadata within an image. When you upload a photo or provide a URL, Google compares these features to its vast database of indexed images. It doesn’t look for pixel-perfect matches alone; instead, it detects similarities—even when the image has been resized, cropped, or slightly edited.
The technology leverages machine learning models trained on diverse datasets, allowing it to recognize objects, faces (without identifying individuals unless publicly labeled), logos, and scenes. Results may include web pages where the image appears, similar visuals, related products, or information about the subject depicted.
This functionality is especially useful in cases where describing something in words feels inadequate—like identifying a plant species from a blurry snapshot or tracking down the source of a viral graphic.
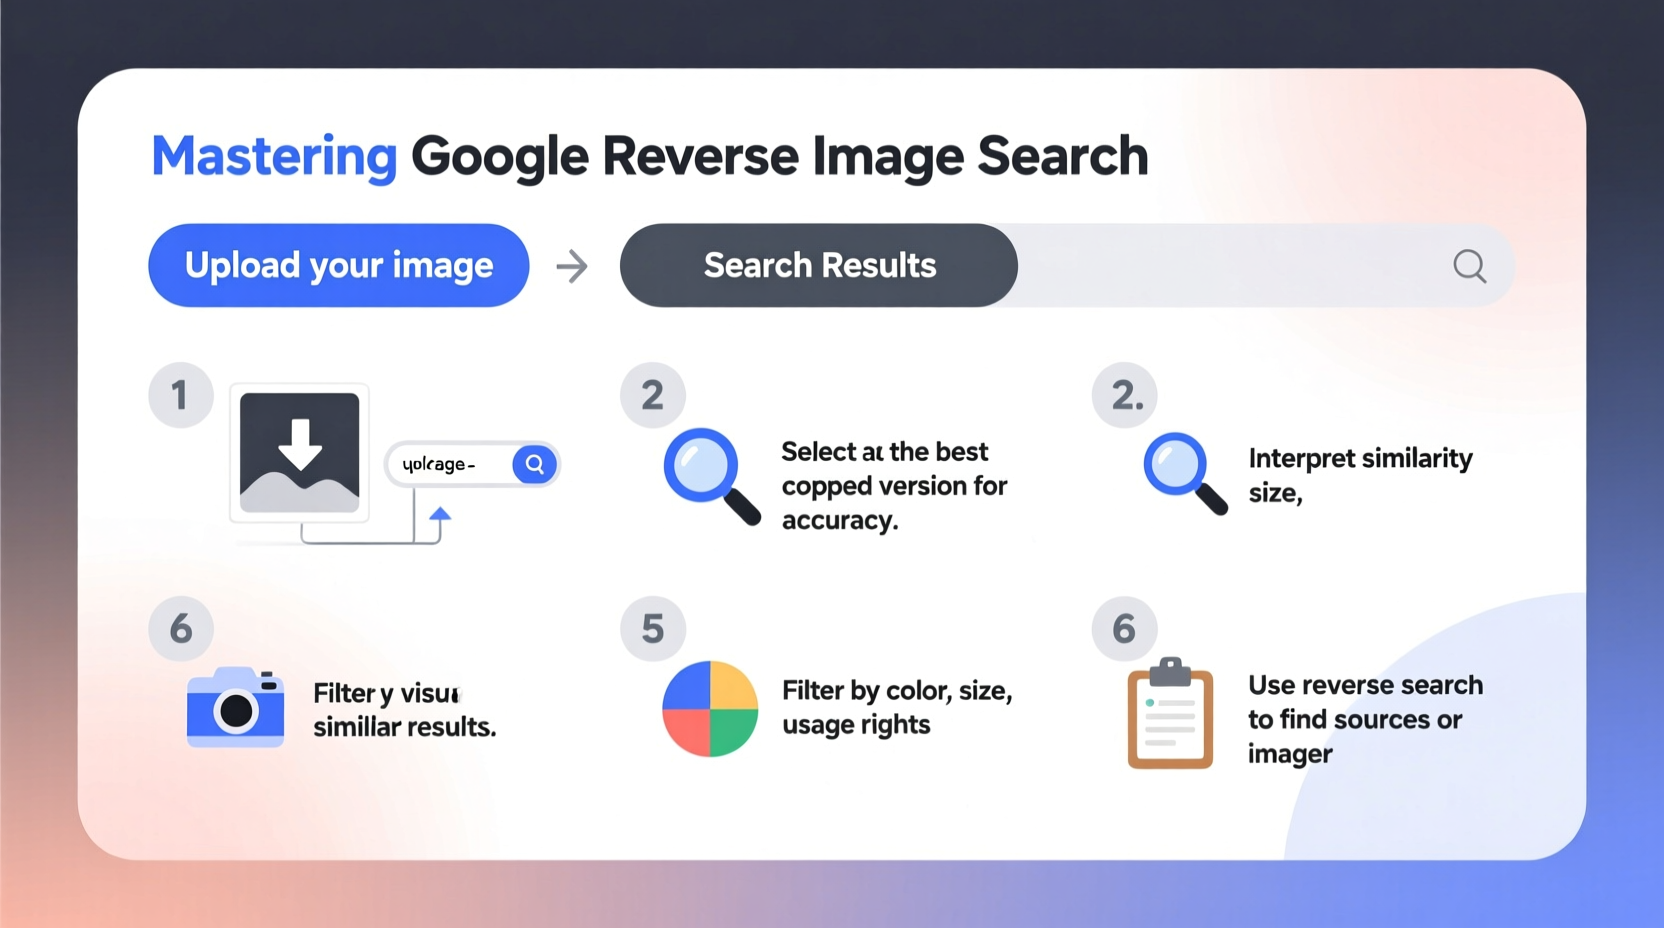
Step-by-Step Guide to Performing a Reverse Image Search
Using Google Reverse Image Search is simple once you know the methods available. Follow this timeline to get started, whether you're on desktop or mobile.
- Choose Your Device and Browser: Use Chrome, Firefox, or Safari for best compatibility. Mobile users should use the Google app or Chrome browser.
- Navigate to Google Images: Go to
images.google.com. - Click the Camera Icon: Located inside the search bar, this opens the reverse search interface.
- Upload or Paste:
- To upload: Click “Upload an image” and select a file from your device.
- To link: Paste the image URL in the field provided.
- Analyze Results: Wait a few seconds. Google will display:
- Exact matches of the image
- Sites where it appears
- Visually similar images
- Potential sources and dates
On mobile, long-press any image in a webpage or message, then tap “Search Image with Google Lens” if available. This shortcut activates reverse search instantly.
Practical Applications and Real-World Examples
Reverse image search isn't just for tech enthusiasts—it solves everyday problems. Consider this scenario:
Mini Case Study: Uncovering Fake Product Listings
Alice wanted to buy vintage headphones listed on a secondhand marketplace. The price was suspiciously low, and the seller had no reviews. She saved the listing photo and ran a reverse image search. Within seconds, she found the same image on a luxury retailer’s site—priced five times higher. Further digging revealed the photo was stolen from the official brand page. Alice avoided a scam thanks to one quick search.
Other common uses include:
- Finding higher-resolution versions of wallpapers or design assets
- Identifying unknown plants, insects, or landmarks during travel
- Verifying the authenticity of social media content
- Tracking unauthorized use of your own photos online
- Discovering fashion items seen in photos or videos
“Reverse image search is one of the most underrated tools for digital literacy. It empowers users to verify claims, protect intellectual property, and explore visual knowledge.” — Dr. Lena Patel, Digital Forensics Researcher at MIT Media Lab
Do’s and Don’ts: Best Practices Table
| Do’s | Don’ts |
|---|---|
| Use high-quality images when possible for more accurate matches | Expect perfect identification every time—some images lack sufficient data |
| Crop the image to focus on the main subject if background clutter exists | Assume all results are authoritative—always cross-check sources |
| Try multiple formats (upload vs. URL) if initial results are weak | Use copyrighted or private images without permission |
| Leverage Google Lens for real-time object recognition via camera | Rely solely on thumbnails—click through to original sites for context |
Advanced Tips and Hidden Features
Beyond basic uploads, there are ways to enhance your reverse search effectiveness:
- Combine Text and Image: After uploading an image, type keywords into the search bar to narrow results—for example, adding “buy” or “tutorial” changes the intent.
- Use Google Lens on PDFs or Screenshots: Extract text or identify objects from scanned documents by uploading them via Lens.
- Check Image History: Look at cached versions and timestamps to determine when an image first appeared online—useful for fact-checking memes or news.
- Search Within Sites: Once you find a relevant domain, use site-specific searches (e.g.,
site:instagram.com [image]) to dig deeper.
Frequently Asked Questions
Can I reverse search a screenshot?
Yes. Screenshots work well, especially if they contain clear subjects like logos, products, or text. However, screen glare or partial captures may reduce accuracy.
Is reverse image search safe and private?
Google does not store uploaded images permanently for personal identification. However, avoid uploading sensitive or private content such as IDs, passwords, or confidential documents.
Why do some images return no results?
An image may be too new, too obscure, or lack distinguishing features. Try cropping to the central element or enhancing contrast before re-uploading.
Essential Checklist for Effective Reverse Searching
Before running a search, ensure you’re maximizing your chances of success:
- ✅ Save the image to your device or copy its URL
- ✅ Crop unnecessary background elements
- ✅ Choose between upload or paste method based on availability
- ✅ Review both “Pages that include the image” and “Visually similar images”
- ✅ Cross-reference top results for credibility and date
- ✅ Use additional keywords to filter outcomes
- ✅ Explore Google Lens for live scanning capabilities
Conclusion: Turn Images Into Intelligence
Google Reverse Image Search transforms passive viewing into active investigation. Whether you're protecting yourself from fraud, researching creative content, or simply satisfying curiosity, this tool puts powerful visual intelligence at your fingertips. The key lies not just in knowing how to perform the search—but in interpreting results critically and applying them wisely.


 浙公网安备
33010002000092号
浙公网安备
33010002000092号 浙B2-20120091-4
Comments
No comments yet. Why don't you start the discussion?