
Graffiti is more than just spray paint on walls—it’s a dynamic form of visual expression that blends typography, color theory, and urban culture. While often misunderstood, graffiti has evolved into a respected art form practiced in galleries, public spaces, and creative studios worldwide. Whether you're drawn to the bold letters of wildstyle or the intricate characters of throw-ups, mastering graffiti requires patience, technique, and consistent practice. This guide breaks down the essential steps, tools, and mindset needed to transform your ideas into compelling graffiti art.
Understanding the Foundations of Graffiti Style
Graffiti isn’t random vandalism; it follows structured styles rooted in decades of street art evolution. The most common forms include:
- Tags: A stylized signature, usually done quickly with a marker or thin nozzle.
- Throw-ups: Bubble-style letters filled with one or two colors, often outlined in contrasting tones.
- Pieces (short for masterpieces): Large, complex works featuring multiple colors, shading, and effects.
- Wildstyle: Interwoven, overlapping letters with arrows, spikes, and connections that make them challenging to read—but visually striking.
- Stencils & Characters: Figurative elements like mascots, faces, or symbolic figures used to enhance a piece.
Before picking up a can, study these styles through sketchbooks, online archives, or visits to urban art districts. Recognizing the anatomy of a letterform—its baseline, crossbars, terminals, and connections—is crucial to developing original designs.
Essential Tools and Materials for Beginners
You don’t need an expensive setup to begin, but using the right tools makes a significant difference in control and finish. Here’s what you’ll need:
| Tool | Purpose | Recommended Brands/Types |
|---|---|---|
| Spray Paint Cans | Main medium for filling, outlining, and detailing | Molotow, Montana, Ironlak, Belton Premium |
| Caps (Nozzles) | Control line width and pressure | Fat caps (wide lines), skinny caps (details), softies (fade control) |
| Sketchbook & Pencil | Drafting letters and compositions | Hardcover sketchbook, HB and 2B pencils |
| Masking Tape | Creating clean edges and blocking areas | FrogTape or general painter’s tape |
| Protective Gear | Safety during spraying | N95 mask, gloves, goggles |
Invest in at least three cap types early on: a fat cap for fills, a skinny for outlines, and a softie for fades and gradients. Experimenting with flow and pressure helps build muscle memory and improves precision over time.
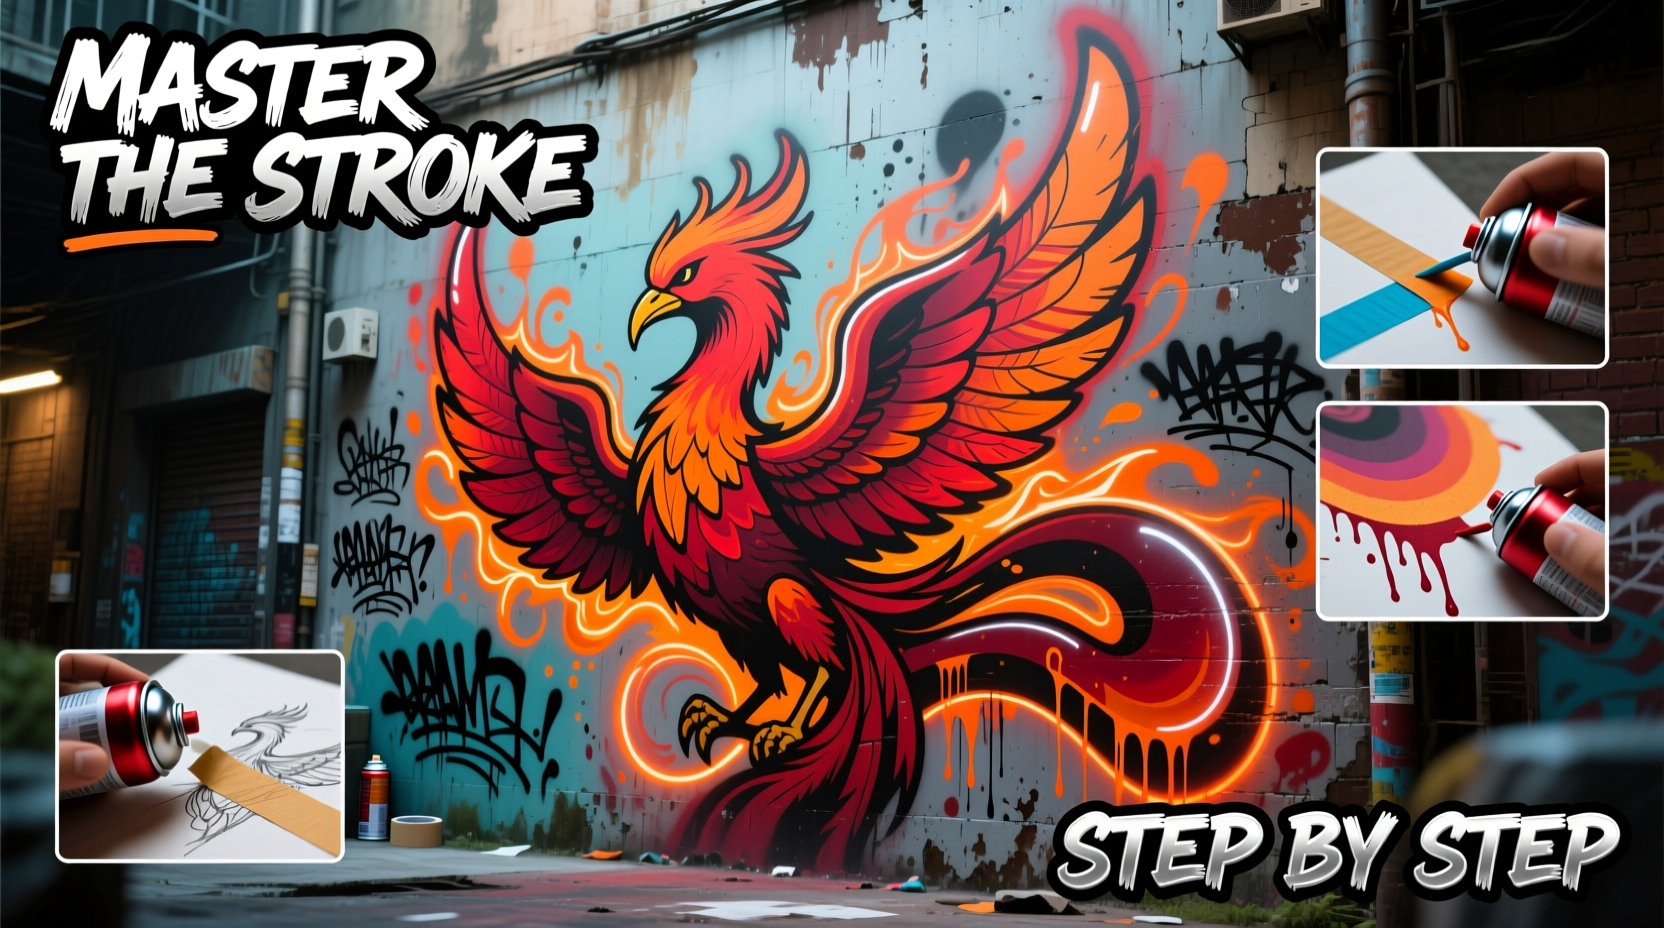
Step-by-Step Guide to Creating Your First Graffiti Piece
Follow this structured timeline to move from idea to execution with confidence.
- Conceptualize Your Design: Decide on a word or phrase. Keep it short—3 to 5 letters—to start. Think about mood: aggressive, playful, futuristic?
- Sketch Basic Letterforms: Draw the word in block letters. Then modify it: stretch, slant, or distort the shapes. Add shadows or 3D effects lightly with guidelines.
- Add Style Elements: Introduce curves, spikes, or connections between letters. Consider negative space—what’s left blank matters as much as what’s painted.
- Refine on Paper: Create 3–5 variations. Choose the strongest one and trace it cleanly for transfer.
- Transfer to Surface: Use grid method or projector if working large. Outline lightly with chalk or pencil.
- Base Fill: Apply background or fill color first using a fat cap. Work in light layers to avoid drips.
- Outline and Detail: Switch to a finer cap. Define edges, add highlights, and reinforce depth with darker drop shadows.
- Final Touches: Add arrows, stars, halos, or motion lines. Sign your tag discreetly in a corner.
Avoiding Common Mistakes: Do’s and Don’ts
New artists often rush to spray without preparation, leading to messy results. Learn from others’ errors with this checklist:
| Do’s | Don’ts |
|---|---|
| Sketch thoroughly before painting | Start spraying without a plan |
| Shake cans for at least 60 seconds | Assume the paint is ready after brief shaking |
| Use light, even coats instead of flooding | Over-saturate the surface causing runs |
| Work background to foreground | Paint details first, then cover them with fill |
| Practice letter spacing and balance | Ignore proportion—uneven letters weaken impact |
“Most beginners fail not from lack of talent, but from skipping fundamentals. Master the sketch, and the wall will follow.” — Diego Reyes, Muralist & Graffiti Instructor
Real Example: From Bedroom Sketches to Legal Wall Success
Jamal, a 19-year-old art student in Detroit, started by tagging notebooks and sketching subway-style letters in his room. With no formal training, he studied photos of NYC and Berlin graffiti online, copying styles into a worn Moleskine. After six months of daily drawing, he joined a local youth arts collective that offered access to legal walls.
His first outdoor piece was a 6-foot-tall “ZYNTH” in chrome silver and electric blue. He prepped with a detailed sketch, used masking tape for sharp edges, and layered shadows with a soft cap for a metallic effect. The piece caught attention on social media, leading to a commission for a community center mural. Jamal’s progression wasn’t instant—it was built on discipline, feedback, and respect for the craft.
Advanced Techniques for Visual Impact
Once comfortable with basics, elevate your work with professional-level methods:
- Color Blending: Use soft caps and quick wrist movements to create smooth gradients between hues.
- Highlighting: Add white or light-colored strokes on top edges to simulate light hitting the surface.
- Drop Shadows: Extend letters downward at a 45-degree angle with a darker tone to create depth.
- Backgrounds: Use stencils or freehand patterns (waves, stars, geometric grids) to frame your piece and prevent flatness.
- Layering: Build dimension by painting parts of letters behind or in front of others.
These techniques require controlled breathing, steady hands, and awareness of wind and surface texture when working outdoors. Always test colors and caps on scrap cardboard first.
Frequently Asked Questions
Can I learn graffiti without spray paint?
Absolutely. Most professionals spend months—or years—drawing by hand before touching a can. Use markers, pencils, or digital tools to develop style, composition, and letterflow. Mastery begins with design, not materials.
Is graffiti legal?
It depends on location and permission. Painting on private or public property without consent is illegal in most places. Seek out legal walls, collaborate with businesses, or use portable panels. Respect the law and the community.
How long does it take to get good at graffiti?
With consistent practice—3–5 hours per week—visible improvement occurs within 3–6 months. True mastery takes years. Focus on progress, not perfection. Every artist started with a shaky tag.
Conclusion: Start Where You Are, Build What You Love
Graffiti is not just about rebellion—it’s about identity, creativity, and communication. The journey from shaky sketches to bold, captivating pieces is paved with trial, error, and relentless practice. Equip yourself with knowledge, respect the roots of the culture, and never underestimate the power of a well-drawn line.


 浙公网安备
33010002000092号
浙公网安备
33010002000092号 浙B2-20120091-4
Comments
No comments yet. Why don't you start the discussion?