
Green screen technology has revolutionized visual storytelling, making it possible to place subjects in any environment imaginable—from bustling cityscapes to distant galaxies—without ever leaving the studio. Once limited to high-budget productions, chroma keying is now accessible to independent creators, educators, and marketers thanks to affordable equipment and powerful editing software. However, achieving truly seamless results requires more than just slapping a green backdrop behind your subject. Poor lighting, incorrect setup, or rushed post-production can ruin an otherwise compelling scene. This guide walks through every stage of professional green screen work, from planning to final export, ensuring your videos look polished and convincing.
Understanding Chroma Key: The Science Behind the Screen
At its core, green screen (or chroma key) relies on color separation. A subject is filmed in front of a uniformly colored background—typically bright green or blue—and that color is later removed in post-production, replaced with a new background image or video. Green is preferred because digital camera sensors are most sensitive to green light, producing cleaner keying with less noise. Blue screens are still used, especially when filming subjects wearing green clothing or in high dynamic range environments.
The success of a green screen effect depends on three critical factors: consistency in color, even lighting, and minimal spill. Spill occurs when green light reflects onto the subject, particularly around hair, shoulders, or shiny surfaces, making edges appear unnatural after keying. Avoiding these issues starts long before you press record.
“Lighting is 70% of a good key. If your green screen isn’t lit evenly, no software fix will save it.” — Daniel Reeves, VFX Supervisor, Indie Film Collective
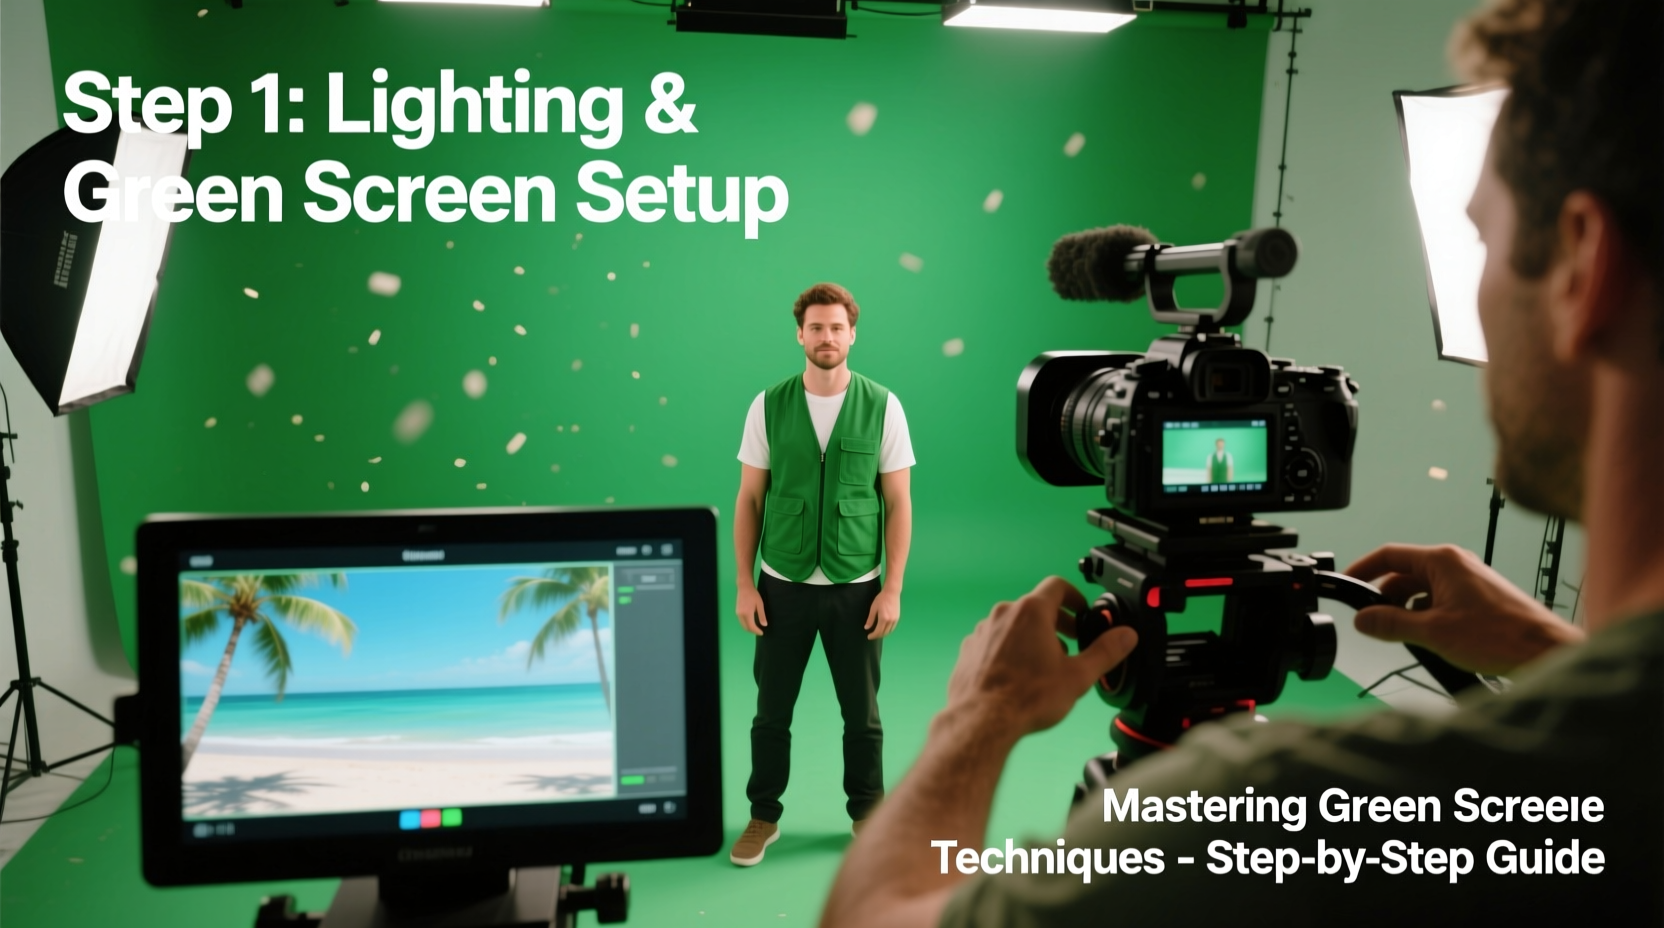
Step-by-Step Guide to Setting Up Your Green Screen Shoot
A well-executed green screen begins with meticulous preparation. Follow this timeline to ensure optimal conditions for clean keying.
- Choose the Right Backdrop: Use a non-reflective, wrinkle-free fabric or paint. Wrinkles create shadows and uneven color, complicating keying. Seamless paper or muslin fabric works well for small setups; painted walls are ideal for permanent studios.
- Position the Screen Properly: Hang the backdrop taut and extend it into a gentle curve at the base (a “cyc wall”) to eliminate harsh corners where shadows gather.
- Light the Screen Evenly: Use two or more soft lights aimed at the screen from the sides, not the front. Measure brightness across the surface with a light meter or waveform monitor to ensure consistent luminance (±1/10th of a stop).
- Separate Subject from Background: Position your subject at least 6–10 feet from the screen to reduce green spill and allow for clean shadow casting.
- Light the Subject Independently: Use a three-point lighting setup (key, fill, back) to illuminate your talent without affecting the screen. Avoid spilling subject lights onto the green.
- Dress Accordingly: Ensure no one wears green or colors close to the screen. Reflective materials like glasses or jewelry should be minimized or adjusted.
- Frame and Record: Use a high-resolution camera with manual white balance. Avoid auto-exposure during shooting to prevent shifting tones.
Essential Equipment Checklist
Whether you're working on a budget or building a pro studio, this checklist ensures you have what you need for reliable results.
- Chroma key backdrop (green fabric, paint, or collapsible panel)
- Two softbox or LED panel lights for the background
- Three-point lighting kit for subject illumination
- Stands and clamps for secure mounting
- High-definition camera (DSLR, mirrorless, or cinema cam)
- Tripod for stable framing
- Audio recording device (lavalier mic recommended)
- Editing software with chroma key capabilities (e.g., Adobe Premiere Pro, DaVinci Resolve, Final Cut Pro)
Post-Production: Keying and Compositing Like a Pro
Capturing clean footage is only half the battle. In post-production, precision matters. Here’s how to extract the background and integrate your subject seamlessly.
Start by importing both your green screen clip and the desired background. Apply the chroma key effect (Ultra Key in Premiere, Color Difference Key in After Effects, or Delta Keyer in DaVinci). Select the green color using the eyedropper tool, then fine-tune the following settings:
- Similarity/Tolerance: Adjust to remove the bulk of the green without erasing parts of the subject.
- Smoothness: Softens jagged edges for a natural outline.
- Spill Suppression: Removes residual green tint on hair or clothing.
- Shadow Retention: Preserve natural shadows cast by the subject for realism.
Once keyed, scale and position your replacement background appropriately. Match perspective—if your subject appears to stand on a street, align horizon lines. Adjust color grading so lighting temperatures match between foreground and background. Overly warm subjects against a cool scene break immersion.
| Software | Keying Tool | Best For |
|---|---|---|
| Adobe Premiere Pro | Ultra Key | Quick edits, social media content |
| DaVinci Resolve | Delta Keyer | High-end compositing, color matching |
| Final Cut Pro | Keyer | Mac-based editors, fast workflows |
| After Effects | Keylight | Complex animations, layered effects |
Common Pitfalls and How to Avoid Them
Even experienced creators make mistakes. Recognizing these issues early prevents costly revisions.
Problem: Uneven Lighting on Screen
Visible gradients or hotspots cause partial keys. Solution: Use diffused lights and measure brightness across the entire surface.
Problem: Fringing Around Hair
Fine strands pick up green spill, resulting in artificial halos. Solution: Enable spill suppression and use a secondary matte refine tool.
Problem: Mismatched Lighting Direction
If the virtual background shows sunlight from the left but your subject is lit from the right, the composite fails. Solution: Study the lighting in your background plate and mimic it on set.
Real-World Example: Educational YouTube Series
Jamal, a science educator, films weekly videos explaining complex topics using animated backgrounds. Initially, his green screen shots looked flat, with visible edges and mismatched shadows. After adjusting his lighting setup—adding a backlight to separate him from the screen and matching the sun angle in his space animation—the quality improved dramatically. Viewer retention increased by 35%, and comments praised the \"cinematic feel.\" His turnaround time dropped too, as fewer fixes were needed in post.
Frequently Asked Questions
Can I use a green bed sheet as a backdrop?
You can, but standard fabric often wrinkles and reflects light unevenly. Invest in a non-reflective chroma key cloth or paint a wall with specialized green screen paint for consistent results.
Why does my subject look pasted on the background?
This usually stems from mismatched lighting, scale, or lack of interaction with the environment. Add subtle shadows, adjust perspective, and grade colors to unify the elements.
Is there a difference between green and blue screens?
Yes. Green reflects more light and works better under most indoor lighting. Blue is preferable when filming people with dark skin tones or when green clothing is unavoidable. Modern software handles both well, so choose based on wardrobe and lighting conditions.
Final Thoughts and Next Steps
Mastering green screen techniques isn’t about owning the most expensive gear—it’s about understanding light, color, and composition. With careful planning and attention to detail, anyone can produce broadcast-quality visuals from a home studio. Start small: perfect your lighting setup, run test keys, and gradually incorporate advanced effects like motion tracking or parallax movement. Each project builds confidence and sharpens your eye for realism.


 浙公网安备
33010002000092号
浙公网安备
33010002000092号 浙B2-20120091-4
Comments
No comments yet. Why don't you start the discussion?