
Tuning a guitar might seem like a basic task, but it's one of the most critical skills a guitarist must master. A poorly tuned instrument undermines even the most technically proficient playing. Whether you're a beginner or an experienced player, understanding how to use a guitar tuner effectively ensures your sound remains clean, harmonious, and professional. This guide walks through the essential principles, tools, and techniques that lead to consistent, accurate tuning—every time you pick up your guitar.
Understanding Guitar Tuner Types
Guitar tuners come in several forms, each suited to different environments and preferences. Knowing the differences helps you choose the right tool for your needs and ensures reliable results.
| Tuner Type | How It Works | Best For | Limits |
|---|---|---|---|
| Clip-On Tuner | Senses vibrations through the guitar’s headstock | Noisy environments, live gigs, acoustic guitars | Less accurate on heavily padded surfaces |
| Stompbox Tuner | Connects via cable; detects signal from electric guitar | Stage performances, pedalboard setups | Requires power and cables; only for electric guitars |
| Microphone-Based (App/Handheld) | Picks up sound waves through air | Beginners, home practice, all guitar types | Affected by background noise |
| Headstock Tuner (Built-In) | Integrated into some guitars; uses internal sensors | Convenience-focused players | Only available on select models |
For most players, a clip-on tuner offers the best balance of accuracy, affordability, and portability. Apps like GuitarTuna or Fender Tune are excellent for casual use, but dedicated hardware tuners generally provide faster response and greater reliability under performance conditions.
Step-by-Step Guide to Tuning Your Guitar
Follow this methodical process to achieve precise tuning using any standard chromatic tuner. The goal is E-A-D-G-B-e (from low to high), also known as standard tuning.
- Power On and Select Mode: Turn on your tuner and set it to “Chromatic” or “Guitar” mode. Ensure it’s calibrated to 440 Hz (standard concert pitch).
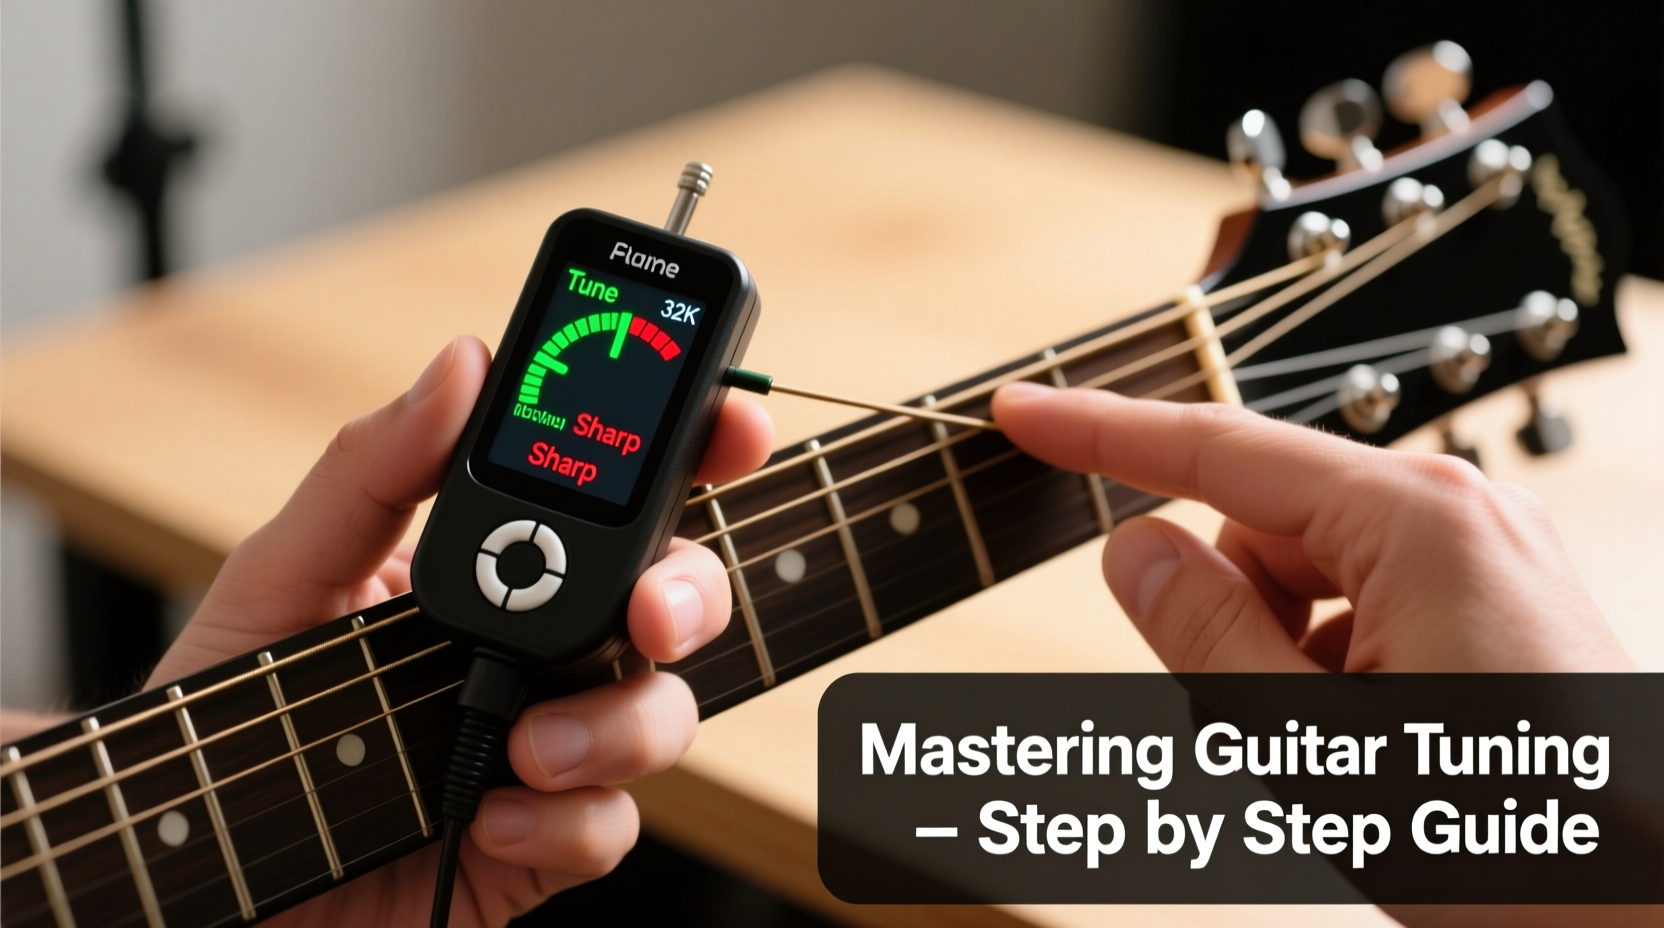
- Start with the Low E String: Pluck the thickest string (6th string) cleanly. Watch the tuner display—it will show which note is being played and whether it’s sharp (too high) or flat (too low).
- Adjust the Tuning Peg: Turn the corresponding peg slowly. If the note is flat, tighten the string (turn upward). If sharp, loosen it slightly.
- Wait for Stability: After adjusting, let the string settle. Vibrations can cause temporary fluctuations. Retune if necessary until the needle or indicator centers exactly at E.
- Repeat for Each String: Move through A (5th), D (4th), G (3rd), B (2nd), and high e (1st). Use open strings only unless you’re using relative tuning methods.
- Double-Check Intonation: Play a few chords (like G, C, and E minor). If they sound dissonant despite correct tuner readings, recheck each string under consistent picking pressure.
This process should take no more than three minutes once mastered. With regular practice, tuning becomes second nature—a quick ritual before every session.
Avoiding Common Tuning Mistakes
Even experienced players make subtle errors that compromise tuning stability. Awareness is key to avoiding these pitfalls.
- Ignoring String Age: Old strings lose elasticity and fail to hold pitch, leading to constant retuning.
- Rushing the Process: Impatient tuning leads to inaccuracies. Let each string stabilize before moving on.
- Over-Tightening Strings: Excessive tension risks breaking strings or damaging the neck.
- Using Faulty Tuners: Cheap or uncalibrated tuners may give false readings. Test against a known reference if unsure.
- Fretting While Tuning: Only tune open strings unless performing intonation checks. Fretting alters pitch artificially.
“Tuning isn’t just about hitting the right note—it’s about consistency across dynamics and transitions.” — Mark Rivera, Professional Guitar Technician
Real-World Example: Tuning Before a Live Set
Consider Sarah, a gigging musician playing in a small bar band. Between sets, she has five minutes to retune before going back on stage. The room is loud, and ambient noise makes microphone-based apps unreliable. She uses a Peterson StroboClip HD, a high-precision clip-on tuner that senses vibrations directly from the headstock. Because it’s immune to sound interference, she tunes quickly and confidently—even while fans talk nearby. Her bandmates, relying on phone apps, struggle with inaccurate feedback and end up slightly out of tune during the next set. Sarah’s preparation gives her both technical edge and peace of mind.
This scenario illustrates why investing in a quality tuner matters—not just for accuracy, but for reliability in real-world conditions.
Pro Tips for Long-Term Tuning Success
Beyond the mechanics of turning pegs, long-term tuning stability depends on maintenance and technique.
Additionally, store your guitar in a stable environment. Extreme temperature changes and humidity swings cause wood to expand or contract, affecting string tension and tuning. A case with a humidifier and climate control goes a long way in preserving tuning integrity between sessions.
FAQ: Common Tuning Questions Answered
Why does my guitar go out of tune so quickly?
New strings need time to stretch and settle. Mechanical issues like worn tuning machines, binding nut slots, or improper string winding can also cause rapid detuning. Regular maintenance resolves most causes.
Can I trust my phone tuner app?
Yes—for quiet environments and casual use. However, in noisy rooms or during live performances, apps can misread pitches due to background sound. For reliability, pair an app with a clip-on tuner when precision is critical.
Should I tune to concert pitch every time?
Yes, unless you're intentionally using alternate tunings (like Drop D or Open G). Standard pitch (A=440 Hz) ensures compatibility with other instruments, recordings, and backing tracks.
Final Checklist: Tune Like a Pro
- ✅ Use a reliable, well-calibrated tuner
- ✅ Tune in a quiet space or use a vibration-sensing device
- ✅ Tune up to pitch, not down
- ✅ Stretch new strings after installation
- ✅ Check tuning after playing a few chords
- ✅ Maintain consistent string height and nut condition
- ✅ Store guitar in stable temperature and humidity
Mastery Starts with Precision
Perfect tuning isn’t a luxury—it’s the foundation of great guitar playing. No amount of skill can compensate for an out-of-tune instrument. By choosing the right tuner, following a disciplined process, and maintaining your gear, you ensure every note rings true. Whether you're recording, performing, or practicing alone, accurate tuning elevates your music and builds confidence. Take the time today to refine your tuning routine. Your ears—and your audience—will thank you.


 浙公网安备
33010002000092号
浙公网安备
33010002000092号 浙B2-20120091-4
Comments
No comments yet. Why don't you start the discussion?