
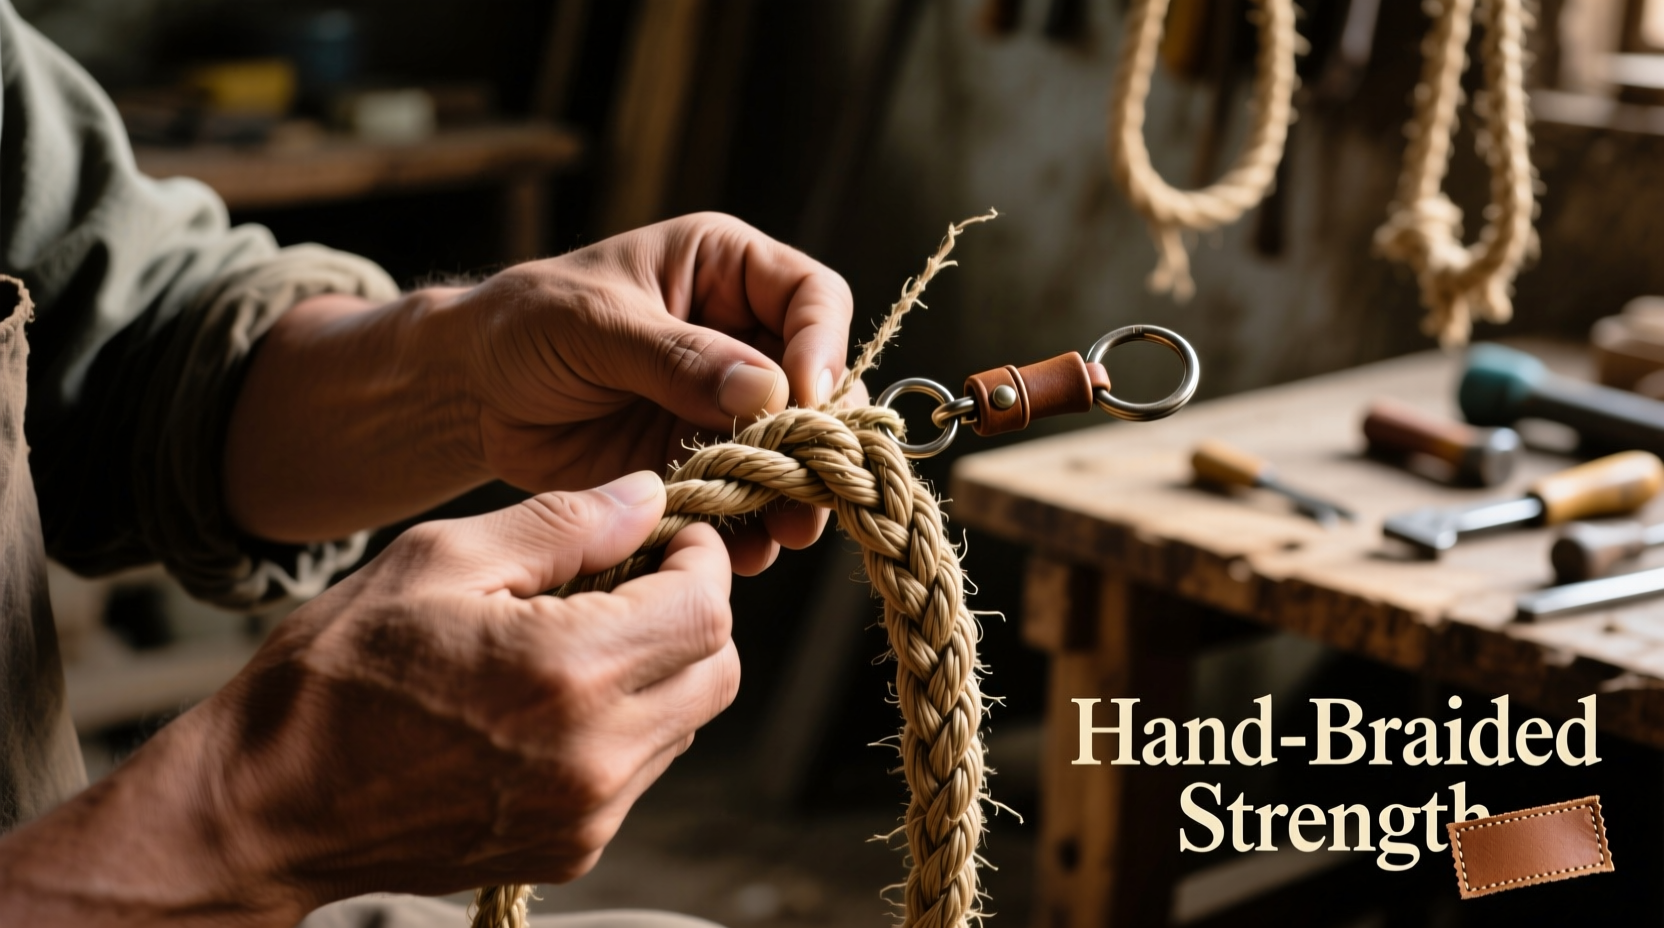
Braided keychains are more than just accessories—they’re compact expressions of craftsmanship, durability, and personal style. While store-bought versions may look appealing, handmade braided ropes offer superior strength, customization, and satisfaction. The key lies in mastering hand braiding techniques that enhance structural integrity and visual appeal. Whether you're crafting for utility, gifting, or selling, understanding the mechanics behind strong braids transforms a simple cord into a resilient, long-lasting tool.
The strength of a keychain rope isn’t solely determined by the material—it’s equally shaped by how it’s constructed. A well-executed braid distributes tension evenly, resists fraying, and withstands daily wear. This guide explores foundational and advanced hand braiding methods, material selection, and finishing techniques that elevate your keychain projects from fragile trinkets to robust, functional pieces.
Selecting the Right Materials for Strength and Longevity
The foundation of a strong braided keychain begins with fiber choice. Not all cords behave the same under stress, and selecting inappropriate materials can undermine even the most precise braiding technique.
Natural fibers like cotton or hemp provide a classic look and feel but may degrade faster when exposed to moisture or friction. Synthetic options such as nylon, polyester, or paracord (especially 550-type) deliver higher tensile strength, abrasion resistance, and water repellency—ideal for everyday use. Paracord, in particular, is widely favored among artisans for its internal strand structure, which adds both flexibility and load-bearing capacity.
Diameter matters too. For keychains, a cord between 2mm and 4mm offers a balance of manageability and sturdiness. Thinner cords allow for tighter, intricate patterns but sacrifice durability; thicker ones add heft but may be harder to manipulate by hand.
Material Comparison for Keychain Braiding
| Material | Tensile Strength | Fray Resistance | Best Use Case |
|---|---|---|---|
| Cotton | Low | Moderate | Decorative, indoor use |
| Hemp | Moderate | High | Eco-friendly crafts |
| Nylon | High | Very High | Daily carry, outdoor use |
| Paracord | Very High | Excellent | Functional, rugged designs |
Core Braiding Techniques for Maximum Strength
Strength in braiding comes from consistent tension, interlocking patterns, and minimized weak points. Three primary techniques form the backbone of durable keychain construction: the three-strand braid, the four-strand diamond braid, and the eight-strand crown braid. Each builds on the last in complexity and structural resilience.
Three-Strand Braid: The Foundation
The simplest yet most essential technique, the three-strand braid, teaches control and rhythm. To execute:
- Secure one end of three equal-length cords with tape or a clamp.
- Cross the right strand over the middle, making it the new middle.
- Cross the left strand over the new middle.
- Repeat until desired length is achieved.
While basic, this braid gains strength through uniform tension. Uneven pulling creates loose sections prone to unraveling. Practice maintaining steady pressure throughout.
Four-Strand Diamond Braid: Interlocking Stability
This flat braid forms a geometric pattern that locks strands together laterally, reducing slippage. It's ideal for flatter keychains with a polished appearance.
- Arrange four strands parallel, secured at one end.
- Move the far-right strand diagonally across to the leftmost position.
- Repeat with the far-left strand moving to the rightmost.
- Alternate sides consistently, maintaining tautness.
The overlapping action creates a denser structure than the three-strand version, improving resistance to lateral stress.
Eight-Strand Crown Braid: Professional Durability
Used in nautical and tactical applications, this round braid produces a thick, symmetrical rope with exceptional strength. It requires patience but delivers a premium finish.
- Divide eight strands into two groups of four, held in each hand.
- Take the outermost strand from the right group and pass it over two adjacent strands and under one in the left group.
- Repeat symmetrically from the left side.
- Continue alternating while maintaining even tension.
This braid compacts tightly, minimizing gaps where dirt or moisture could penetrate. When finished, it resists kinking and maintains shape under strain.
“Tension consistency is more important than speed. A slow, even braid will outlast any rushed, uneven one.” — Diego Mendez, Rope Artisan & Instructor
Step-by-Step Guide: Crafting a Strong Braided Keychain
Follow this sequence to produce a professional-grade keychain using the eight-strand crown braid method:
- Measure and cut: Cut eight strands of paracord, each 90 cm long. Longer lengths allow room for error and tightening.
- Anchor the base: Bundle the strands and secure them with a metal split ring or knot at one end.
- Divide and organize: Separate into two groups of four, holding one in each hand.
- Braid continuously: Perform the crown braid motion, alternating sides and checking tension every few passes.
- Finish cleanly: Once the braid reaches 10–12 cm, stop and prepare for the final knot.
- Secure the end: Use a constrictor knot or double overhand knot around the bundle. Trim excess and melt the tips lightly with a flame to seal.
For added reinforcement, apply a drop of fabric glue inside the terminal knot before tightening. This prevents loosening over time due to vibration or impact.
Avoiding Common Mistakes That Weaken Braids
Even skilled crafters can compromise their work through small oversights. Awareness of frequent errors ensures better outcomes.
- Inconsistent tension: Pulling some strands tighter than others leads to twisting and weak zones.
- Improper anchoring: If the starting knot slips, the entire braid fails. Use locking knots or adhesive-backed clamps.
- Overhandling: Excessive rubbing during braiding can fray delicate fibers. Work smoothly and avoid jerking motions.
- Neglecting finishing: An unsealed end unravels quickly. Always cap with a knot and heat or glue.
Real-World Example: From Weak to Warrior-Grade
Jessica, a leatherworker based in Portland, initially struggled with her keychains breaking after weeks of use. Her early designs used cotton cords with basic three-strand braids. After researching textile strength, she switched to 4mm paracord and adopted the eight-strand crown braid. She also began sealing ends with cyanoacrylate glue.
The change was immediate. Customers reported no failures even after months of heavy use. One hiker attached her keychain to his backpack frame—exposed to rain, trail grime, and constant movement—and it remained intact after six months. Jessica now uses this upgraded method exclusively and includes care instructions with every sale.
Essential Checklist for Stronger Keychain Ropes
Before starting your next project, confirm these steps:
- ☐ Choose high-tensile synthetic cord (e.g., paracord)
- ☐ Cut strands to equal length with extra for finishing
- ☐ Secure starting end firmly with a knot or clamp
- ☐ Maintain consistent tension throughout braiding
- ☐ Use a dense braid pattern (four-strand or higher)
- ☐ Finish with a locking knot and sealed ends
- ☐ Test strength by gently pulling both ends
Frequently Asked Questions
Can I mix different types of cord in one braid?
Yes, but with caution. Mixing materials can create uneven stretch and tension. For example, elastic nylon paired with stiff hemp may cause the braid to twist or loosen over time. Stick to similar textures and elasticity for best results.
How do I clean a braided keychain without damaging it?
Spot clean with a damp cloth and mild soap. Avoid soaking, especially with natural fibers. Allow to air dry completely before reuse. Do not machine wash, as agitation can unravel tight braids.
Is there a way to make a braid stronger after completion?
Yes. Lightly steaming the finished braid can set the shape and tighten fibers. Alternatively, applying a thin layer of flexible fabric sealant can reduce moisture absorption and increase abrasion resistance—ideal for outdoor gear.
Conclusion: Craft with Confidence and Purpose
Mastering hand braiding isn't about complexity—it's about intention. Every pull, twist, and knot contributes to a final product that reflects skill and care. By choosing resilient materials, applying proven techniques, and avoiding common pitfalls, you transform simple cords into enduring tools. These keychains become more than attachments to keys; they become symbols of craftsmanship, reliability, and attention to detail.


 浙公网安备
33010002000092号
浙公网安备
33010002000092号 浙B2-20120091-4
Comments
No comments yet. Why don't you start the discussion?