
Grip strength is more than just a measure of hand power—it's a critical component of overall functional fitness. From lifting weights to carrying groceries, climbing, or even typing, strong hands enhance performance and reduce injury risk. Hand grippers offer a compact, efficient tool to develop crushing grip strength and muscular endurance. Yet many users fail to see results due to improper technique, inconsistent training, or lack of progression. This guide delivers actionable insights to help you master hand gripper use, avoid common mistakes, and achieve measurable gains in strength and stamina.
The Science Behind Grip Strength
Grip strength reflects the combined effort of muscles in the forearm, fingers, and intrinsic hand muscles. The primary movers include the flexor digitorum profundus and superficialis, which close the fingers, and the thenar muscles responsible for thumb opposition. Regular resistance training with hand grippers stimulates hypertrophy and neuromuscular adaptation, leading to improved force output over time.
Studies show that grip strength correlates with overall upper-body strength and cardiovascular health. A 2015 Lancet study found that every 11-pound decrease in grip strength was associated with a 16% higher risk of all-cause mortality. While correlation isn’t causation, it underscores the importance of maintaining robust grip function throughout life.
“Grip strength is one of the most reliable indicators of musculoskeletal health. Training it should be non-negotiable.” — Dr. Lena Patel, Sports Physiologist
Choosing the Right Gripper and Proper Form
Not all grippers are created equal. Selecting the correct resistance level and maintaining proper form are foundational to effective training.
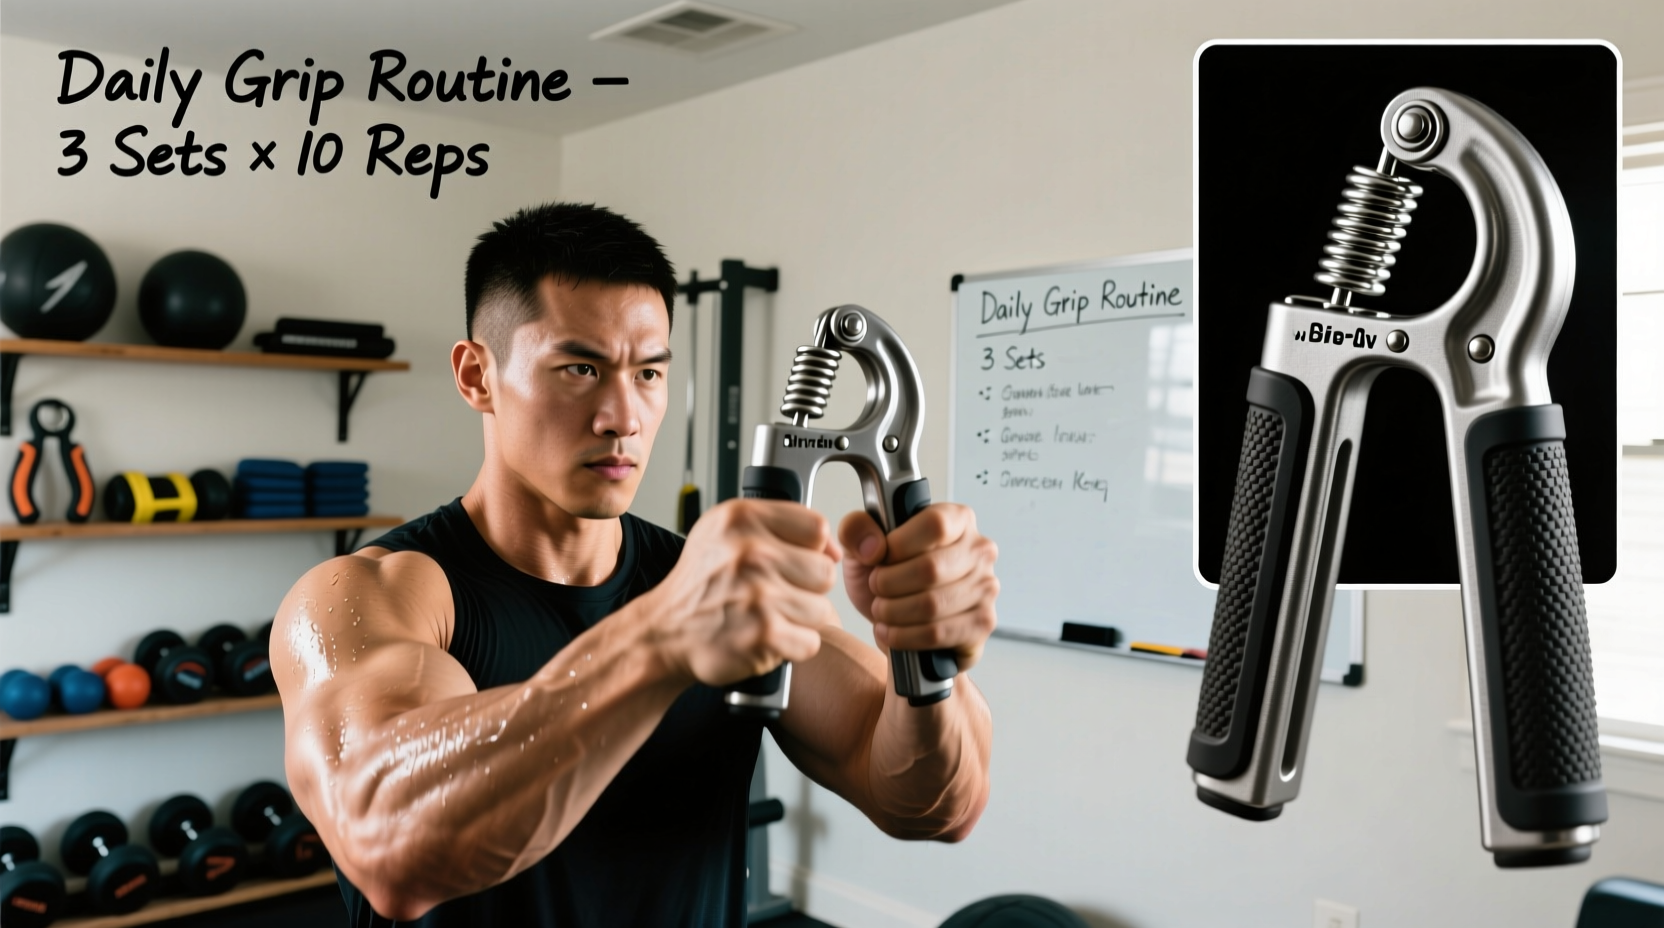
Selecting Your Gripper
Hand grippers are typically rated by pounds of resistance (e.g., 50lb, 80lb, 150lb). Beginners should start with a gripper they can close for 10–15 smooth repetitions. Using a gripper that’s too strong leads to compensatory movements and potential strain.
| Experience Level | Suggested Resistance Range | Repetition Goal |
|---|---|---|
| Beginner | 30–70 lbs | 10–15 reps per hand |
| Intermediate | 80–120 lbs | 6–10 reps per hand |
| Advanced | 130+ lbs | 1–5 reps per hand |
Correct Gripping Technique
- Position: Sit or stand upright, shoulders relaxed. Hold the gripper vertically with your palm wrapped fully around the handles.
- Finger Placement: Align the knuckles of your ring and middle fingers with the center of the gripper’s handle for optimal leverage.
- Movement: Squeeze using only your fingers and forearm—avoid wrist bending or shoulder shrugging.
- Release: Open slowly and under control. Do not let the gripper snap back.
Progressive Training Strategies for Strength and Endurance
To improve, you must progressively overload the muscles. This means gradually increasing resistance, volume, or intensity over time.
Strength-Focused Routine (3–4 Days/Week)
- Warm up with 1–2 sets of 20 reps on a light gripper.
- Perform 3 sets of 3–5 reps on your target gripper with 90 seconds rest between sets.
- Finish with 1 drop set: after failure, immediately switch to a lighter gripper and perform 8–10 additional reps.
Endurance-Focused Routine (2–3 Days/Week)
- Use a gripper you can close for 15+ reps.
- Complete 3 sets of 15–25 reps with 60 seconds rest.
- Focus on tempo: squeeze for 2 seconds, release for 2 seconds.
“Endurance builds the foundation for strength. Train both, but prioritize one at a time.” — Marcus Tran, Certified Strength Coach
Avoiding Common Mistakes
Even dedicated trainees stall progress due to subtle errors. Recognizing these pitfalls can accelerate improvement.
- Overtraining: Forearm muscles recover slower than larger muscle groups. Training daily without rest leads to inflammation and stalled gains.
- Poor Tempo: Rushing reps reduces time under tension and diminishes muscle activation.
- Ignoring Weakness Imbalances: Most people have a dominant hand. Always train both sides equally—even if it means lowering resistance on the weaker side.
- Skipping Warm-Ups: Cold tendons are prone to microtears. Always begin with dynamic finger movements or light squeezes.
Do’s and Don’ts Summary
| Action | Do | Don't |
|---|---|---|
| Training Frequency | 3–4 times per week | Daily without rest |
| Rep Execution | Slow, controlled squeeze | Fast, jerky motions |
| Progression | Increase resistance by 10–20% when hitting rep goals | Jump from 80lb to 150lb gripper |
| Form | Keep wrist neutral | Bend wrist or involve shoulder |
Real Gains: A Case Study
Jamal, a 32-year-old rock climber, struggled with cramping during long routes. Despite strong legs and core, his forearms fatigued early. He began using a 90lb gripper three times weekly, following a structured plan: two days for endurance (20 reps x 3), one day for strength (5 reps x 3).
After six weeks, he added a fourth session focusing on negatives—slowly opening the gripper over five seconds. By week ten, he could close a 110lb gripper for 3 reps and noticed longer time-to-fatigue on overhangs. His route completion rate increased by 40%, and he reported greater confidence in crimp holds.
His key insight? Consistency mattered more than intensity. “I didn’t rush to heavier grippers. I focused on clean reps and recovery. That’s what made the difference,” he said.
Step-by-Step Guide to Building Grip Mastery
- Week 1–2: Foundation – Use a light gripper. Perform 3 sets of 15 reps daily, focusing on form.
- Week 3–4: Introduce Structure – Switch to 3x/week training. Alternate strength (low reps) and endurance (high reps) sessions.
- Week 5–6: Add Progressive Overload – Increase resistance when you hit the top of your rep range for two consecutive sessions.
- Week 7–8: Incorporate Negatives – After each set, perform 3–5 slow releases (5 seconds) to increase eccentric loading.
- Week 9+: Specialize – Choose a goal: max strength (1-rep close) or endurance (max reps in 1 minute). Tailor workouts accordingly.
FAQ
How long does it take to see results?
Most users notice improved grip control within 2–3 weeks. Measurable strength gains (e.g., closing a higher-poundage gripper) typically appear after 6–8 weeks of consistent training.
Can hand grippers cause tennis elbow?
When used improperly or excessively, yes. To prevent injury, avoid overtraining, maintain proper form, and incorporate forearm stretches post-workout. If pain develops, stop and consult a professional.
Should I train grip every day?
No. Muscles grow during rest. Allow at least 48 hours between intense grip sessions. Light maintenance work (e.g., 1–2 sets) on off-days is acceptable if no soreness is present.
Final Thoughts and Call to Action
Mastering hand gripper techniques isn’t about brute force—it’s about precision, consistency, and intelligent progression. Whether you're an athlete, lifter, or someone aiming to stay functionally independent, stronger hands translate to real-world benefits. The tools are simple, but the results demand discipline.
Start where you are. Use the right resistance. Focus on form. Track your progress. And most importantly, stay patient. Grip strength builds steadily, not overnight. Pick up your gripper today, apply these principles, and commit to the process. Your future self—lifting heavier, holding longer, performing better—will thank you.


 浙公网安备
33010002000092号
浙公网安备
33010002000092号 浙B2-20120091-4
Comments
No comments yet. Why don't you start the discussion?