
Drawing the human head convincingly—especially from dynamic or unusual angles—is one of the most challenging yet rewarding skills in figure drawing. Whether you're an aspiring illustrator, character designer, or portrait artist, mastering head construction allows you to depict people with realism, expression, and spatial accuracy. The key lies not in memorizing features, but in understanding the skull as a three-dimensional form that rotates in space. With structured practice and a clear method, anyone can learn to draw heads from any viewpoint with precision and confidence.
Understanding the Head as a 3D Form
The foundation of confident head drawing begins with shifting your mindset: stop seeing the head as a flat collection of eyes, nose, and mouth, and start perceiving it as a volume in space. The human skull is roughly an ovoid sphere with a flattened jawline and facial plane attached. This basic structure governs how features align and shift as the head turns, tilts, or tilts up and down.
When the head rotates, every feature follows the curvature of this underlying form. The eyes sit on a horizontal plane, the nose protrudes along the centerline, and the mouth wraps around the cylinder of the face. Misunderstanding these spatial relationships leads to distorted proportions and floating features.
“Drawing the head isn’t about copying details—it’s about constructing a believable volume that turns in space.” — David Finch, Character Designer & Illustrator
The Loomis Method: A Practical Framework for Rotation
One of the most effective systems for drawing heads from any angle is the Loomis method, developed by illustrator Andrew Loomis. It breaks down the head into manageable steps using planes and guidelines that respond predictably to perspective.
The process starts with a sphere divided by two perpendicular lines: one vertical midline and one horizontal equator. Then, a second line is added below the equator to mark the eye level. From there, the face is constructed downward, with the base of the nose halfway between the eyes and chin, and the mouth halfway between the nose and chin.
When rotating the head, instead of redrawing everything, you rotate the entire framework. The sphere becomes an ellipse in perspective, and all features follow the tilt and turn of the axis. This method ensures consistent proportions regardless of angle.
Step-by-Step: Constructing a Head Using the Loomis Approach
- Draw a circle to represent the cranium.
- Add a vertical centerline and a horizontal line across the middle (equator).
- Draw a second horizontal line just below the equator—this marks eye level.
- Sketch a jawline dropping from the sides of the cranium, aligning with the width of the eyes.
- Divide the lower half: place the nose base at the midpoint between eyes and chin, and the mouth halfway between nose and chin.
- Rotate the head by adjusting the ellipse of the cranium and tilting the guideline planes accordingly.
- Place features along the curved surfaces, respecting foreshortening.
Mastering Perspective and Foreshortening
Foreshortening is where many artists struggle. When the head looks up, down, or directly toward the viewer, features compress dramatically. The trick is to maintain alignment with the turning planes of the skull.
For example, in a three-quarter view looking upward, the chin projects forward, the nose elongates, and the eyes tilt on a steep upward plane. The forehead recedes, so less of it is visible. Conversely, when looking down, the top of the skull expands, the eyes are seen from above, and the chin tucks in.
To handle extreme angles, use vanishing points. Imagine the side of the face as a plane receding into space. Features like the ear, corner of the eye, and edge of the jaw should align with these implied perspective lines.
| Viewing Angle | Key Proportional Shifts | Common Pitfalls |
|---|---|---|
| Frontal View | Eyes aligned horizontally; face symmetrical | Ignoring subtle asymmetry in real faces |
| Three-Quarter Turn | Nose extends toward viewer; far eye smaller | Overemphasizing nose length |
| Looking Up | Chin prominent; eyes tilted upward | Flattening the jawline |
| Looking Down | Top of skull visible; eyes from above | Shortening the face too much |
| Bird’s Eye View | Forehead dominates; chin minimized | Misplacing ear position |
Real Example: Drawing a Dynamic Action Pose
Consider a comic book scene where a character shouts upward at a flying object. The head is tilted sharply back, creating strong foreshortening. An inexperienced artist might draw the face flat, with evenly spaced features—but this breaks believability.
A skilled artist applies the Loomis framework: the cranium becomes a compressed oval, the facial plane tilts upward, and the lower face (chin and neck) stretches toward the viewer. The eyes point diagonally up, the bridge of the nose rises above the brow line, and the mouth opens wide beneath the nose. The ear, normally behind the jaw, shifts forward in perspective. By respecting the 3D structure, the result feels dynamic and grounded in reality.
Essential Practice Checklist
Improvement comes through deliberate, focused practice. Follow this checklist weekly to build muscle memory and spatial intuition:
- ✅ Sketch 10 quick head constructs daily using the Loomis method
- ✅ Draw heads from photo references at extreme angles (top, bottom, profile)
- ✅ Use mannequinization: simplify the head into basic forms before adding details
- ✅ Trace over master drawings to internalize spatial relationships
- ✅ Rotate your paper while drawing to match the head’s orientation
- ✅ Study skull anatomy to understand bone landmarks (zygomatic arch, brow ridge, etc.)
- ✅ Test yourself: draw a head from imagination after studying a reference
Frequently Asked Questions
How do I keep proportions accurate when drawing tilted heads?
Use construction lines consistently. Mark the centerline, eye level, and jaw angle before placing features. Even when tilted, these guides should follow the curve of the skull. Measure relative distances—for example, the space from nose to chin should remain roughly equal to nose to brow, even in perspective.
Why do my drawn faces look flat?
Flatness usually results from neglecting form and value. Treat the head as a sculpture: define the cheekbones, brow, and nasal bridge with subtle contour lines. Avoid outlining features sharply—instead, let edges emerge from shifts in plane. Adding light source awareness helps create roundness.
Can I skip learning anatomy and still draw good heads?
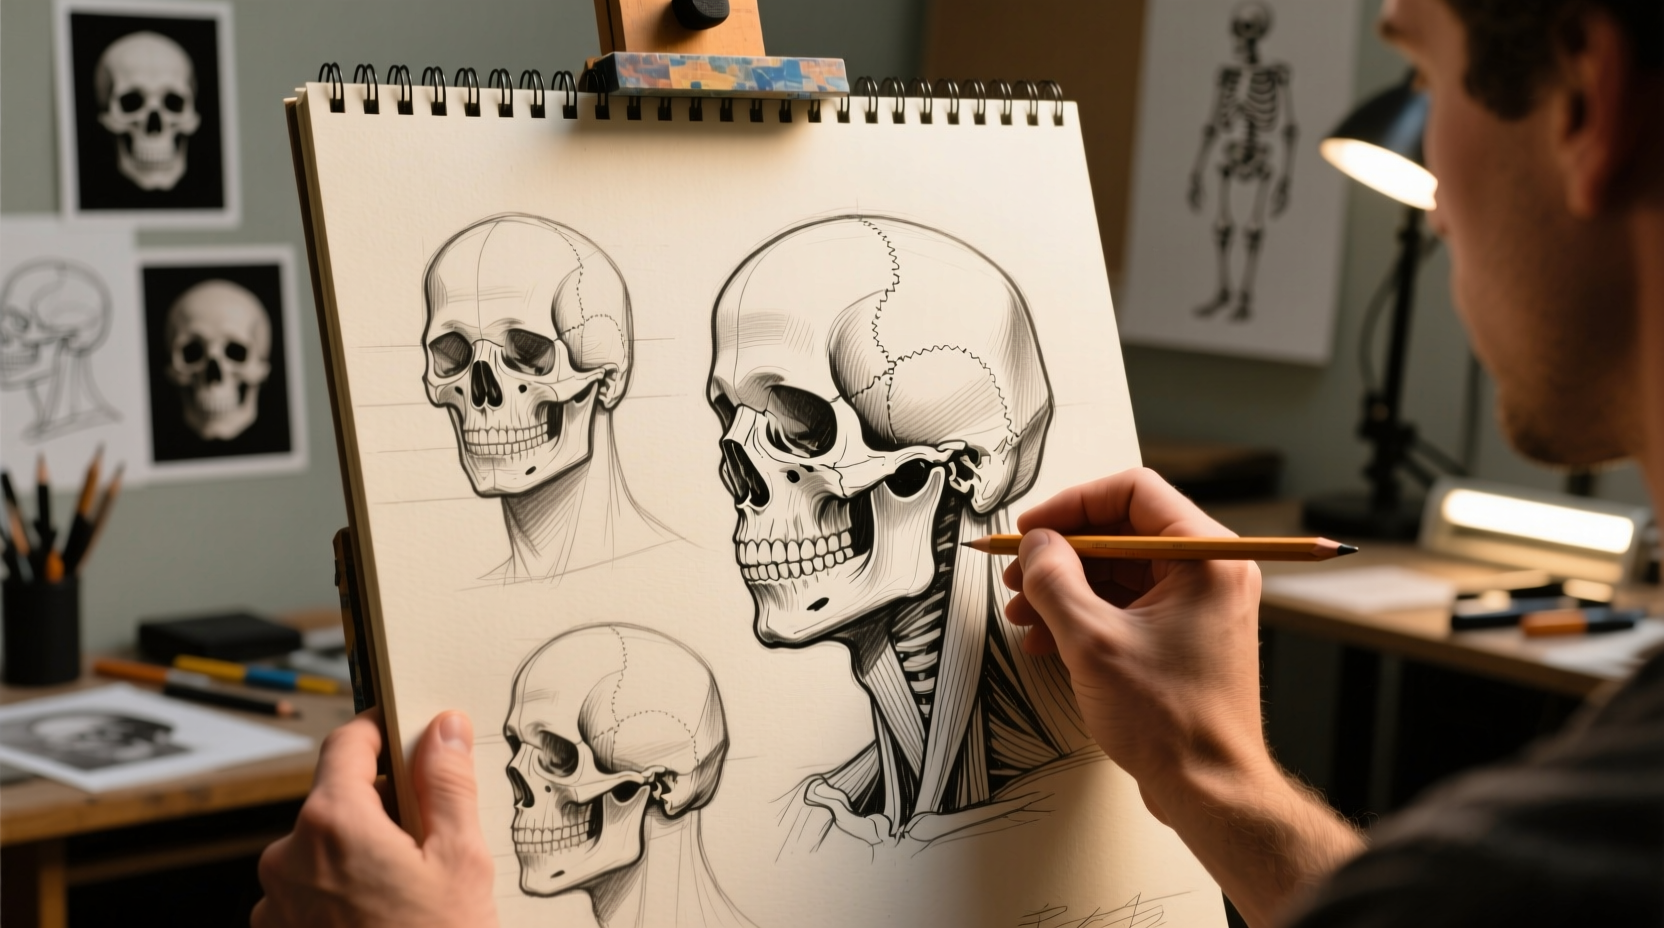
You can achieve decent results without deep anatomy knowledge, but understanding skull structure dramatically improves accuracy. Key landmarks like the orbit of the eyes, the mastoid process behind the ear, and the angle of the mandible anchor features in space. Even a basic grasp of cranial bones elevates your work.
Conclusion: Build Confidence Through Structure
Drawing the head from any angle isn’t about talent—it’s about applying a repeatable system grounded in observation and geometry. By treating the head as a 3D construct, using frameworks like the Loomis method, and practicing perspective deliberately, you develop an intuitive sense of how features move across form. Mistakes are part of the process; each flawed sketch teaches you more about volume and alignment.


 浙公网安备
33010002000092号
浙公网安备
33010002000092号 浙B2-20120091-4
Comments
No comments yet. Why don't you start the discussion?