
Changing the background color of your PowerPoint slides is one of the most effective ways to enhance visual appeal, reinforce branding, and improve readability. Whether you're preparing a business pitch, academic lecture, or personal project, a well-chosen background sets the tone for your message. While the process may seem straightforward, many users overlook advanced options like theme consistency, gradient fills, and slide master customization—features that can elevate your entire presentation. This guide walks through every method available in modern versions of PowerPoint (2016, 2019, 365), offering practical insights, pro tips, and real-world applications.
Why Background Color Matters in Presentations
The background color isn’t just decorative—it influences mood, attention, and comprehension. A dark background with light text creates drama and focus, ideal for creative pitches or evening presentations. Light backgrounds with dark text offer clarity and are easier to read under bright lighting, making them standard for classrooms and boardrooms.
According to Dr. John Breslin, a cognitive scientist specializing in visual communication, “Color choices directly affect information retention. High-contrast combinations improve recall by up to 30% when used appropriately.” This means selecting the right background isn't optional—it's strategic.
“Color isn’t an afterthought in design—it’s a delivery mechanism for meaning.” — Dr. Elena Torres, Visual Communication Researcher
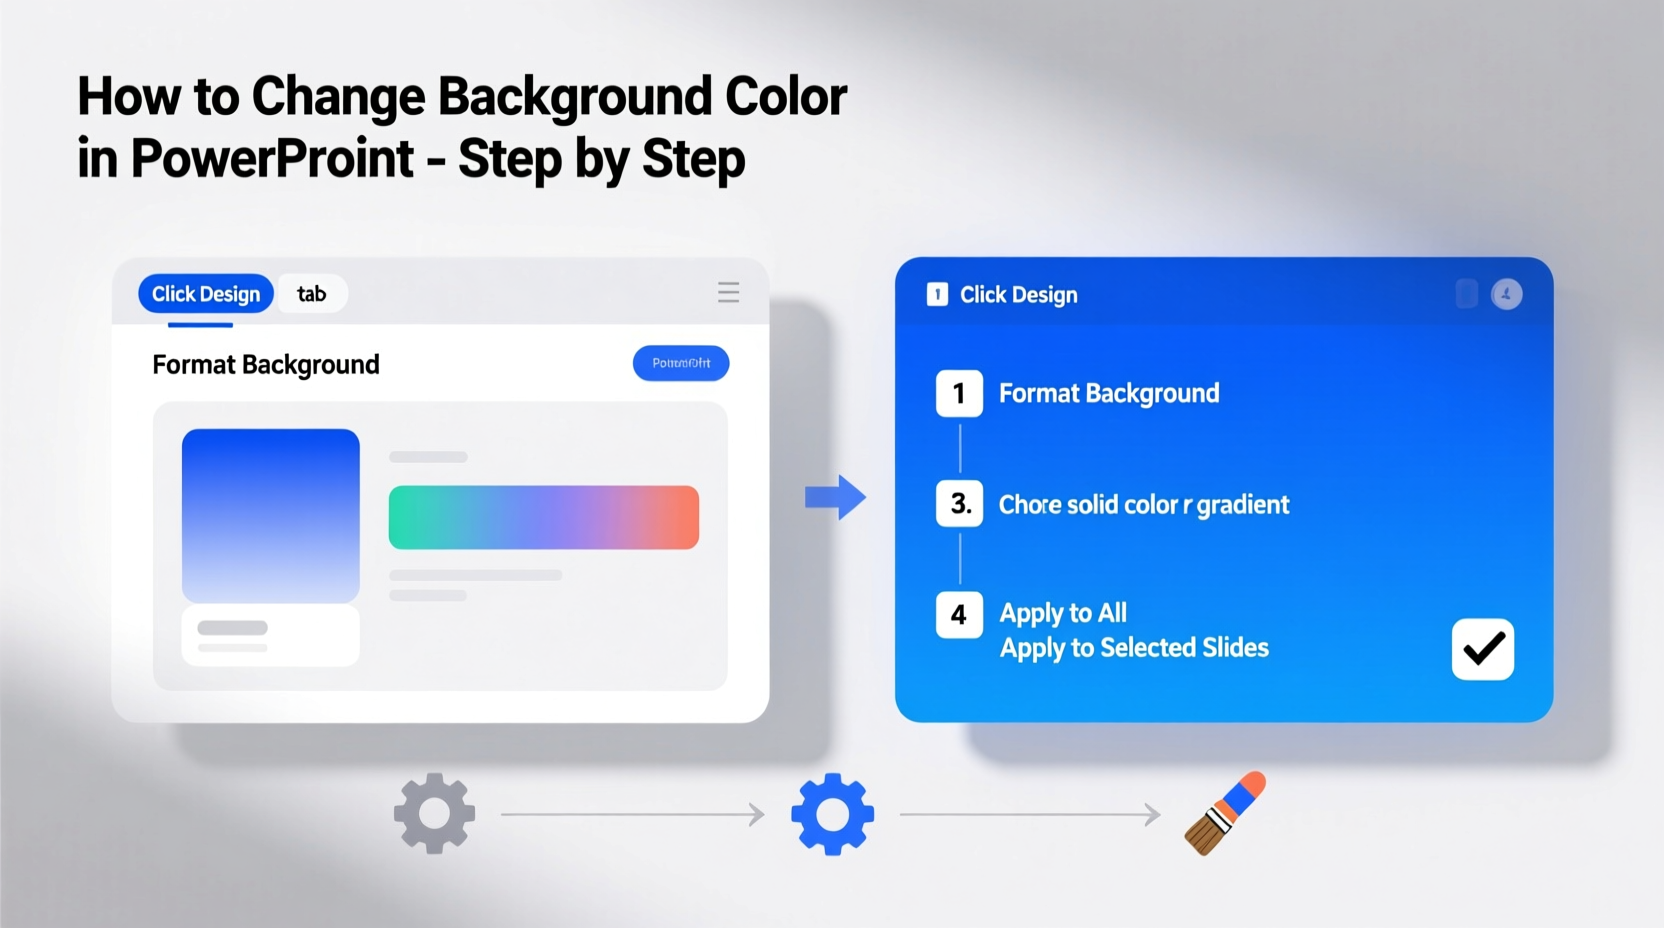
Step-by-Step: How to Change Background Color on a Single Slide
If you only need to modify one slide—perhaps to highlight a key point or transition—follow these steps:
- Open your PowerPoint presentation and navigate to the slide you want to edit.
- Right-click anywhere on the slide (avoid clicking on text boxes or shapes).
- Select Format Background… from the context menu.
- In the sidebar that appears, choose Solid Fill.
- Click the color icon and pick a hue from the palette, or enter specific RGB/HEX values for brand accuracy.
- Adjust transparency if needed (useful for overlay effects).
- Close the sidebar. The change applies instantly.
Applying Background Colors to All Slides Using the Slide Master
For consistent branding across an entire deck, modifying the Slide Master ensures uniformity without manually editing each slide.
- Navigate to the View tab on the ribbon.
- Click Slide Master.
- In the left-hand pane, select the topmost slide (the parent master).
- Right-click and choose Format Background…
- Select Solid Fill, then pick your desired color.
- Optionally, use Gradient Fill for a professional fade effect (more on this below).
- Click Close Master View when done.
All slides based on that master will now reflect the new background. Any custom layouts (e.g., title-only or section header) inherit the change unless individually overridden.
Advanced Options: Gradients, Textures, and Images
While solid colors are reliable, advanced fill types add depth and sophistication.
- Gradient Fill: Ideal for subtle dimension. Choose two or more shades of the same color family for elegance.
- Pattern Fill: Adds texture using dots, grids, or lines. Best used sparingly to avoid distraction.
- Picture or Texture Fill: Insert a branded texture or low-opacity image as a background. Ensure text remains legible.
To apply a gradient:
- Open Format Background.
- Select Gradient Fill.
- Choose a preset or customize stops. For example:
- Stop 1: Dark blue at position 0%
- Stop 2: Light blue at position 100%
- Set gradient type to Linear or Radial depending on direction preference.
| Fill Type | Best For | Caution |
|---|---|---|
| Solid Color | Corporate reports, clean designs | Avoid overly bright hues that strain eyes |
| Gradient | Creative pitches, tech presentations | Limit to 2–3 colors; avoid sharp contrasts |
| Image/Texture | Product launches, storytelling decks | Always dim or blur images to prevent text clash |
Mini Case Study: Transforming a Dull Sales Deck
Jamal, a regional sales manager, struggled with low engagement during quarterly reviews. His slides used default white backgrounds with black text—functional but forgettable. After attending a design workshop, he applied a navy-to-slate gradient via Slide Master and introduced accent colors aligned with his company’s branding.
The result? Stakeholder feedback improved dramatically. One executive noted, “The slides felt more intentional. I could focus on the data without getting tired.” Jamal later shared that the change took less than ten minutes but had lasting impact.
Common Mistakes to Avoid
Even experienced users make errors when changing backgrounds. Here are frequent pitfalls and how to sidestep them:
- Using low-contrast combinations (e.g., yellow text on white): Always test readability from a distance.
- Overriding master settings inconsistently: If you change one slide’s background manually, it won’t update with future master changes.
- Adding busy patterns behind text: These compete for attention and reduce comprehension.
- Ignoring projector compatibility: Some vibrant screen colors appear washed out when projected. Test in the actual environment if possible.
Checklist: Perfecting Your PowerPoint Backgrounds
- ☐ Define your presentation’s purpose and audience before choosing colors
- ☐ Use the Slide Master for global changes to maintain consistency
- ☐ Match background colors to brand guidelines (use HEX/RGB codes)
- ☐ Apply gradients or textures only when they support—not distract from—content
- ☐ Ensure sufficient contrast between text and background (minimum 4.5:1 ratio)
- ☐ Preview slides in full-screen mode before finalizing
- ☐ Save a template version for reuse in future presentations
Frequently Asked Questions
Can I set different background colors for alternating slides?
Yes. Design two slide layouts in the Slide Master—one with a light background, another with a darker shade. Then apply them alternately to your slides for visual rhythm.
Why doesn’t my background change apply to all slides?
This usually happens because you edited a single slide instead of the Slide Master. To fix it, go to View > Slide Master, make the change there, and close Master View. Alternatively, select multiple slides in thumbnail view, right-click, and choose Format Background to apply uniformly.
Is it possible to remove a background image but keep the color?
Absolutely. Go to Format Background, select Picture or Texture Fill, then click Reset. Switch to Solid Fill and choose your preferred color. This clears any inserted images while preserving formatting flexibility.
Final Thoughts and Action Steps
Mastering background color adjustments in PowerPoint is more than a technical skill—it's a communication strategy. With the right color, your audience stays engaged, your message gains clarity, and your professionalism shines through. From simple solid fills to dynamic gradients, the tools are accessible and powerful.
Start today: open your last presentation and revisit its backgrounds. Ask whether they serve your content or hinder it. Then apply one technique from this guide—whether syncing with brand colors, refining contrast, or leveraging the Slide Master. Small changes yield significant returns in perception and impact.


 浙公网安备
33010002000092号
浙公网安备
33010002000092号 浙B2-20120091-4
Comments
No comments yet. Why don't you start the discussion?