
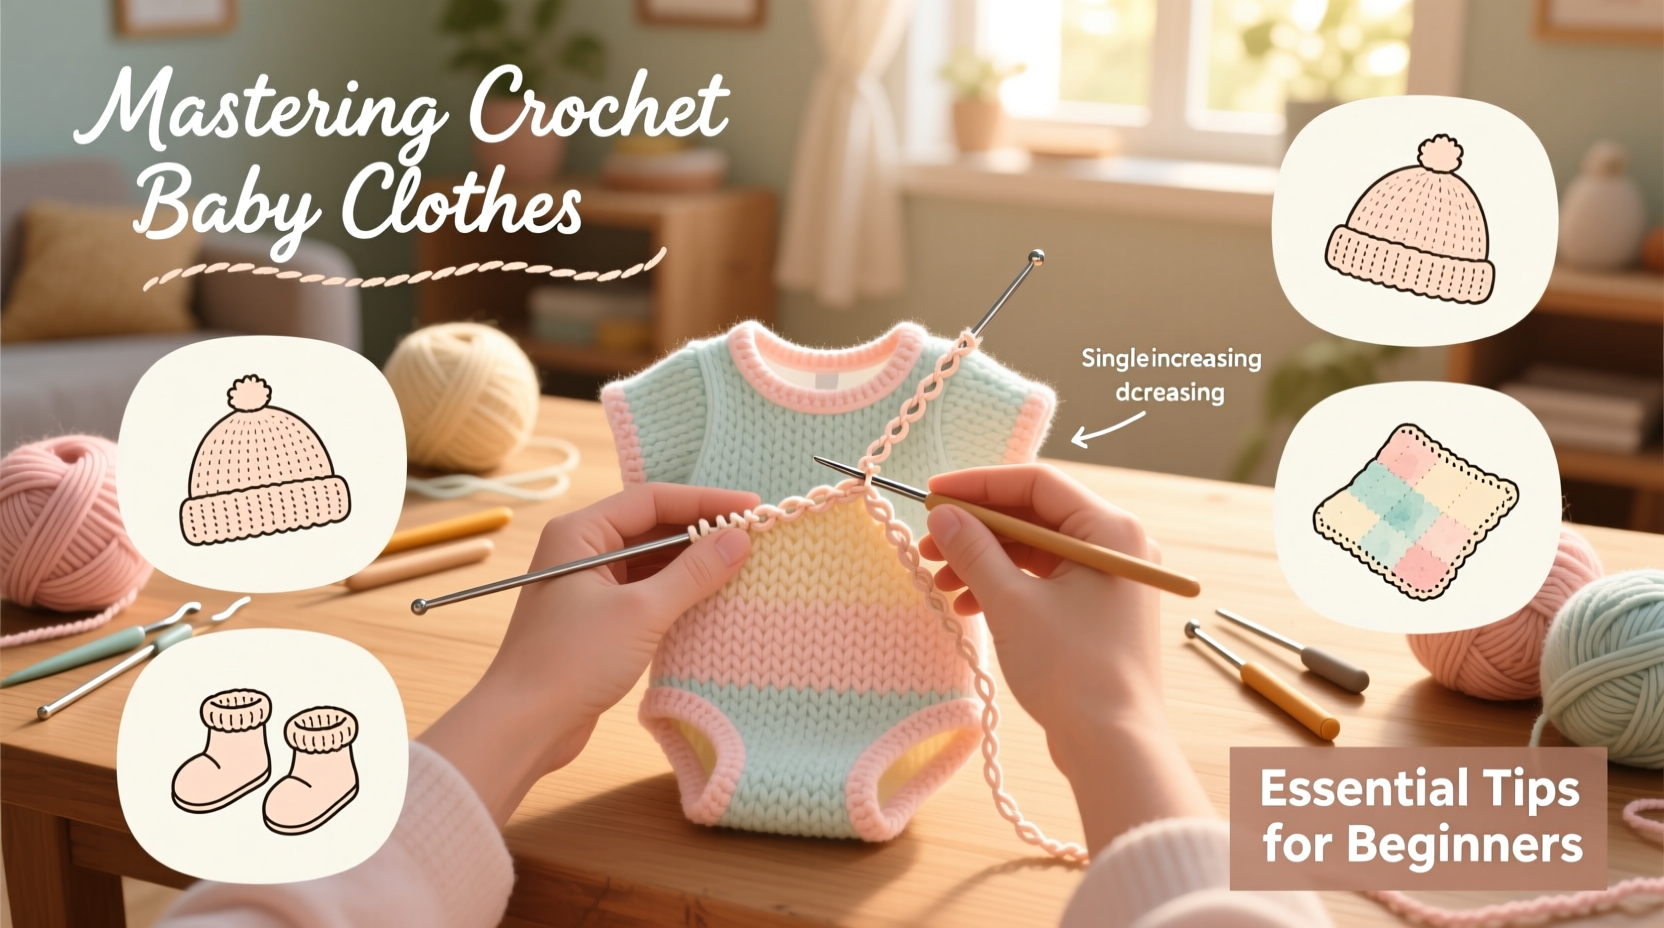
Crocheting baby clothes is more than a craft—it’s an act of love. The tiny garments you create carry warmth, care, and personal touch that store-bought items often lack. For beginners, the idea of making something so small and delicate might feel intimidating. Yet, with the right guidance, tools, and simple patterns, crocheting baby clothes becomes not only achievable but deeply rewarding. This guide walks through foundational techniques, beginner-friendly projects, and practical advice to help you confidently start crafting adorable, wearable pieces for little ones.
Why Crochet Baby Clothes?
Baby clothes are ideal for new crocheters because they require less yarn and time than adult garments, allowing for quick results and visible progress. Handmade pieces also make meaningful gifts for showers, birthdays, or milestones. Beyond sentiment, crocheted clothing offers breathability and softness when made with baby-safe fibers like cotton or acrylic blends designed for sensitive skin.
“Handmade baby items have a quiet magic—they’re stitched with patience and given with heart.” — Lila Monroe, Textile Artist & Craft Educator
Essential Tools and Materials for Beginners
Starting with the right supplies sets the foundation for success. Unlike complex projects, baby clothes don’t demand an extensive toolkit. Focus on quality basics:
- Yarn: Choose soft, washable, hypoallergenic yarn labeled “baby weight” or “DK/light worsted.” Popular brands include Bernat Baby Blanket, Paintbox Yarns Cotton DK, and Lion Brand Soft.
- Hook Size: Match your hook to the yarn label recommendation. Most baby projects use sizes B (2.25mm) to G (4.00mm).
- Stitch Markers: Helpful for marking rounds in hats or yokes.
- Tapestry Needle: For weaving in ends and seaming pieces.
- Scissors: Small, sharp scissors for clean cuts.
- Measuring Tape: To check garment dimensions as you go.
Beginner-Friendly Patterns to Try First
Start with simple, structured patterns that build confidence without overwhelming detail. These three foundational projects introduce key stitches and shaping techniques used across most baby garments.
- Basic Beanie Hat: Worked in continuous rounds from the crown down. Uses single crochet (sc) or half-double crochet (hdc) for stretch and softness. A 12-round hat fits most newborns.
- Booties: Simple slipper-style booties teach shaping with increases and decreases. Ideal for practicing hdc and sc clusters.
- Receiving Blanket: A small square or rectangle (30” x 30”) using double crochet (dc) rows. Great for mastering tension and even stitch counts.
Sample Pattern: Newborn Beanie (0–3 months)
Materials: DK-weight baby yarn, 3.5mm hook, stitch marker, tapestry needle
- Chain 2, join to form a ring.
- Round 1: 6 sc into ring, join with slip stitch (ss). (6 sts)
- Round 2: 2 sc in each st around, ss. (12 sts)
- Round 3: *1 sc in next st, 2 sc in next st*; repeat from * around, ss. (18 sts)
- Round 4: *1 sc in next 2 sts, 2 sc in next st*; repeat around, ss. (24 sts)
- Rounds 5–7: 1 sc in each st around, ss. (24 sts per round)
- Fasten off, weave in ends. Optional: Add a pom-pom.
This pattern grows seamlessly from a flat circle to a tube—perfect for understanding top-down construction.
Common Challenges and How to Solve Them
Even simple projects come with learning curves. Recognizing common issues early prevents frustration and improves results.
| Issue | Possible Cause | Solution |
|---|---|---|
| Hat too tight | Too few starting stitches or tight tension | Add one increase round; relax grip on hook |
| Gauge doesn’t match | Inconsistent stitch size | Make a swatch first; adjust hook size if needed |
| Garment twists | Joining incorrectly at end of round | Place marker in first stitch; ensure no twist before joining |
| Edges curl | Tension too tight or dc-heavy rows | Use larger hook for foundation chain; add border later |
Step-by-Step Guide to Your First Complete Outfit
Create a matching set—a hat, booties, and blanket—in under a weekend. Follow this timeline to stay organized and motivated.
- Day 1 – Plan & Prep (30 mins): Choose a color scheme and gather materials. Print or bookmark your patterns.
- Day 1 – Make the Hat (1 hour): Start with the beanie. Focus on smooth, even stitches.
- Day 2 – Booties (2 hours total): Crochet two identical pieces. Use stitch markers to track shaping.
- Day 3 – Blanket (2–3 hours): Work in rows of dc. Add a simple border (sc around edge) for polish.
- Day 4 – Finishing (1 hour): Weave in all ends, gently block pieces if desired, and lay out the set for photos or gifting.
“I started with just a hat for my niece. By week’s end, I’d made a full layette—and caught the crochet bug.” — Dana Reyes, hobbyist turned Etsy seller
Do’s and Don’ts When Crocheting for Babies
While creativity is encouraged, safety and comfort must come first. Keep these guidelines in mind.
| Do | Don’t |
|---|---|
| Use non-toxic, machine-washable yarn | Use wool directly against baby’s skin (can irritate) |
| Secure all ends tightly to prevent unraveling | Leave long tails or loose knots |
| Add buttons or ties only if removable or supervised | Sew on small embellishments that could detach |
| Check sizing charts for age-appropriate fit | Guess measurements—always measure as you go |
| Wash finished items before gifting | Give unwashed handmade items (dust, oils, odors remain) |
FAQ
Can I use regular yarn instead of baby-specific yarn?
You can, but prioritize softness and washability. Regular acrylic may work, but avoid scratchy wools or non-machine-washable fibers. Baby-specific yarns are tested for safety and durability through frequent laundering.
How do I know what size to make?
Refer to standard baby clothing charts. For example:
- Newborn: 14–17” head circumference, 18” length
- 0–3 months: Up to 18” head, 22” length
- 3–6 months: 18–19” head, 24” length
What if I make a mistake?
Mistakes are part of learning. If caught early, undo just a few stitches with your hook. If further back, consider whether the error affects fit or safety. Often, minor inconsistencies add character and won’t impact wearability.
Final Thoughts and Next Steps
Mastering how to crochet baby clothes begins with patience, practice, and one simple stitch at a time. The projects you complete today become cherished keepsakes tomorrow—whether kept in a memory box, passed to another family, or worn with pride by a growing child. As your skills grow, explore more advanced techniques like button plackets, raglan sleeves, or colorwork. But for now, celebrate the small wins: a perfectly shaped hat, a pair of cozy booties, a soft square of love woven into a blanket.


 浙公网安备
33010002000092号
浙公网安备
33010002000092号 浙B2-20120091-4
Comments
No comments yet. Why don't you start the discussion?