
Cross stitch is one of the most accessible and rewarding forms of needlework, combining creativity with meditative repetition. Whether you're picking up a needle for the first time or refining your technique, mastering cross stitch opens the door to personalized gifts, home décor, and artistic expression. This guide walks you through every stage—from selecting materials to finishing your piece—with practical advice that applies to both beginners and experienced crafters.
Gathering Your Tools and Materials
Before stitching begins, assembling the right supplies ensures a smooth experience. Cross stitch requires minimal equipment, but each item plays a critical role in precision and comfort.
- Fabric: Aida cloth is ideal for beginners due to its evenly spaced holes and grid-like structure. Common counts are 14, 16, or 18 threads per inch—higher numbers mean smaller stitches and finer detail.
- Embroidery Floss: DMC and Anchor are trusted brands offering consistent colorfast threads. Each strand consists of six loosely twisted fibers; typically, only two strands are used per stitch.
- Tapestry Needle: Blunt-tipped with a large eye, these needles glide through fabric without damaging fibers. Size 24 or 26 works best for 14-count Aida.
- Embroidery Hoop: Keeps fabric taut during stitching. Wooden hoops offer durability, while plastic ones provide lightweight handling.
- Scissors: Small, sharp embroidery scissors prevent fraying and allow clean cuts on thread ends.
- Pattern: Start with simple charts featuring full cross stitches and limited colors. Free patterns are widely available online from reputable sources like Nordic Needle or DMC’s official site.
Understanding the Basics: How Cross Stitch Works
The foundation of cross stitch lies in the “X” shape formed by two diagonal stitches. These are built systematically across a grid, following a pattern chart where symbols represent specific thread colors.
Each square on the chart corresponds to one stitch on the fabric. When working on Aida, align your needle with the natural intersections (holes) in the weave. Always bring the needle up from the back of the fabric and down through the front to maintain consistency.
“Precision matters more than speed in cross stitch. Taking time to keep tension even and alignment straight results in a polished finish.” — Sarah Linwood, Textile Artist & Educator
Reading a Cross Stitch Chart
Charts use a color-coded key with abbreviations indicating thread numbers. Symbols vary by software or designer, but standardization helps once you learn the basics. Here's a simplified example:
| Symbol | Color Name | DMC Number | Stitch Count |
|---|---|---|---|
| ■ | Bright Red | 321 | 145 |
| ● | Jade Green | 906 | 89 |
| ▲ | Midnight Blue | 798 | 112 |
Beginners should choose patterns with fewer than five colors and no fractional stitches (like half-crosses or backstitches) until they gain confidence.
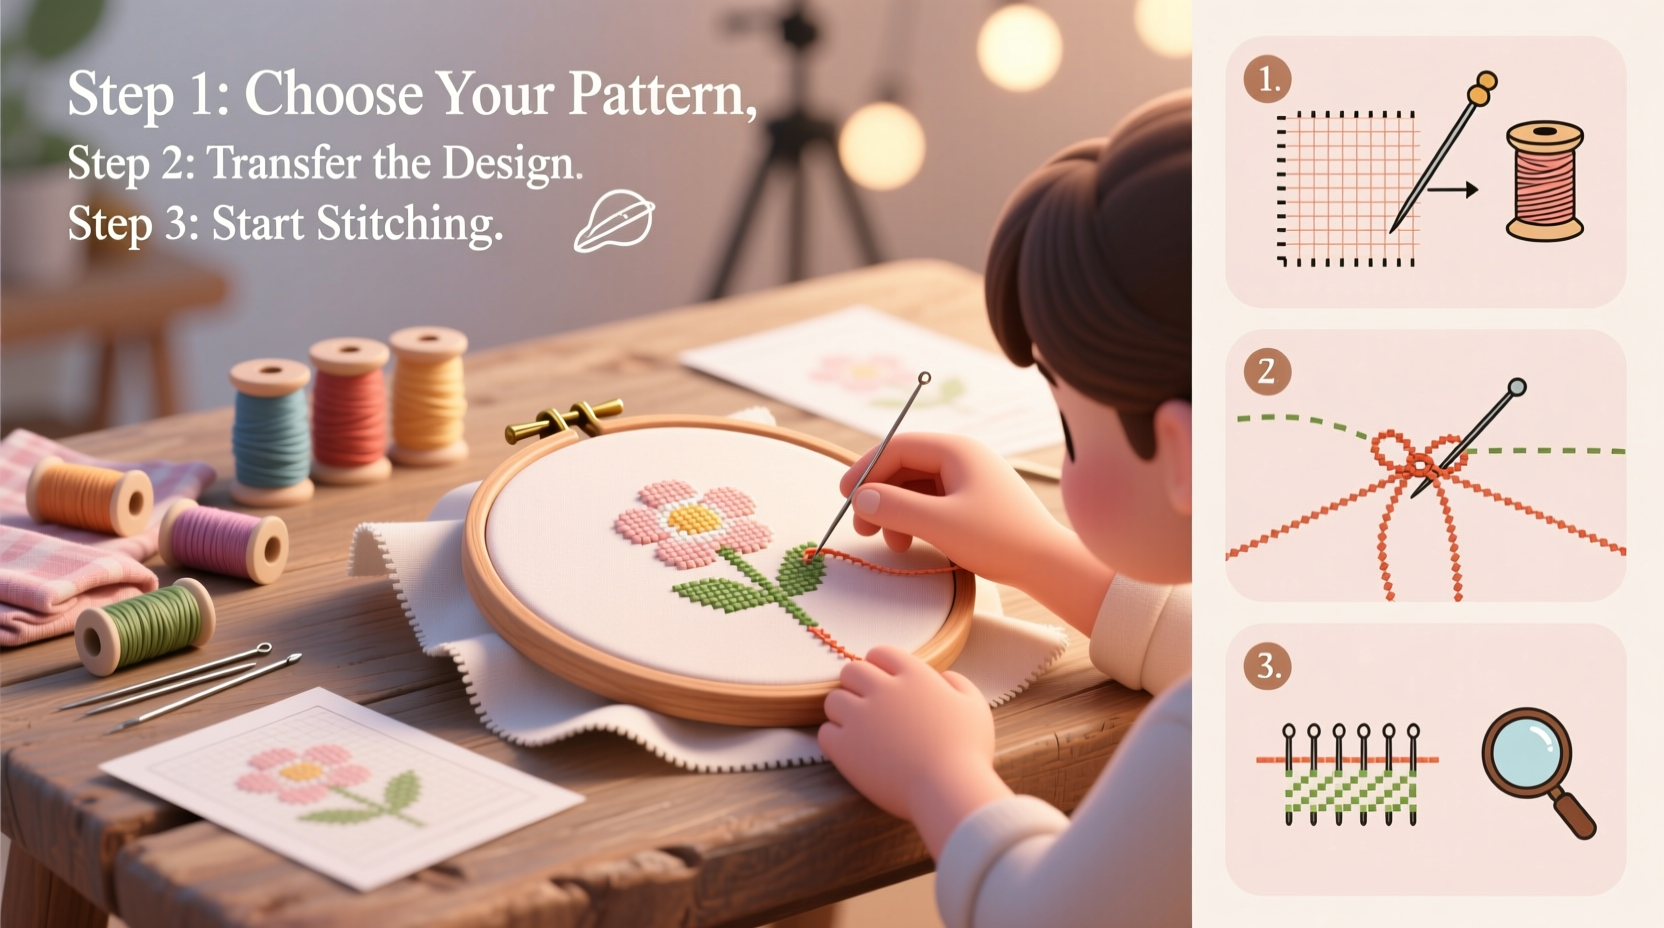
Step-by-Step Guide to Stitching Your First Project
Follow this timeline to complete a basic design successfully.
- Prepare the Fabric: Cut your Aida cloth generously larger than the design area—add at least 3 inches on each side. Use masking tape along the edges to prevent fraying.
- Find the Center: Fold the fabric in half vertically, then horizontally. The crease marks the center. Match this point to the center of your chart to ensure balanced stitching.
- Thread the Needle: Separate two strands of floss from a skein. Thread them through the needle and knot the end. Avoid long tails—leave about 1 inch at the back to secure later.
- Start Stitching: Begin with full cross stitches row by row. Use the “row method”: complete all upward diagonals first, then return to add the downward strokes. This creates uniformity.
- Change Colors: End one thread by weaving it under existing stitches on the back. Start the next color following the same process.
- Add Details: Once all crosses are complete, incorporate backstitches (straight lines) for outlines or fine details as indicated on the chart.
- Finalize the Piece: Remove the hoop, gently hand-wash in lukewarm water with mild soap if needed, press between towels, and iron face-down on a soft cloth.
Avoiding Common Mistakes: Do’s and Don’ts
Even seasoned stitchers encounter pitfalls. Awareness prevents frustration and improves outcomes.
| Do’s | Don’ts |
|---|---|
| Count regularly to stay aligned with the chart | Don’t skip marking completed rows—mistakes compound quickly |
| Use a lighted magnifier if vision is strained | Don’t work in dim lighting—it leads to miscounting and eye fatigue |
| Wash hands before handling fabric to avoid oil transfer | Don’t eat or drink over your project—spills can stain permanently |
| Store your work in a breathable cotton bag | Don’t leave it exposed to dust or pets |
Real Example: Maria’s First Ornament
Maria, a novice crafter, decided to make a holiday ornament for her sister. She chose a 2-inch snowflake pattern on 16-count white Aida. Initially, she started in the top-left corner instead of the center, causing the design to shift off-center. After consulting an online forum, she re-cut the fabric, found the true center, and restarted. By using a magnetic needle minder and organizing her floss on a rack, she finished the piece in three evenings. The result was a crisp, symmetrical design she framed in a vintage button cover.
Leveling Up: Techniques for Intermediate Stitchers
Once comfortable with full crosses, expand your skills with advanced elements:
- Fractional Stitches: Half-cross (single diagonal), quarter-stitch (triangle), and three-quarter stitch add dimension and shading.
- Backstitching: Outline shapes or write text using a single strand for delicacy.
- French Knots: Add texture for eyes, flower centers, or snowflakes—wrap thread around the needle once before re-entering.
- Blending Threads: Combine two different-colored strands to create subtle gradients.
Experiment with alternative fabrics like linen or evenweave, which require more precision but yield elegant results. Consider designing your own charts using free tools like PCStitch or Stitch Fiddle.
Frequently Asked Questions
How do I prevent my thread from twisting?
Let the needle dangle freely after several stitches. This allows the thread to untwist naturally. Using shorter lengths (about 18 inches) also reduces tangling.
Can I machine wash a finished cross stitch piece?
No. Hand-washing is essential. Machine agitation can distort stitches and damage delicate fabric. Always air dry flat.
What should I do if I run out of a floss color mid-project?
Buy extra skeins of all colors at the start when possible. If not, match the DMC number exactly—even slight dye lot variations can be visible.
Conclusion: Start Stitching, Keep Creating
Cross stitch is more than a craft—it’s a practice of patience, focus, and personal expression. Every stitch builds skill, and every finished piece carries meaning. Whether you’re making your first X or planning a complex sampler, the rhythm of needle and thread offers both calm and accomplishment. With the right tools, clear guidance, and a willingness to learn from small errors, anyone can master this timeless art.


 浙公网安备
33010002000092号
浙公网安备
33010002000092号 浙B2-20120091-4
Comments
No comments yet. Why don't you start the discussion?