
Cropping and editing photos is no longer limited to professional designers or photographers. With the right techniques, anyone can learn how to cut a photo precisely and enhance its impact. Whether you're preparing images for social media, e-commerce, presentations, or personal projects, mastering the fundamentals of cropping and editing ensures your visuals communicate clearly and effectively. This guide breaks down practical methods, tools, and best practices to help you achieve clean, balanced, and compelling results every time.
Why Proper Cropping Matters
Cropping isn’t just about removing unwanted edges—it’s a powerful tool for storytelling and focus. A well-cropped image directs attention to the subject, improves composition, and fits seamlessly into different formats. Poorly cropped photos, on the other hand, can distort proportions, cut off key details, or appear unprofessional.
Consider this: a headshot used for a LinkedIn profile that cuts off the top of the head or leaves too much empty space above will look awkward. Similarly, an e-commerce product image that doesn’t fill the frame may appear weak compared to competitors’ listings. Purposeful cropping eliminates distractions and enhances clarity.
“Cropping is not just cutting—it’s curating. You’re deciding what stays in the story and what gets left out.” — Daniel Reyes, Visual Content Strategist
Essential Tools for Cutting and Editing Photos
You don’t need expensive software to get started. Modern devices come with built-in editors, and numerous free or low-cost apps offer advanced features. Here’s a breakdown of reliable options:
| Tool | Best For | Key Features |
|---|---|---|
| iOS Photos App | Quick mobile edits | Auto-straighten, aspect ratio presets, rotate |
| Google Photos | Cloud-based simplicity | One-tap enhancement, crop, rotate, blur background |
| Adobe Photoshop Express | Advanced mobile editing | Precise cropping, layers, filters, text overlay |
| GIMP | Free desktop alternative to Photoshop | Custom selections, batch processing, layer masks |
| Canva | Social media & marketing | Drag-and-drop editor, templates, resize presets |
Each tool offers intuitive interfaces, but functionality varies. Choose based on your workflow: mobile convenience, desktop precision, or collaborative design needs.
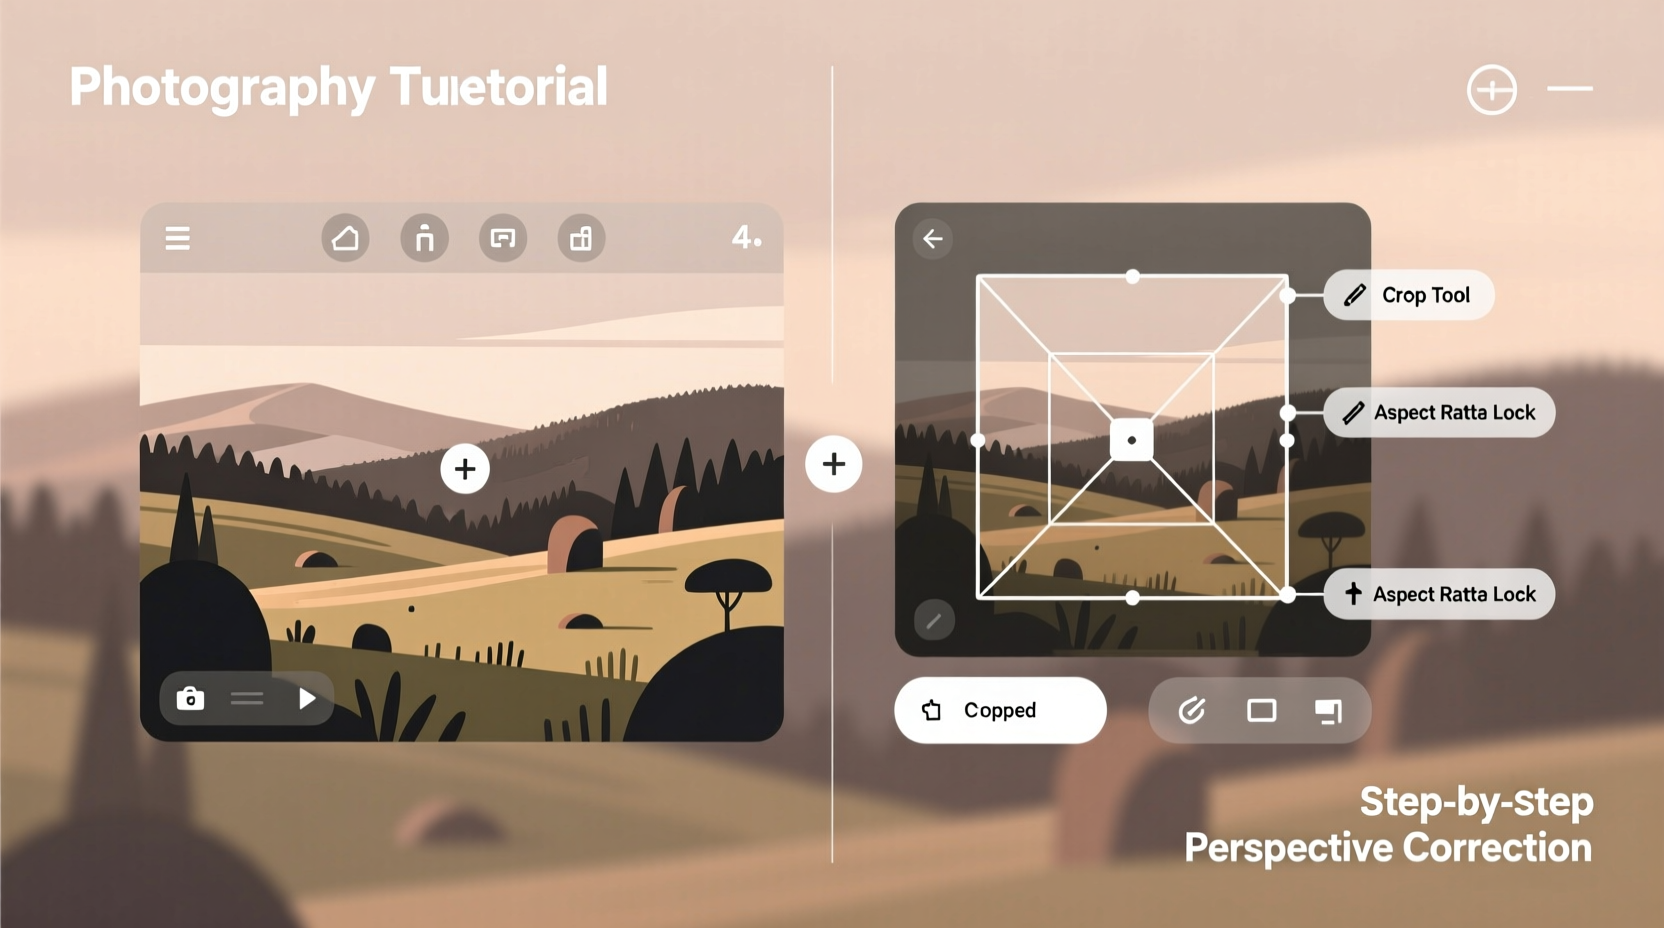
Step-by-Step Guide to Cutting a Photo Like a Pro
Follow this structured process to consistently produce polished results:
- Define the purpose: Is the image for Instagram, a website banner, or a printed flyer? Knowing the end use determines size and focus.
- Select your tool: Open the photo in your chosen editor—mobile app, desktop software, or web platform.
- Use aspect ratio presets: Match the output format (e.g., 1:1 for Instagram, 16:9 for YouTube thumbnails).
- Enable the grid: Turn on the rule-of-thirds grid to align key elements along intersecting lines.
- Reframe the subject: Drag the crop box to center the focal point while removing cluttered or redundant areas.
- Adjust straightness: Tilted horizons or crooked buildings distract viewers. Use the straighten tool to correct angles.
- Zoom carefully: Avoid over-cropping, which reduces resolution. Maintain at least 1080 pixels on the shortest side for digital use.
- Save appropriately: Export as JPEG for photos, PNG for graphics with transparency, and WebP for faster web loading.
This sequence ensures consistency across multiple images and prevents common errors like accidental stretching or pixelation.
Common Mistakes to Avoid When Editing Photos
Even experienced users make avoidable mistakes. Recognizing these pitfalls helps you maintain quality and professionalism:
- Over-cropping: Removing too much detail can leave subjects looking cramped or cut off.
- Ignoring resolution: Enlarging a small image after cropping leads to blurry output.
- Misaligned horizon lines: Diagonal slants in landscapes or architecture create visual tension.
- Forgetting context: What looks good alone might not fit within a layout or series.
- Using default settings blindly: Auto-enhance tools can oversaturate colors or over-sharpen textures.
“Editing should enhance reality, not fabricate it. Subtlety preserves authenticity.” — Lena Patel, Digital Imaging Consultant
Real-World Example: Transforming a Product Image
A small business owner selling handmade candles struggled with inconsistent product photos. The original shots were taken on a cluttered kitchen counter with uneven lighting. After learning basic cropping techniques, she applied the following steps:
- Cropped tightly around each candle to fill 80% of the frame
- Used a white background preset in Canva for uniformity
- Applied a slight shadow effect to add depth
- Standardized all images to 1080x1080 pixels for Instagram
The result? Engagement increased by 65% within four weeks. Customers reported the products looked “more professional” and “easier to visualize.” This case shows how simple edits can significantly impact perception and performance.
Checklist: Perfect Photo Crop in 5 Steps
Before finalizing any edit, run through this checklist:
- ✅ Confirm the intended platform’s image dimensions
- ✅ Enable gridlines (rule of thirds or golden ratio)
- ✅ Center or align the main subject using grid intersections
- ✅ Straighten tilted lines or horizons
- ✅ Preview at full size to check for pixelation or distortion
Using this checklist minimizes errors and streamlines your workflow, especially when editing multiple images.
Frequently Asked Questions
How do I crop a photo without losing quality?
To preserve quality, avoid enlarging a cropped section beyond its original resolution. Work from high-resolution source files whenever possible, and never upscale more than 10–15%. Save in appropriate formats—JPEG for photos, PNG for transparent graphics.
What is the best aspect ratio for social media?
It depends on the platform:
- Instagram Feed: 1:1 (square), 4:5 (portrait)
- Instagram Stories: 9:16 (vertical)
- Facebook Posts: 1.91:1 (landscape), 4:5 (portrait)
- Twitter/X: 16:9 (recommended for visibility)
- TikTok: 9:16 (full-screen vertical)
Can I undo a crop if I save the file?
It depends on the software. Apps like Adobe Lightroom or GIMP support non-destructive editing, meaning the original data remains intact. However, most mobile apps and basic editors apply crops permanently once saved. Always keep a backup of the original image before editing.
Final Thoughts and Next Steps
Learning how to cut a photo effectively is one of the most impactful skills in today’s visual world. It takes seconds to crop—but doing it with intention transforms ordinary images into powerful communication tools. From refining composition to meeting technical requirements, the techniques covered here provide a strong foundation for both beginners and intermediate users.
Start small: pick one photo you’ve been unsure about, apply the rule of thirds, adjust the alignment, and export it for its intended use. Compare the result to your previous attempts. Notice the difference in balance and clarity. With practice, these actions become second nature.


 浙公网安备
33010002000092号
浙公网安备
33010002000092号 浙B2-20120091-4
Comments
No comments yet. Why don't you start the discussion?