
Drawing a strawberry plant offers more than just artistic satisfaction—it’s an opportunity to observe nature closely and translate its delicate details into meaningful lines on paper. Whether you're aiming for a hyper-realistic botanical illustration or a charmingly simple sketch, understanding the structure, proportions, and textures of the plant is essential. This guide walks you through every stage, from gathering reference material to applying shading techniques that bring your drawing to life.
Anatomy of the Strawberry Plant: Know What You’re Drawing
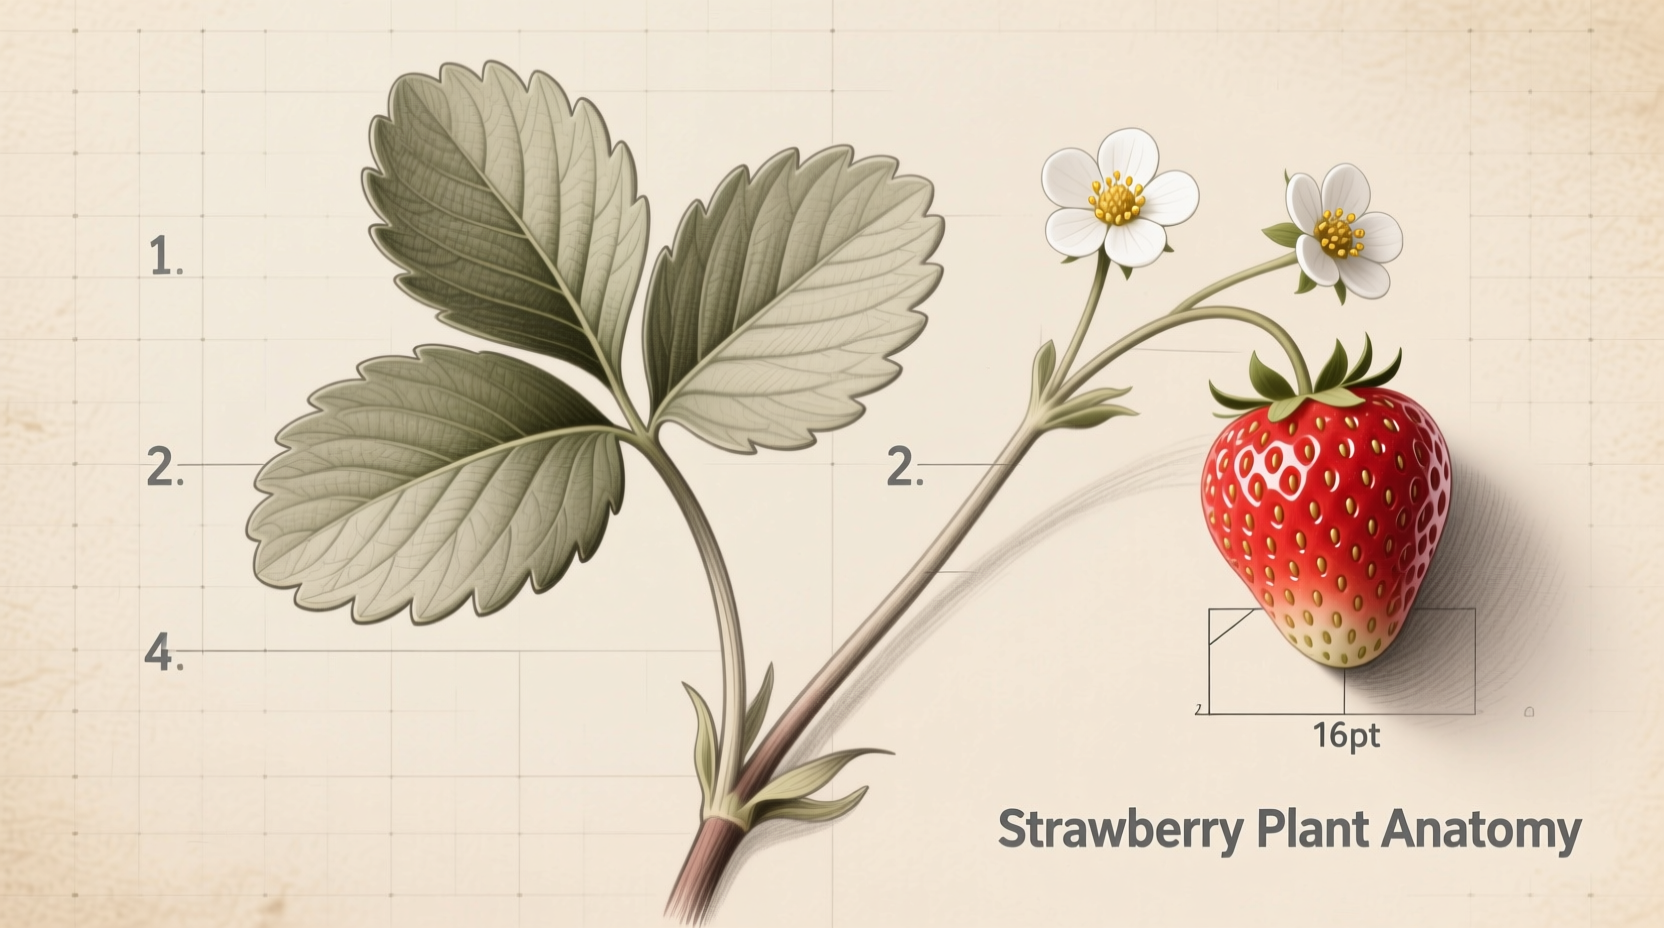
Before putting pencil to paper, it helps to understand the basic components of a strawberry plant. Unlike fruit drawings that focus only on the berry, a full plant includes multiple elements: leaves, stems, flowers, runners, and fruit at various stages of ripeness. Each part has distinct shapes and surface qualities that influence how you render them.
- Leaves: Typically trifoliate—three leaflets per leaf—with serrated edges and prominent veins.
- Stems (petioles): Long, slightly hairy, and flexible; they support the leaves and fruit.
- Flowers: White with five rounded petals, yellow stamens in the center, and grow on slender stalks.
- Fruit: Heart-shaped with a textured surface of tiny seeds (achenes) and a green calyx at the top.
- Runners: Thin horizontal stems that extend outward, producing new plantlets.
Observing real plants or high-resolution photographs helps capture these features accurately. Pay attention to how light falls across the surface of a strawberry, creating highlights on the glossy skin and soft shadows beneath the calyx.
Materials and Tools for Success
The right tools make a significant difference in both comfort and outcome. While you can sketch a strawberry plant with any pencil and paper, selecting materials suited to your goals enhances precision and depth.
| Purpose | Recommended Tools | Notes |
|---|---|---|
| Basic Sketching | H or HB pencil, standard printer paper | Ideal for quick studies and layout work |
| Detailed Drawing | 2B–6B pencils, smooth Bristol board | Softer leads allow for rich tones and gradients |
| Line Definition | Mechanical pencil or fine liner pen (0.3mm) | Great for clean outlines after initial sketch |
| Erasing | Kneaded eraser + precision plastic eraser | Kneaded lifts graphite gently; plastic removes stubborn marks |
| Blending | Blending stump, tissue, or cotton swab | Smooths gradients without smudging entire areas |
A well-sharpened pencil ensures control, especially when detailing the tiny seeds on a strawberry or the fine network of veins in a leaf. Keep a ruler nearby if you want to lightly mark guidelines for symmetry.
Step-by-Step Guide to Drawing a Realistic Strawberry Plant
Creating a lifelike representation involves breaking down the subject into manageable steps. Follow this sequence to build your drawing methodically.
- Start with Light Guidelines: Use an H pencil to sketch a central vertical line for the main stem. Add faint circles and ovals to indicate where leaves, flowers, and fruit will go.
- Outline the Leaves: Draw three overlapping lobes for each leaflet, curving outward with jagged edges. Position them in a spiral pattern around the stem base.
- Add the Fruit: Sketch a plump heart shape near the bottom third of the composition. Include a small star-shaped calyx at the top with five pointed sepals.
- Draw Flowers and Runners: Place one or two blossoms above the leaves using five rounded petals. Extend thin runner lines from the sides with miniature plantlets at the ends.
- Refine Details: Define leaf veins with branching lines from the center rib. On the strawberry, scatter small dots evenly to represent seeds.
- Apply Shading: Identify a consistent light source (e.g., upper left). Shade under leaves, beneath the fruit, and along the inner curves of petals. Use hatching and crosshatching for texture.
- Finalize Lines: Once satisfied, go over key outlines with a darker pencil or fine liner. Erase unnecessary construction lines carefully.
Simplified Approach for Beginners and Quick Sketches
Not every drawing needs to be a detailed masterpiece. For journals, greeting cards, or practice sessions, a simplified version captures the essence of a strawberry plant with minimal effort.
Begin with a “Y”-shaped stem. At the top of each branch, draw a single three-part leaf using U-shaped curves. Attach one large strawberry at the base with a short stem and calyx. Add a single flower on one side using a small circle and five teardrop-shaped petals. Omit intricate veins and shading; instead, use uniform line weight.
This minimalist style works well with ink pens or colored pencils and is perfect for bullet journals or educational handouts.
“Simplicity in drawing isn’t about leaving things out—it’s about knowing what to emphasize.” — Lena Torres, Botanical Illustrator and Educator
Common Mistakes and How to Avoid Them
Even experienced artists encounter pitfalls when drawing organic subjects. Recognizing these early prevents frustration and improves results.
- Overcrowding the Composition: Trying to include too many elements makes the drawing chaotic. Focus on one mature fruit, a few leaves, and one flower for balance.
- Ignoring Proportions: A strawberry should be roughly the same width as a leaflet. Misjudging scale breaks realism.
- Flat Lighting: Applying even shade across all surfaces removes dimension. Always define a single light direction.
- Rigid Lines: Natural forms have fluid, irregular edges. Avoid using rulers for leaves or berries—let your hand flow freely.
One common error is placing seeds randomly on the strawberry. In reality, they follow a subtle spiral pattern from the tip to the base. Study reference images to replicate this natural order.
Checklist: Preparing for Your Strawberry Plant Drawing
Use this checklist before starting your next sketch to ensure you're set up for success:
- ☐ Gather reference photos of strawberry plants from multiple angles
- ☐ Choose appropriate paper and sharpen your pencils
- ☐ Set up good lighting at your workspace
- ☐ Decide between realistic or simplified style
- ☐ Lightly sketch composition layout with an H pencil
- ☐ Confirm light source direction for consistent shading
- ☐ Take breaks to assess proportions from a distance
Mini Case Study: From Frustration to Mastery
Jenna, a hobbyist artist from Oregon, struggled for months to draw strawberries that looked anything like the ones in her garden. Her early attempts resulted in lopsided fruit and stiff, unnatural leaves. After attending a local botanical art workshop, she began studying actual plants daily, making small thumbnail sketches focusing on one element at a time.
She started with just the calyx, then moved to seed patterns, then leaf structure. Within six weeks, she combined her studies into a full plant drawing that won second place in a community art show. Her breakthrough came not from talent, but from deliberate observation and incremental learning.
FAQ
How do I make my strawberry look shiny and ripe?
Create contrast by leaving a bright highlight near the top curve of the berry and deepening the shadow underneath. Use a blending stump to smooth mid-tones for a smooth, glossy appearance.
Can I use colored pencils for a realistic effect?
Absolutely. Layer reds (cadmium, crimson), touches of yellow at the top, and dark burgundy in shaded areas. Burnish with a colorless blender for a polished finish.
What if my leaves look too symmetrical?
Nature isn’t perfectly balanced. Vary the size, angle, and curvature of each leaflet. Tear a real leaf to see how edges differ—replicate that imperfection.
Conclusion: Start Drawing Today
Mastering how to draw a strawberry plant doesn’t require years of training—just patience, observation, and consistent practice. Whether you aim for scientific accuracy or a whimsical sketch, each stroke brings you closer to capturing the quiet beauty of this familiar garden favorite. The techniques outlined here provide a foundation you can return to again and again, refining your skills with every page.


 浙公网安备
33010002000092号
浙公网安备
33010002000092号 浙B2-20120091-4
Comments
No comments yet. Why don't you start the discussion?