
Drawing electric circuits is a foundational skill for anyone interested in electronics, engineering, or physics. It’s not just about sketching lines and components—it’s about communicating ideas clearly, accurately, and efficiently. A well-drawn circuit diagram serves as a blueprint that others can interpret, troubleshoot, and build upon. For beginners, the process can seem overwhelming due to unfamiliar symbols and conventions. This guide breaks down the essentials into manageable steps, helping you move from confusion to confidence.
Understanding Circuit Diagrams: More Than Just Lines
An electric circuit diagram—also known as a schematic—is a visual representation of how electrical components are connected. Unlike physical layouts, schematics focus on logical relationships rather than spatial placement. Wires are shown as straight lines, components use standardized symbols, and connections are indicated at junction points.
The key to mastering circuit drawing lies in understanding three core principles:
- Clarity: The diagram should be easy to follow, even for someone seeing it for the first time.
- Accuracy: Every symbol must represent the correct component, and all connections must reflect actual wiring.
- Consistency: Use uniform line thickness, spacing, and alignment throughout the diagram.
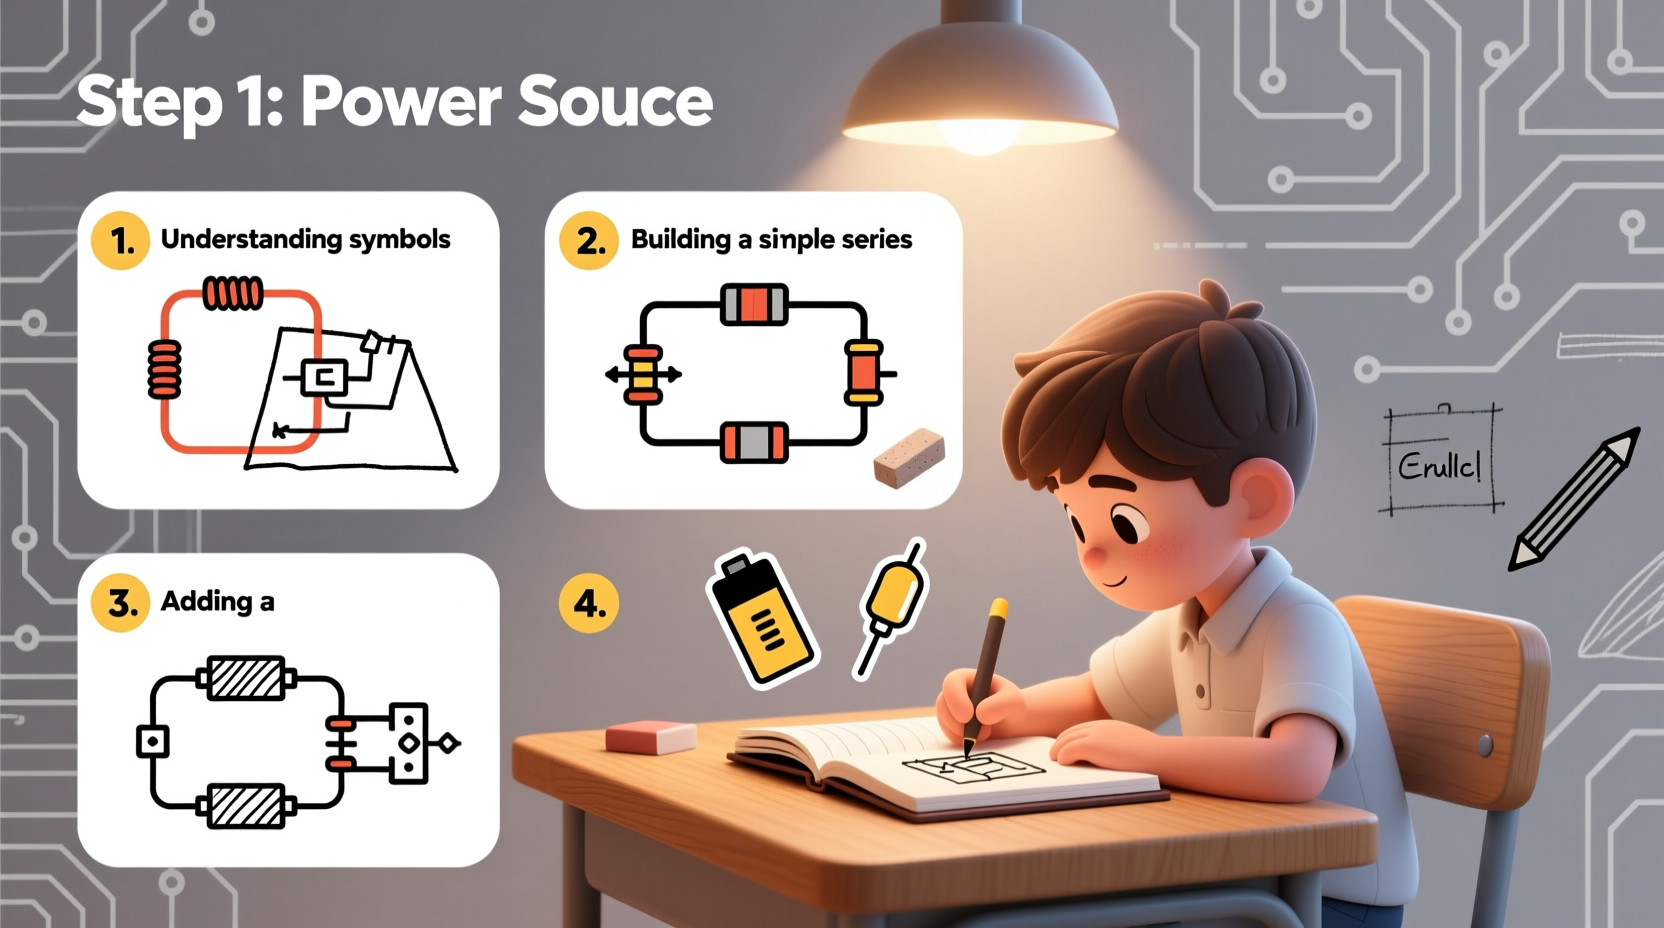
Before putting pen to paper—or cursor to screen—familiarize yourself with the most commonly used symbols. Resistors, capacitors, batteries, switches, diodes, transistors, and ground connections each have distinct representations recognized globally.
Step-by-Step Guide to Drawing Your First Circuit
Follow this structured approach to create clean, professional-looking circuit diagrams—even if you're starting from scratch.
- Define the Purpose: Know what your circuit is supposed to do. Is it a simple LED flasher? A voltage divider? A transistor switch? Having a clear goal helps determine which components you’ll need.
- List Components: Write down every part required, including values where applicable (e.g., 10kΩ resistor, 9V battery).
- Sketch a Rough Layout: On paper or digitally, place major components roughly where they’ll go. Keep inputs on the left, outputs on the right, power at the top, and ground at the bottom.
- Draw Symbols Accurately: Use standard IEEE/ANSI symbols. Avoid custom shapes unless absolutely necessary.
- Connect with Straight Lines: Represent wires using horizontal and vertical lines only. Avoid curves or diagonals for clarity.
- Mark Junctions Clearly: Where two wires connect, place a dot. If wires cross without connecting, leave no dot or use a \"jump\" arc.
- Add Labels and Values: Label each component (R1, C2, etc.) and include its value next to it.
- Review for Errors: Double-check polarity, continuity, and proper grounding before finalizing.
This methodical workflow reduces errors and builds good habits early on.
Common Symbols and Their Meanings
Knowing how to draw a resistor is one thing; knowing when and how to use it correctly is another. Below is a reference table of essential components and their schematic representations.
| Component | Schematic Symbol Description | Notes |
|---|---|---|
| Battery | Long line (+), short line (-); multiple pairs indicate higher voltage | Always label voltage (e.g., 9V) |
| Resistor | Zigzag line or rectangular block | Label resistance value (e.g., 220Ω) |
| Capacitor | Two parallel lines (non-polarized) or one curved/one straight (polarized) | Polarity matters for electrolytic types |
| Diode | Triangle pointing to a line (arrow direction shows forward current) | LEDs have small arrows pointing outward |
| Switch | Line broken by a gap with an angled lever | Specify type: push-button, toggle, etc. |
| Ground | Three progressively shorter horizontal lines or a downward-pointing triangle | Represents common return path |
Familiarity with these symbols allows you to read and reproduce any basic circuit. Practice redrawing them until they become second nature.
Avoiding Common Mistakes
Even experienced hobbyists make avoidable errors when drawing circuits. Recognizing these pitfalls early saves time and frustration later.
- Misplaced junction dots: Omitting a dot where wires connect—or adding one where they don’t—leads to misinterpretation.
- Incorrect polarity: Reversing diodes, capacitors, or batteries renders circuits non-functional or dangerous.
- Crowded layouts: Overlapping lines and tightly packed components reduce readability.
- Missing labels: Unlabeled resistors or unidentified IC pins make troubleshooting impossible.
- Ignoring ground placement: Floating grounds or multiple unconnected ground symbols confuse signal flow.
“Schematics are a language. If your drawing isn't clear, your idea won't be understood.” — Dr. Alan Reyes, Electrical Engineering Educator
Real Example: Building a Simple LED Circuit
Let’s apply what we’ve learned by designing a basic LED circuit powered by a 9V battery. This example illustrates the entire process from concept to completed diagram.
Objective: Light an LED safely without burning it out.
Components Needed:
- 9V battery
- Standard red LED (forward voltage ~2V)
- Current-limiting resistor (330Ω)
- Connecting wires
Steps:
- Place the battery symbol on the far left.
- Draw the resistor to the right of the positive terminal.
- Connect the resistor to the anode (long leg) of the LED.
- Draw the cathode (short leg) of the LED leading downward to the ground symbol.
- Return the negative terminal of the battery to the same ground point.
- Label the resistor “R1, 330Ω” and the LED “D1”.
The resulting diagram shows a complete loop: current flows from the battery, through the resistor (which limits current to ~20mA), through the LED, and back to the battery via ground. No unnecessary crossings, clear labeling, and proper symbol usage make this schematic both functional and professional.
Checklist: Before You Finalize Your Circuit Diagram
Use this checklist to ensure your schematic meets professional standards:
- ✅ All components use correct, standardized symbols
- ✅ Power source is on the left or top
- ✅ Ground is clearly marked and consistent
- ✅ Junctions have dots where connections exist
- ✅ No ambiguous wire crossings
- ✅ Each component is labeled (R1, C2, etc.)
- ✅ Values are included next to relevant parts
- ✅ Polarity-sensitive components are oriented correctly
- ✅ Layout follows conventional signal flow (left to right)
- ✅ Diagram is neat, uncluttered, and readable
Running through this list after drafting significantly improves quality and minimizes rework.
Frequently Asked Questions
Do I need special software to draw circuits?
No, you can start with pencil and graph paper. However, tools like KiCad, Fritzing, or EasyEDA offer precision, reusable templates, and error checking. They’re especially helpful as circuits grow in complexity.
Can I draw circuits by hand for school projects?
Absolutely. Hand-drawn schematics are acceptable in academic settings as long as they’re neat, properly labeled, and follow standard conventions. Many instructors prefer them for learning purposes.
What’s the difference between a schematic and a wiring diagram?
A schematic shows logical connections using symbols, while a wiring diagram reflects physical layout—like where wires run on a breadboard or PCB. Schematics are used for design; wiring diagrams help with assembly.
Conclusion
Drawing electric circuits is a blend of art and science. With practice, what once seemed like cryptic symbols evolve into a fluent technical language. By following structured steps, avoiding common errors, and applying best practices, you lay the foundation for more advanced work in electronics. Whether you're preparing for a class, building a prototype, or simply exploring a new hobby, mastering circuit diagrams unlocks deeper understanding and greater creativity.


 浙公网安备
33010002000092号
浙公网安备
33010002000092号 浙B2-20120091-4
Comments
No comments yet. Why don't you start the discussion?