
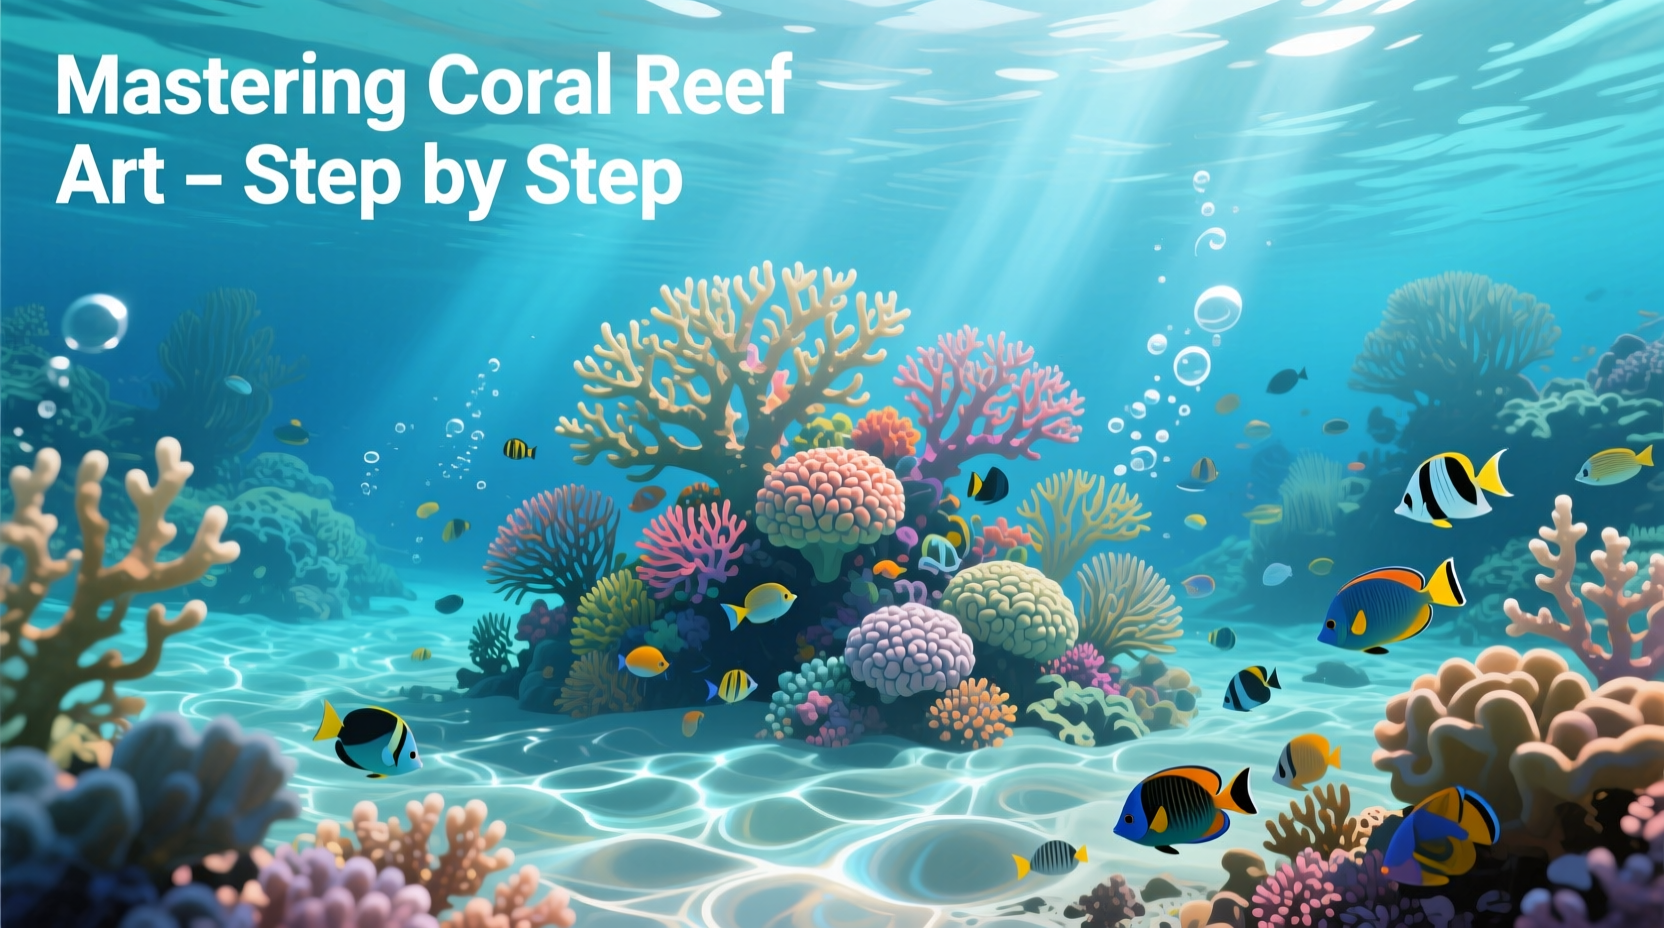
Coral reefs are among nature’s most intricate and vibrant ecosystems, teeming with color, texture, and life. Capturing their complexity on paper can seem daunting, but with structured guidance and practice, anyone can learn to create compelling underwater illustrations. Whether you're an aspiring artist or someone looking to explore creative expression through drawing, mastering the art of rendering coral reefs opens up a world of visual storytelling. This guide breaks down the process into manageable steps, offering practical techniques, material insights, and artistic principles to help you produce realistic and captivating reef scenes.
Understanding Coral Reef Anatomy and Composition
Before putting pencil to paper, it's essential to understand what you’re drawing. Coral reefs are not just colorful rocks beneath the ocean—they are living structures made up of tiny organisms called polyps that secrete calcium carbonate to form hard skeletons. Over time, these accumulate into elaborate formations. Reefs host a diverse array of marine life, including fish, crustaceans, sea turtles, and algae, all contributing to the dynamic balance of the ecosystem.
To draw a believable reef, study reference images from marine biology sources or underwater photography. Observe how different types of coral grow—branching corals like staghorn, massive boulder-like brain corals, delicate fan-shaped gorgonians, and plate corals that resemble stacked discs. Each has unique textures and growth patterns that influence how they should be rendered.
Essential Materials for Underwater Drawing Success
The right tools significantly impact the quality and ease of your artwork. While digital artists may use tablets and software like Procreate or Photoshop, traditional media remain powerful for learning foundational skills. Here’s a breakdown of recommended materials:
| Material | Purpose | Recommended Options |
|---|---|---|
| Sketchbook | Durable surface for layered drawing | Heavyweight paper (100+ lb), spiral-bound for ease |
| Pencils | Line work and shading | Range from HB (light) to 6B (dark) |
| Eraser | Correcting lines, lifting graphite | Kneaded eraser + precision plastic eraser |
| Blending Tools | Smooth gradients and shadows | Blending stumps, tissue, or cotton swabs |
| Colored Media | Add vibrancy and realism | Watercolor pencils, soft pastels, or markers |
Using high-quality materials ensures better control and longevity of your artwork. Avoid standard printer paper—it buckles easily and doesn’t handle layering well.
A Step-by-Step Guide to Drawing a Coral Reef Scene
Creating a realistic coral reef illustration involves more than copying shapes—it requires understanding depth, light behavior underwater, and biological accuracy. Follow this timeline-based approach to build your scene progressively.
- Research and Reference Gathering: Collect at least five high-resolution underwater photos showing varied coral types and lighting conditions.
- Lightly Sketch the Layout: Use an HB pencil to block in major elements—coral clusters, sand floor, water column, and focal points like a sea turtle or school of fish.
- Define Coral Structures: Begin detailing individual corals using loose, organic lines. Vary stroke direction to mimic natural growth patterns.
- Add Marine Life: Integrate small creatures proportionally—clownfish near anemones, parrotfish grazing on coral, shrimp hiding in crevices.
- Establish Depth with Shading: Apply darker tones below and lighter values toward the surface. Remember: light diminishes rapidly underwater.
- Incorporate Color Gradually: Start with base hues, then layer translucent colors to simulate water diffusion and refraction.
- Final Details and Highlights: Use a white gel pen or opaque paint to add sunbeams filtering through water or reflective scales on fish.
“Observation is the foundation of great nature art. The more time you spend studying real reef environments, the more authentic your drawings will become.” — Dr. Lena Torres, Marine Biologist & Scientific Illustrator
Common Pitfalls and How to Avoid Them
Even experienced artists make mistakes when depicting complex natural scenes. Awareness of common errors helps refine technique and improve outcomes.
- Overcrowding the composition: Beginners often try to include every species at once, resulting in visual chaos. Focus on a few key subjects and let negative space suggest the rest.
- Ignoring water perspective: Unlike land scenes, underwater visibility decreases with depth. Distant objects should appear blurrier and bluer due to light absorption.
- Using flat, uniform colors: Coral is rarely one solid shade. Layer greens, pinks, purples, and oranges subtly to reflect ambient light and biological variation.
- Misrepresenting scale: A single brain coral can be over a meter wide—ensure proportions between animals and structures are accurate.
Real Example: From First Sketch to Finished Piece
Sophie, a self-taught artist from coastal Maine, began drawing coral reefs after a snorkeling trip in Belize. Her initial attempts lacked depth and felt “flat,” despite detailed line work. She revisited her process by first analyzing professional marine illustrations and identifying missing elements: value contrast, movement cues, and ecological relationships.
She applied the seven-step method outlined above, dedicating one session per step over two weeks. By focusing on light direction—from upper left simulating sunlight penetration—she added shadow gradients beneath coral ledges. She introduced motion by varying fish fin positions and using wavy lines for drifting seaweed. The final piece was exhibited at a local environmental center, praised for its educational accuracy and aesthetic appeal.
This example illustrates how deliberate, phased work leads to dramatic improvement—even without formal training.
Frequently Asked Questions
Can I draw a coral reef if I’m a complete beginner?
Absolutely. Start with simple coral shapes like domes and branches. Practice basic shading and gradually incorporate more detail. Consistent practice matters more than innate talent.
How do I make my drawing look like it’s underwater?
Use cool-toned backgrounds (blues and greens), reduce contrast with distance, add subtle horizontal lines to imply water layers, and include suspended particles with faint dots or smudges.
Should I draw from imagination or always use references?
Always begin with references. Imagination improves through observation. Once you’ve studied enough real examples, you’ll naturally internalize patterns and be able to invent plausible reef scenes confidently.
Checklist: Preparing for Your Next Reef Drawing Session
- ☐ Gather 3–5 clear reference images of coral reefs
- ☐ Sharpen pencils and organize colored media
- ☐ Choose a focal point for your composition (e.g., a large coral head or central fish)
- ☐ Lightly sketch horizon line and major zones (seafloor, midwater, surface zone)
- ☐ Test color combinations on scrap paper first
- ☐ Set a timer for focused 25-minute drawing intervals to maintain concentration
Conclusion: Bring the Ocean to Life, One Stroke at a Time
Drawing coral reefs is both an artistic challenge and an act of environmental appreciation. With patience and attention to biological truth, your illustrations can inspire wonder and awareness about these fragile underwater worlds. Every line you draw deepens your connection to nature and sharpens your observational eye. Mastery doesn’t come overnight—but each sketch brings you closer.


 浙公网安备
33010002000092号
浙公网安备
33010002000092号 浙B2-20120091-4
Comments
No comments yet. Why don't you start the discussion?