
Designing a house begins long before the foundation is poured. The blueprint—the architectural plan—is where vision meets structure. Whether you're planning a modest cottage or a multi-level modern home, drawing up an accurate and thoughtful house plan is essential. A well-crafted plan ensures efficient use of space, supports structural integrity, and aligns with your lifestyle. More than just lines on paper, it’s a roadmap to turning dreams into livable reality.
Understand Your Needs and Goals First
Before sketching walls or placing windows, take time to define what you want from your home. This foundational phase shapes every decision that follows. Consider household size, daily routines, future growth, and personal preferences. Do you cook frequently? Need a home office? Plan to age in place? These factors directly influence room layout, flow, and functionality.
Begin with a list of non-negotiables: number of bedrooms, preferred kitchen style, accessibility features, storage needs, and outdoor integration. Prioritize must-haves versus nice-to-haves. This clarity prevents costly revisions later and keeps the design process focused.
Step-by-Step Guide to Drawing a House Plan
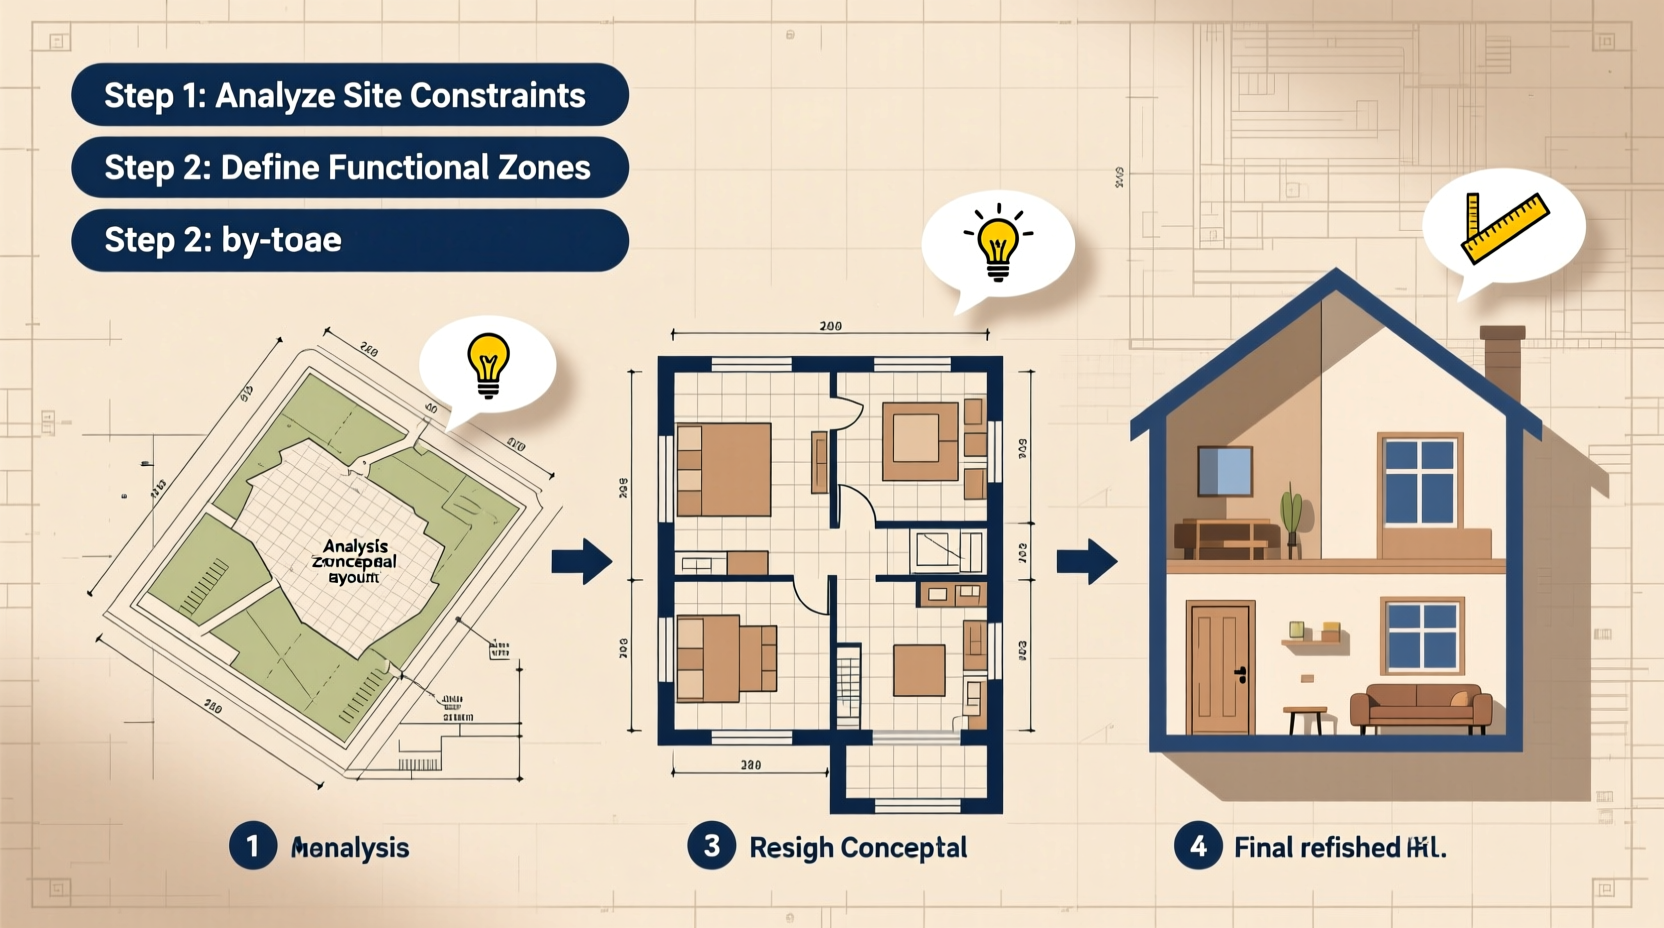
Creating a house plan involves both creativity and precision. Follow this structured approach to ensure accuracy and coherence from concept to final draft.
- Measure the Site: Obtain accurate dimensions of your building lot, including topography, setbacks, easements, and orientation to sunlight. This determines placement and window positioning.
- Draft a Bubble Diagram: Sketch rough zones (e.g., living, sleeping, utility) using circles or ovals. Focus on relationships—kitchen near dining, bedrooms away from noise.
- Choose a Scale: Use standard architectural scales like 1/4 inch = 1 foot (1:48). Consistency ensures accurate representation and compatibility with construction standards.
- Sketch the Floor Plan: Begin with exterior walls, then add interior partitions. Position doors, windows, stairs, and key fixtures. Maintain clear circulation paths—minimum 36 inches for main walkways.
- Refine Room Sizes: Refer to building codes and ergonomic standards. For example, a bedroom should be at least 70 sq ft with two means of egress; kitchens need work triangle efficiency (sink-stove-refrigerator).
- Add Details: Include wall thicknesses (typically 6” for exterior, 4” for interior), electrical outlets, lighting, HVAC vents, and plumbing stacks.
- Review for Flow and Function: Simulate movement through the plan. Can you move from entry to kitchen without crossing private areas? Is natural light optimized?
- Create Elevations and Sections: Draw side and front views to visualize height, rooflines, and material transitions. Section cuts show interior volume and ceiling changes.
- Finalize with Labels and Dimensions: Clearly mark room names, dimensions, door swings, and materials. Use consistent line weights: thick for exterior walls, medium for interior, thin for annotations.
- Validate Against Codes: Check local zoning laws, floor area ratio (FAR), height restrictions, and energy compliance requirements.
Common Design Pitfalls and How to Avoid Them
Even experienced designers can fall into traps that compromise usability. Awareness of frequent mistakes helps produce smarter plans.
| Pitfall | Consequence | Solution |
|---|---|---|
| Overcrowded floor plan | Tight spaces feel claustrophobic; furniture doesn’t fit | Stick to minimum room sizes; allow breathing space around furniture |
| Poor room adjacency | Noisy disruptions; inefficient workflow | Place quiet zones (bedrooms) away from active areas (living room, garage) |
| Inadequate storage | Clutter accumulates quickly | Integrate closets, pantries, and built-ins early in the design |
| Ignoring natural light | Dark interiors require more artificial lighting | Position key rooms (kitchen, living) facing south or east; use skylights strategically |
| Unrealistic ceiling heights | Structural issues or wasted space | Standard ceiling height is 8–9 feet; vaulted ceilings require engineered support |
“Good design isn’t about square footage—it’s about how space feels when you’re in it.” — Sarah Lin, Architect & Sustainable Design Advocate
Enhancing Creativity Without Sacrificing Practicality
A house plan should reflect personality while remaining buildable and livable. Creative elements—like open lofts, sunken lounges, or curved walls—can elevate a design if balanced with realism.
Use symmetry sparingly for visual harmony, but don’t fear asymmetry when it improves function. For instance, offsetting a staircase might free up space for a closet underneath. Experiment with different roof styles—gambrel, shed, or butterfly—but consider climate impact and maintenance access.
Incorporate passive design principles: large south-facing windows with overhangs for winter sun and summer shade, cross-ventilation via opposing windows, and thermal mass materials like concrete floors to stabilize indoor temperatures.
Mini Case Study: The Compact Family Home Redesign
A couple with two young children wanted to expand their 1,100 sq ft bungalow. Initial sketches showed a second-floor addition with three bedrooms. However, site constraints and budget limited vertical expansion. Instead, the designer reconfigured the ground floor using a rear extension.
The original dining room was absorbed into a combined kitchen-living area, improving social flow. A narrow hallway was replaced with a central utility core housing bathrooms and storage. Bedrooms were slightly downsized but optimized with built-in beds and under-stair drawers. Natural light increased with a new clerestory window above the kitchen sink.
The revised plan added only 250 sq ft but improved usability dramatically. Total cost stayed within budget, and the family reported greater satisfaction with daily life in the updated space.
Essential Checklist Before Finalizing Your Plan
- ✅ All rooms meet minimum size requirements per local code
- ✅ Doors swing freely without blocking pathways
- ✅ Electrical outlets are spaced no more than 12 feet apart along walls
- ✅ Windows provide emergency egress in bedrooms (minimum 5.7 sq ft opening)
- ✅ Plumbing walls align across floors to reduce pipe runs
- ✅ Roof drains away from foundation; overhangs protect walls
- ✅ Exterior materials are suitable for regional weather conditions
- ✅ ADA-compliant options considered (e.g., zero-step entry, wider hallways)
Frequently Asked Questions
Can I draw my own house plan without an architect?
Yes, especially for smaller projects or renovations. Many jurisdictions allow homeowners to submit their own plans if they comply with building codes. However, complex designs, seismic zones, or historical districts often require licensed professionals. Always check with your local planning department first.
What software should I use to draw house plans?
For beginners, SketchUp Free or Floorplanner.com offer intuitive drag-and-drop interfaces. Intermediate users may prefer Sweet Home 3D or HomeByMe. Professionals typically use AutoCAD, Revit, or Chief Architect for detailed documentation and 3D modeling. Paper and pencil remain valuable for initial brainstorming.
How do I know if my house plan is buildable?
A buildable plan adheres to zoning laws, structural logic, and material feasibility. Consult a structural engineer for load-bearing decisions, a surveyor for site accuracy, and a contractor for cost estimation. Even elegant designs fail if they ignore real-world constraints like soil type, drainage, or utility access.
Conclusion
Drawing up a house plan is both an art and a science—a blend of imagination and discipline. By grounding your vision in practical needs, following a methodical process, and avoiding common errors, you create more than a layout: you craft a foundation for daily comfort and long-term value. Whether you’re drafting on graph paper or modeling in 3D software, every line you draw brings you closer to a home that truly fits your life.


 浙公网安备
33010002000092号
浙公网安备
33010002000092号 浙B2-20120091-4
Comments
No comments yet. Why don't you start the discussion?