
Length is one of the most fundamental measurements in daily life, from measuring fabric for a sewing project to determining the distance between two points on a blueprint. While it may seem straightforward, accurately finding length—especially in irregular shapes or complex scenarios—requires more than just pulling out a tape measure. Understanding when and how to apply different methods ensures precision, saves time, and reduces errors across household tasks, construction, crafting, and DIY projects.
Whether you're hanging shelves, cutting tiles, or planning a garden layout, mastering the art of measuring length empowers you to work efficiently and confidently. This guide breaks down practical, reliable techniques tailored to common shapes and everyday challenges, helping you go beyond guesswork and achieve consistent results.
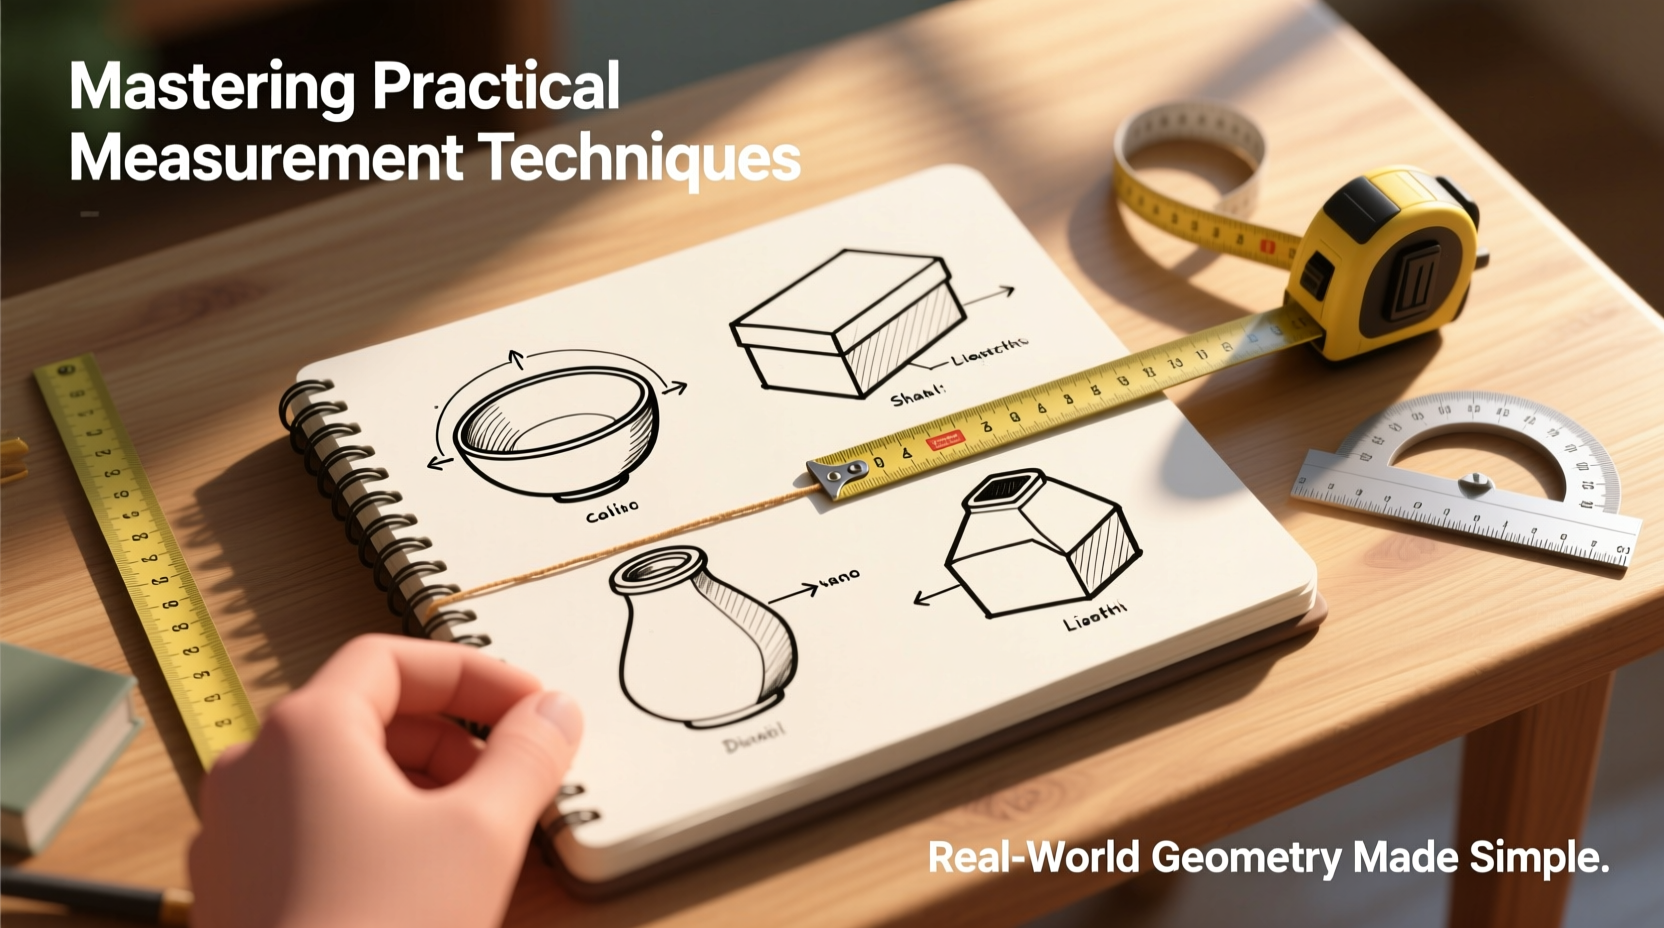
Understanding Length in Practical Contexts
In geometry, length refers to the longest dimension of an object, but in real-life applications, it often means any linear measurement needed to complete a task. Unlike textbook problems, real-world scenarios rarely present perfect rectangles or clearly marked edges. Surfaces may be uneven, corners obscured, or objects too large to measure directly.
The key is knowing which method fits the situation. For regular shapes like rectangles or circles, standard formulas apply. For irregular forms—such as curved pathways or diagonal cuts—you’ll need creative adaptations. The goal isn’t theoretical perfection but functional accuracy: getting a number that works for your purpose, whether that’s installing baseboards or estimating fencing materials.
“Precision begins not with tools, but with strategy. Knowing *how* to measure matters as much as the measurement itself.” — Dr. Alan Reyes, Applied Geometry Instructor, City Technical College
Essential Tools and Their Best Uses
While advanced laser measures exist, many tasks can be handled effectively with basic tools. Choosing the right one depends on scale, environment, and required accuracy.
| Tool | Best For | Limited Use In |
|---|---|---|
| Tape Measure | Furniture, rooms, fabric | Long outdoor distances |
| Ruler or Yardstick | Precise small-scale cuts (paper, wood) | Curved or elevated surfaces |
| Measuring Wheel | Landscaping, driveways, long paths | Tight indoor spaces |
| Laser Distance Measurer | High ceilings, hard-to-reach areas | Reflective or transparent surfaces |
| String + Ruler | Curved edges, irregular perimeters | Straight-line precision tasks |
Step-by-Step Guide to Measuring Common Shapes
Different shapes require distinct approaches. Below is a structured method for handling five everyday geometric forms.
- Rectangle or Square: Identify the longer side as length. Use a straightedge tool aligned flush with the edge. Record the measurement at eye level to avoid parallax error.
- Circle (Circumference): Wrap a flexible tape or string around the outer edge. Mark where it meets, then lay flat and measure against a ruler. Alternatively, measure the diameter and multiply by π (approximately 3.14).
- Triangle (Side Length): If all sides are accessible, measure each individually. For inaccessible sides (e.g., roof rafters), use the Pythagorean theorem: if two sides form a right angle, \\( c = \\sqrt{a^2 + b^2} \\).
- Irregular Polygon: Break it into smaller regular shapes (like triangles and rectangles). Measure each segment separately and sum the relevant sides.
- Curved Line or Arc: Lay a piece of string along the curve, following its path closely. Cut at the endpoint, then stretch the string straight and measure with a ruler.
Real Example: Installing Baseboard Trim
Homeowner Maria needed to replace baseboards in her living room, which had a bay window and several doorways. Instead of guessing, she broke the space into sections: three straight walls, two angled bay segments, and a doorway gap. She measured each wall individually using a metal tape measure pressed firmly against the floor. For the angled bay, she extended the tape diagonally across each paneled section. To account for the door frame, she subtracted 36 inches from the adjacent wall. By working systematically, she avoided costly over-ordering and completed the job with only one trip to the hardware store.
Advanced Techniques for Challenging Scenarios
Not every length can be measured directly. When obstacles block access or dimensions exceed tool range, indirect methods become essential.
- Offset Measurement: When a wall has cabinets blocking access, hold the tape parallel to the surface a few inches away, keeping both ends aligned visually with the endpoints.
- Triangulation: For distant or elevated points (e.g., ceiling height), measure the distance from your position to the base of the wall and the angle to the top using a clinometer app. Apply trigonometry: \\( \\text{height} = \\text{distance} \\times \\tan(\\text{angle}) \\).
- Scaling from Photos: Take a photo with a known reference object (like a ruler or credit card) in the frame. Use image software to compare pixel ratios and calculate unknown lengths.
Checklist: Ensuring Accurate Length Measurements
Follow this checklist before finalizing any measurement:
- ✅ Confirm the starting point is clean and unobstructed.
- ✅ Align the tool flush with the surface edge.
- ✅ Keep the measuring device taut (for tapes) or steady (for lasers).
- ✅ Double-check readings from both ends if possible.
- ✅ Record measurements immediately to avoid memory errors.
- ✅ Add 5–10% extra for cutting or fitting allowances, unless precision is critical.
Frequently Asked Questions
How do I measure length on a sloped surface?
To measure along a slope—such as a ramp or roof—use a flexible tape or string laid directly on the incline. Avoid projecting horizontally unless you’re calculating rise/run ratios. For engineering purposes, record both the sloped length and vertical drop for full data.
What if my tape measure doesn’t reach the full distance?
Break the measurement into overlapping segments. Mark the endpoint of the first reach, reposition the tape starting at that mark, and continue. Ensure alignment remains consistent across joins. Alternatively, use a measuring wheel or laser device designed for longer spans.
Can I trust smartphone measurement apps?
Many modern apps use AR and dual cameras to estimate distances. They work reasonably well for rough estimates (within 1–2 inches) in well-lit environments with defined edges. However, they are less reliable on shiny, dark, or featureless surfaces. Use them for planning, not final cuts.
Conclusion: Build Confidence Through Practice
Finding length accurately isn’t about owning the most expensive tools—it’s about applying the right method with care and consistency. From simple rectangles to winding garden borders, every shape yields to logical breakdown and patient measurement. The techniques outlined here serve as a foundation you can adapt to countless situations, reducing waste, improving fit, and boosting confidence in your projects.
Mastery comes not from memorizing formulas, but from repeated application. Pick one technique this week—perhaps measuring a curved countertop or calculating a diagonal shelf span—and put it into practice. Accuracy improves with attention, and attention grows with intention. Start small, stay precise, and watch your results transform.


 浙公网安备
33010002000092号
浙公网安备
33010002000092号 浙B2-20120091-4
Comments
No comments yet. Why don't you start the discussion?