
Finding the origin, context, or similar versions of an image is no longer guesswork. With Google’s powerful reverse image search tools, anyone can uncover detailed information about a photo—from identifying unknown people and places to verifying authenticity or locating higher-resolution versions. Whether you're researching, shopping, or fact-checking, mastering how to Google search a picture opens doors to deeper digital insights. This guide breaks down the exact steps, best practices, and hidden features that turn casual searches into precise investigations.
Why Reverse Image Search Matters Today
In an era where visual content floods social media, messaging apps, and websites, understanding the source of an image is more important than ever. Misinformation spreads quickly when photos are reused out of context. Journalists, researchers, marketers, and even everyday users rely on reverse image search to confirm facts, detect plagiarism, or identify products seen online.
Google Lens and Google Images together offer two complementary pathways for image lookup. One excels in real-time scanning; the other in deep web analysis. Knowing when and how to use each method separates average users from those who extract maximum value from their searches.
“Reverse image search isn’t just a tool—it’s digital literacy. It empowers users to question what they see and verify before believing.” — Dr. Lena Patel, Digital Forensics Researcher at MIT Media Lab
Step-by-Step: How to Google Search a Picture Using Desktop
When working from a computer, Google Images provides the most robust platform for uploading and analyzing images. Follow this sequence for accurate results:
- Navigate to Google Images: Open your browser and go to images.google.com.
- Click the Camera Icon: Located inside the search bar, this symbol activates image upload options.
- Upload Your Image: Choose either “Upload an image” to select a file from your device or “Paste image URL” if the photo is already online.
- Analyze Results: After processing, Google displays visually similar images, web pages where the image appears, and related searches.
- Refine with Keywords: Add descriptive terms (e.g., “vintage car,” “mountain landscape”) to narrow results further.
Using Google Lens on Mobile Devices
For instant lookups on smartphones, Google Lens integrates seamlessly with Android and iOS devices through the Google app or Google Photos.
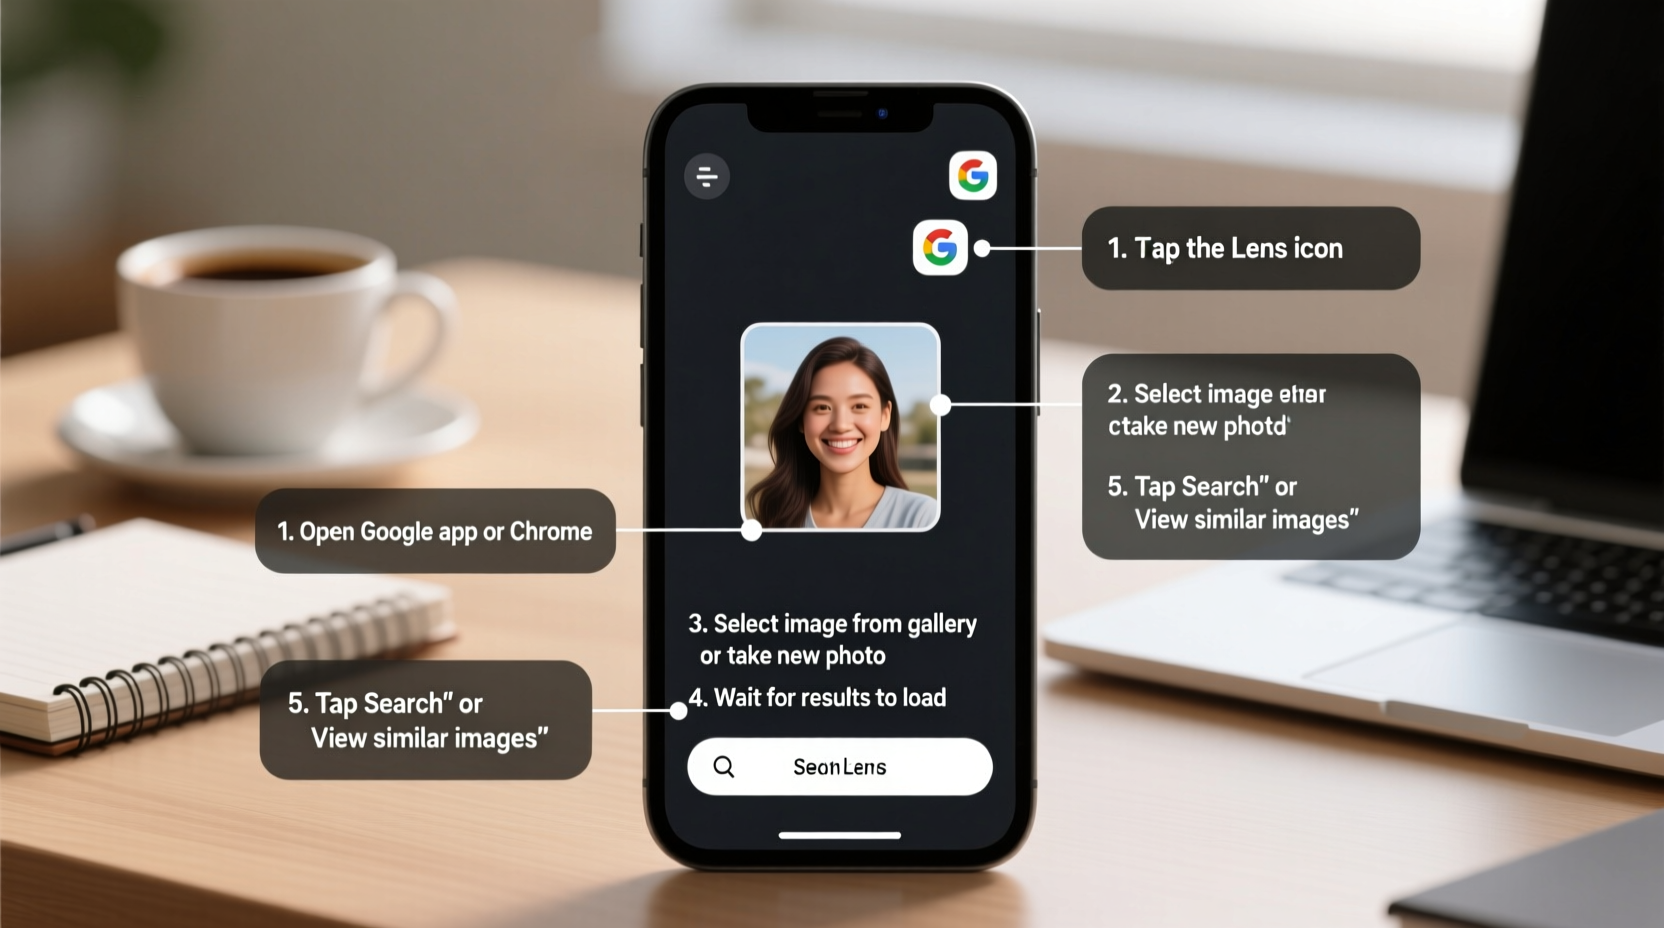
How to Use Google Lens via the Google App
- Open the Google app and tap the camera icon in the search bar.
- Select “Search with your camera” or choose an existing photo from your gallery.
- Point your camera at the object or highlight part of a saved image.
- Tap areas of interest—Google will identify text, products, landmarks, plants, animals, and more.
Accessing Google Lens in Google Photos
- Open any photo in Google Photos.
- If Lens is supported, a small icon (shaped like a square with a dot) appears at the bottom.
- Tap it to extract text, find similar items, or learn about recognized objects.
This functionality is especially useful when traveling—snap a sign in another language, and Lens translates it instantly. Or photograph a plant in your garden to discover its species and care requirements.
Maximizing Accuracy: Pro Tips for Better Image Lookups
Not all reverse searches yield clear answers. The quality of input directly affects output. Apply these strategies to improve accuracy and relevance.
Crop and Enhance Before Uploading
A blurry or overly complex image may confuse recognition algorithms. Use basic editing tools to zoom in on faces, logos, or unique patterns. Even slight sharpening can make a difference.
Leverage EXIF Data When Available
Some images contain embedded metadata (EXIF), including timestamps, GPS coordinates, and device info. While Google doesn’t display this publicly, third-party tools combined with reverse search can reconstruct timelines and locations.
Combine Text and Visual Search
After running a reverse image search, scan the results for recurring keywords or domains. Then perform a regular Google search using those terms alongside descriptors like “original source” or “copyright owner.”
Common Use Cases and Real-World Applications
Understanding theory is one thing—seeing it applied makes the difference. Here's a realistic scenario illustrating the power of precise image lookup.
Mini Case Study: Tracing a Viral Meme Back to Its Origin
A marketing student came across a humorous meme showing a man holding a sandwich with the caption “This is fine.” Curious whether it was newly created or recycled content, she uploaded the image to Google Images. The reverse search revealed the same face in multiple unrelated memes, leading her to a stock photography site. There, she found the original photo titled “Businessman smiling with lunch,” taken in 2017. Further digging showed the image had been widely repurposed since 2019 across political, tech, and lifestyle communities.
Her takeaway? Context changes meaning. By tracing the image back, she avoided misrepresenting its intent in her presentation and added depth to her analysis of internet culture.
Do’s and Don’ts of Image Searching
| Do’s | Don’ts |
|---|---|
| ✔️ Use high-resolution images whenever possible | ❌ Upload copyrighted material without permission |
| ✔️ Crop to focus on the main subject | ❌ Expect 100% accuracy with heavily edited or stylized images |
| ✔️ Combine visual search with keyword refinement | ❌ Assume the top result is always correct |
| ✔️ Verify findings across multiple sources | ❌ Share sensitive personal images publicly during search |
FAQ: Common Questions About Google Image Search
Can I search for a picture within a picture?
Yes. On mobile, use Google Lens to tap and isolate a specific area within a larger image. For example, if a screenshot contains a product, tap the product itself to search just that portion.
Why does my image return no results?
This often happens when the image is too new, highly modified, or not indexed anywhere online. Try searching a cropped version or adding contextual keywords. Also ensure the file format (JPG, PNG) is supported and under 16 MB.
Is reverse image search private?
Uploaded images are processed temporarily by Google but are not stored permanently or used for advertising. However, avoid uploading private or sensitive photos—especially if they contain personal identifiers like license plates or home interiors.
Checklist: Mastering Accurate Image Lookup
- ✅ Confirm the image is saved locally or accessible via URL
- ✅ Crop to highlight the primary subject
- ✅ Choose the right tool: Google Images (desktop) or Google Lens (mobile)
- ✅ Upload or paste the image correctly
- ✅ Review both visual matches and linked websites
- ✅ Refine with additional keywords based on initial results
- ✅ Cross-check information across multiple sources
- ✅ Respect copyright and privacy boundaries
Conclusion: Turn Images Into Insights
Searching by image is no longer a niche skill—it’s essential for navigating today’s visual web. From confirming authenticity to discovering origins and unlocking hidden details, the ability to accurately reverse-search a picture gives you control over information flow. These techniques work across industries, hobbies, and daily decisions. Whether you’re tracking down a fashion item, validating news, or exploring art history, every pixel holds potential.


 浙公网安备
33010002000092号
浙公网安备
33010002000092号 浙B2-20120091-4
Comments
No comments yet. Why don't you start the discussion?