
Green screen technology has transformed the way stories are told on screen, from blockbuster films to YouTube vlogs. When done well, it’s invisible—viewers see only the final scene, unaware that the subject was filmed in front of a solid-colored backdrop. But when executed poorly, green screen effects can look amateurish, distracting, and unprofessional. Achieving seamless compositing requires more than just software; it demands attention to lighting, setup, wardrobe, and post-production precision. Whether you're creating content for social media, educational videos, or indie filmmaking, mastering green screen is a powerful skill that elevates your production value.
Understanding the Green Screen Process
The principle behind green screen (also known as chroma keying) is simple: film a subject against a uniformly colored background—typically bright green—and use editing software to remove that color, replacing it with a new image or video. The reason green is used so often is because it's furthest from human skin tones, reducing the risk of accidentally removing parts of the subject. Blue screens are also used, particularly when dealing with subjects wearing green clothing or in high-end film production where blue film stock performs better under certain conditions.
However, simply placing someone in front of a green backdrop doesn’t guarantee success. The quality of the final composite depends on multiple factors, including fabric choice, lighting consistency, camera settings, and post-production technique.
“90% of a successful green screen shot happens before you even press record.” — Daniel Ruiz, VFX Supervisor, Indie Film Collective
Setting Up Your Green Screen Environment
A professional-looking result starts with proper setup. Many beginners overlook environmental details, assuming software will fix everything. In reality, poor setup leads to shadows, wrinkles, and uneven color—all of which complicate or ruin the keying process.
Choose the Right Backdrop Material
Use a non-reflective, matte green fabric or paint. Wrinkles and shine create variations in color that confuse keying algorithms. Seamless paper rolls, muslin cloth, or specialized chroma key backdrops work best. Avoid plastic sheets or painted walls unless they are perfectly smooth and evenly lit.
Light the Subject and Background Separately
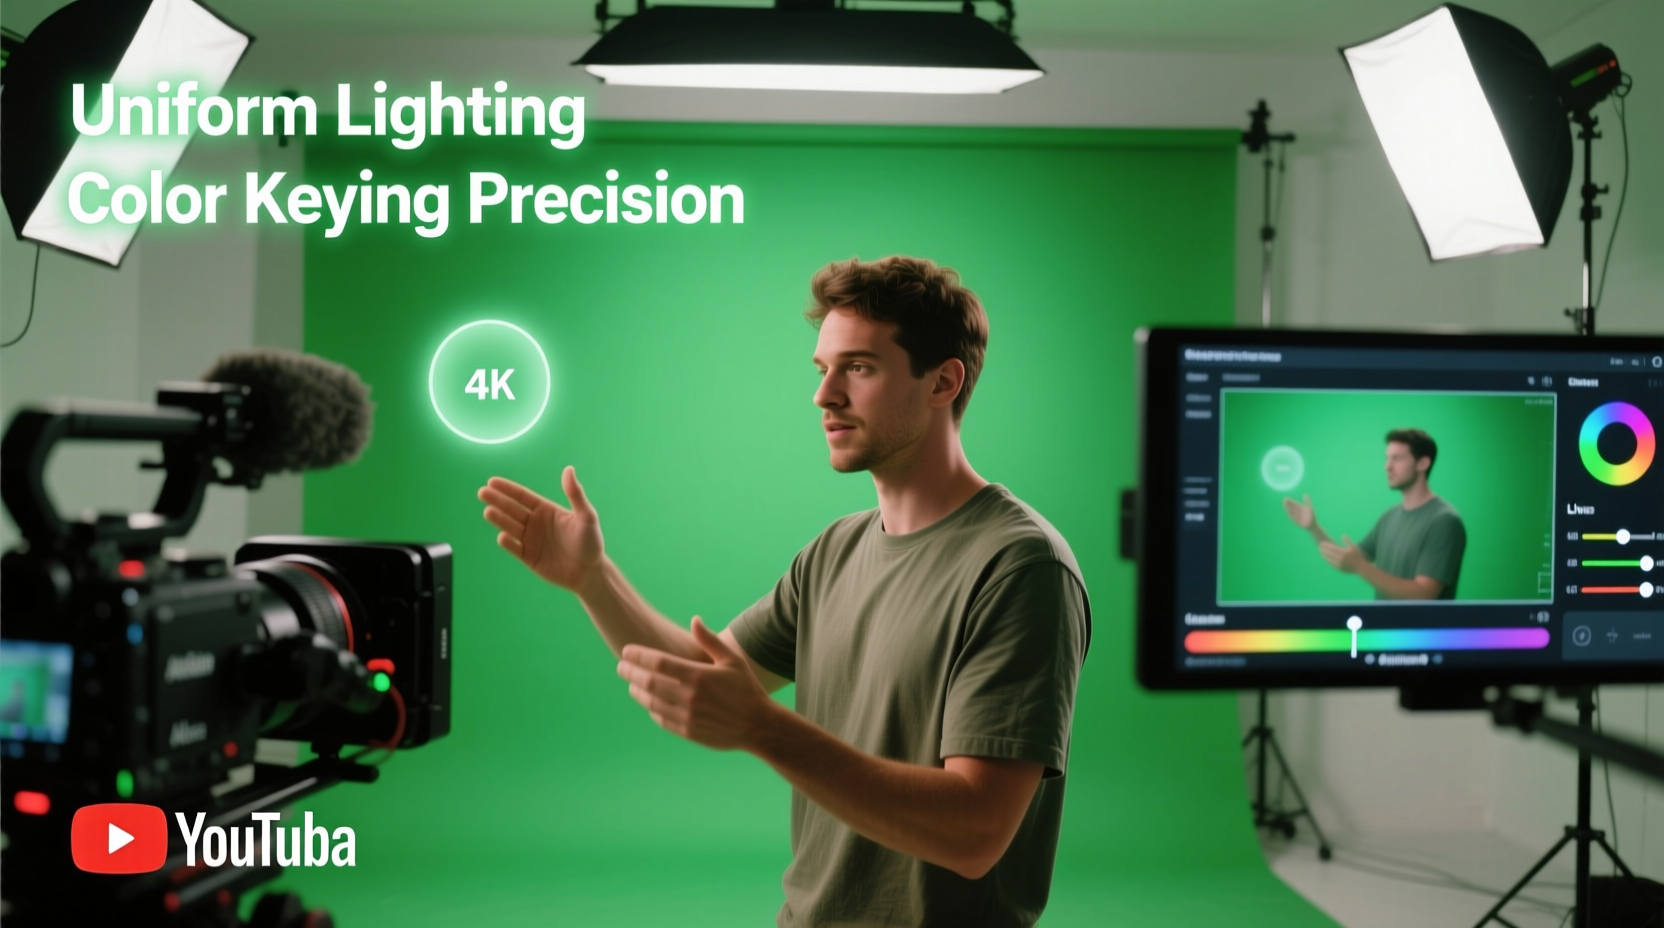
Ideal lighting ensures the green screen is uniformly illuminated without hotspots or shadows. Use at least two soft lights aimed at the backdrop, positioned to eliminate falloff at the edges. The subject should be lit independently, placed 6–10 feet in front of the screen to prevent green spill (color reflection onto the subject). This distance also helps maintain sharp separation between foreground and background.
Step-by-Step Guide to Shooting Green Screen Footage
- Prepare the space: Clear the area and set up your green backdrop smoothly, free of folds or creases.
- Position lights: Place two backlighting fixtures at 45-degree angles to the screen. Add soft key and fill lights for the subject.
- Dress appropriately: Ensure talent avoids wearing green or reflective clothing. Matte fabrics reduce glare.
- Frame the shot: Keep the subject centered and avoid rapid movements near screen edges to prevent partial transparency.
- Record test footage: Shoot a short clip and review it on a larger screen to check for shadows, color variation, or motion blur.
- Maintain consistent exposure: Lock camera settings (ISO, shutter speed, aperture) to avoid flicker during long takes.
Post-Production: Perfecting the Key
Once footage is captured, the real magic happens in editing. Most modern video editors—such as Adobe Premiere Pro, DaVinci Resolve, Final Cut Pro, and OBS Studio—include built-in chroma key tools. The goal is to cleanly extract the subject while preserving fine details like hair, motion, and transparency.
Keying Best Practices
- Start with the Chroma Key filter: Apply it and select the green tone using the eyedropper tool.
- Refine edge detection: Adjust parameters like similarity, spill suppression, and edge smoothing. Over-smoothing can create halos, so proceed carefully.
- Use masks when necessary: If parts of the subject blend into the background (e.g., translucent objects), apply manual masking to protect those areas.
- Add shadow layers: For realism, reintroduce subtle shadows cast by the subject onto the new background.
| Software | Best For | Key Feature |
|---|---|---|
| Adobe After Effects | High-end composites | Ultra-fine edge refinement with Refine Edge Tool |
| DaVinci Resolve | Color-accurate workflows | Fusion page offers node-based keying |
| OBS Studio | Live streaming | Real-time chroma key with low latency |
| iMovie | Beginners | Simplified green screen drag-and-drop interface |
Common Post-Production Mistakes
- Over-relying on automatic keying without manual adjustments
- Ignoring green spill on hair or clothing
- Using mismatched lighting between subject and new background
- Choosing unrealistic or overly busy replacement scenes
Mini Case Study: From Home Setup to Viral Video
Jessica Lin, a science educator and YouTuber, wanted to make her lessons more engaging. She purchased a $50 foldable green screen and two LED panels. Initially, her videos suffered from harsh shadows and uneven green tones. After researching best practices, she repainted her wall with matte green paint, added diffusers to her lights, and began shooting in 4K to allow for tighter cropping in post.
She also started using DaVinci Resolve instead of her basic editor, enabling finer control over spill suppression and edge blending. Within three months, her video retention rate increased by 40%, with viewers commenting on the “cinematic” quality of her animations. Her most popular video—a virtual journey through the human bloodstream—used layered 3D backgrounds keyed seamlessly behind her. Jessica credits her success not to expensive gear, but to disciplined setup and patient editing.
Essential Checklist for Flawless Green Screening
- Pre-Shoot
- ☐ Choose a wrinkle-free, matte green backdrop
- ☐ Set up separate lighting for subject and screen
- ☐ Position subject 6–10 feet from the screen
- ☐ Confirm no green clothing or reflective accessories
- During Shoot
- ☐ Use a tripod for stable framing
- ☐ Record in the highest resolution available
- ☐ Monitor for shadows and color inconsistencies
- Post-Production
- ☐ Apply chroma key effect and sample green tone
- ☐ Fine-tune edges and suppress spill
- ☐ Composite onto a realistically lit background
- ☐ Export in high bitrate to preserve quality
FAQ
Can I use a green bed sheet as a backdrop?
You can, but only if it’s stretched tightly and free of wrinkles. Most household fabrics are too thin and reflective, causing color variation. A dedicated chroma key fabric or painted wall yields far better results.
Why does my subject have a green halo?
This is typically caused by green spill reflecting onto the subject. Increase the distance between subject and screen, use flags or barn doors to control light spill, and apply spill suppression in post.
Is there a difference between green and blue screens?
Yes. Green reflects more light, making it ideal for digital video under normal lighting. Blue is often preferred in film production or when working with subjects who have darker skin tones, as green can sometimes interfere with natural undertones in challenging lighting.
Conclusion
Mastering green screen isn’t about having the latest equipment—it’s about understanding the interplay between light, color, and composition. With careful preparation and attention to detail, anyone can produce professional-quality visuals from a home studio. The key lies in consistency: consistent lighting, consistent color, and consistent workflow. As visual content becomes increasingly dominant across platforms, the ability to manipulate environments digitally is no longer a niche skill—it’s a necessity.


 浙公网安备
33010002000092号
浙公网安备
33010002000092号 浙B2-20120091-4
Comments
No comments yet. Why don't you start the discussion?