
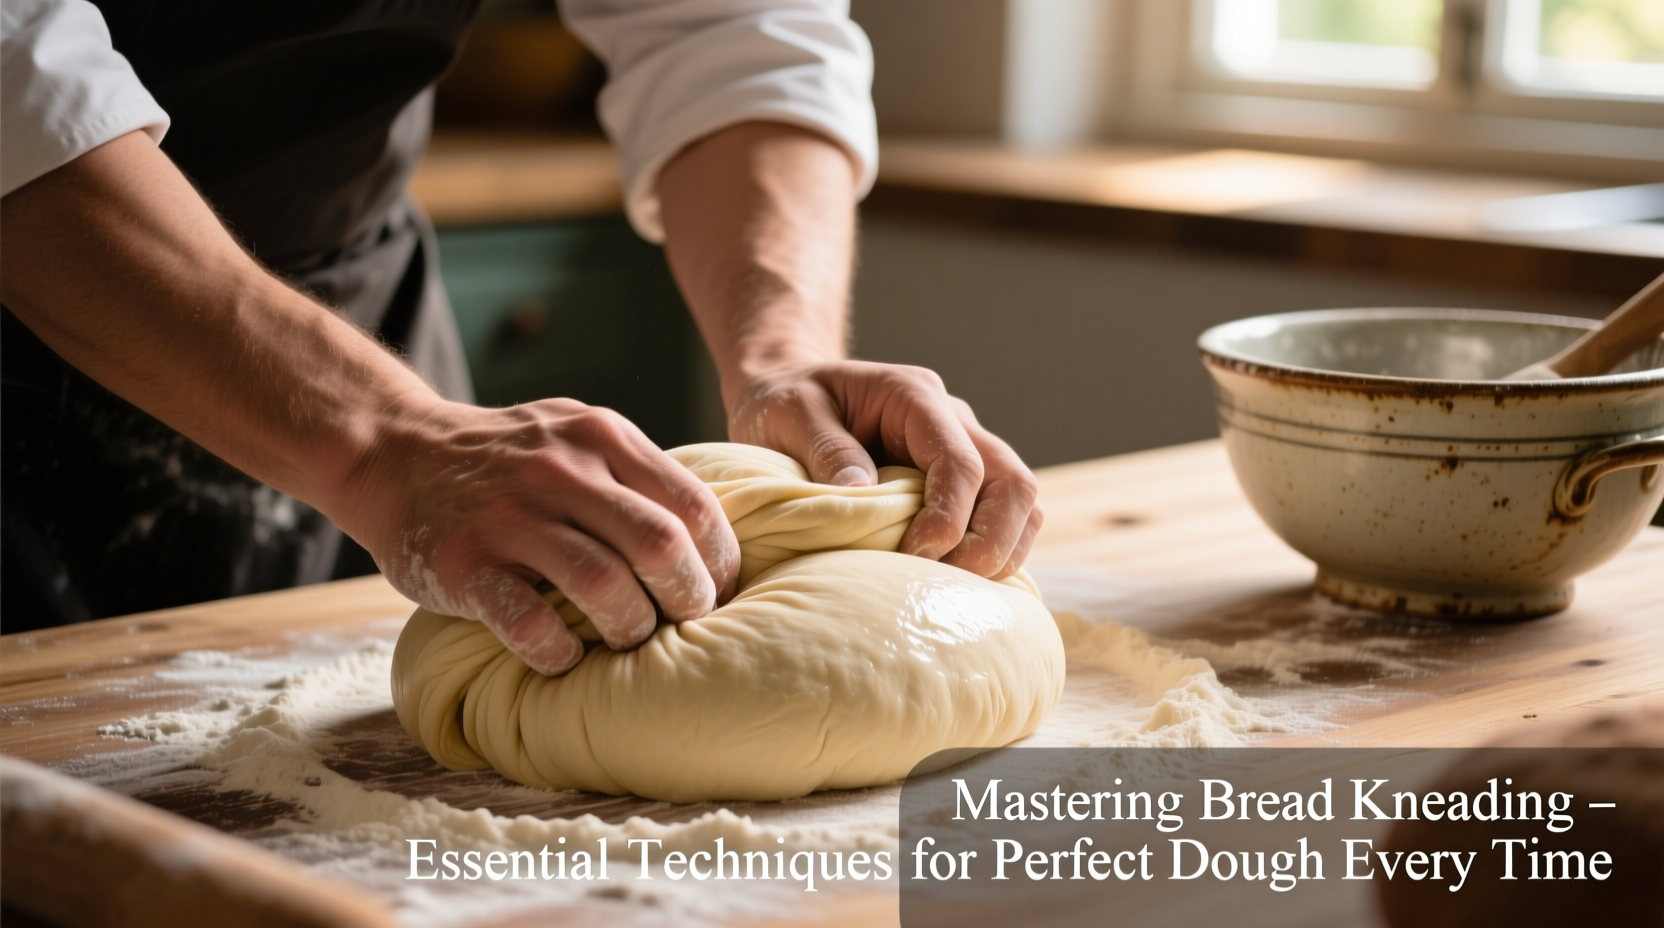
Kneading is the heart of bread making. It transforms a shaggy mass of flour, water, yeast, and salt into a smooth, elastic dough capable of trapping gas and rising into a light, airy loaf. While modern appliances can assist, understanding the physical process—and mastering the hand-kneading technique—gives bakers control, intuition, and confidence. Whether you're shaping your first boule or refining your sourdough skills, proper kneading is non-negotiable for consistent results.
The goal of kneading isn't just mixing ingredients—it’s developing gluten. As proteins in wheat (glutenin and gliadin) hydrate and align through mechanical action, they form a network that gives bread structure, chew, and oven spring. Without sufficient development, dough collapses; over-kneading leads to toughness. The sweet spot lies in technique, timing, and tactile awareness.
The Science Behind Gluten Development
Gluten forms when flour meets water. Initially weak and disorganized, the protein strands strengthen as they’re stretched and folded during kneading. This network becomes the scaffolding of your loaf—holding carbon dioxide from fermentation and expanding during baking.
Several factors influence gluten formation:
- Flour type: Bread flour (high protein, 12–14%) develops stronger gluten than all-purpose (10–12%).
- Hydration: Wetter doughs (70%+ hydration) require more careful handling but yield open crumb structures.
- Time: Longer bulk fermentation reduces kneading time by allowing enzymes and natural oxidation to assist gluten development.
- Salt: Strengthens gluten and slows fermentation—add it early unless using sensitive preferments.
“Kneading isn’t about force—it’s about rhythm and consistency. The dough tells you when it’s ready if you pay attention.” — Daniel Leader, author of *Local Breads*
Step-by-Step Guide: Hand Kneading Techniques
While stand mixers offer convenience, hand kneading builds sensory skills critical for adjusting recipes on the fly. Follow this sequence for reliable results:
- Initial Mix: Combine ingredients in a bowl until no dry flour remains. Let rest 10–15 minutes (autolyse) to improve hydration and reduce kneading time.
- Begin Kneading: Turn onto a lightly floured surface. Push the dough away with the heel of your hand, fold it back over itself, rotate 90 degrees, and repeat.
- Maintain Rhythm: Use steady, even pressure. Avoid excessive flour—only add enough to prevent sticking. A slightly tacky feel is normal.
- Check Progress: After 5–7 minutes, test elasticity. Stretch a small piece between your fingers. If it forms a translucent “windowpane” without tearing, gluten is developed.
- Final Rest: Shape into a ball, place in oiled bowl, cover, and begin bulk fermentation.
Alternative Kneading Methods
Not all effective gluten development requires aggressive kneading. These techniques suit delicate or high-hydration doughs:
- Stretch and Fold: During bulk fermentation, grab one edge of the dough, stretch it upward, and fold it across. Rotate and repeat on all four sides. Perform every 20–30 minutes for 2–3 rounds.
- Coil Folds: Ideal for wet sourdough. Lift the center of the dough, lift and tuck under itself in a spiral motion. Improves strength without degassing.
- French Slap Method: Throw the dough forward, slap it down, then quickly fold and pull back toward you. Creates intense aeration and rapid gluten development—best learned via video demonstration.
- Mixer Kneading: Use a dough hook on low speed for 5–7 minutes. Never exceed medium speed—overheating damages gluten.
Do’s and Don’ts of Kneading: Quick Reference Table
| Do’s | Don’ts |
|---|---|
| Use minimal flour when kneading to avoid dry, dense bread | Add too much flour—this alters hydration and inhibits gluten |
| Let dough autolyse before kneading for faster development | Rush the process—under-kneaded dough lacks structure |
| Feel the dough’s texture change—from sticky to smooth and elastic | Over-knead by machine—can lead to breakdown after 10+ minutes |
| Practice the windowpane test regularly to assess readiness | Ignore temperature—dough above 80°F (27°C) ferments too fast |
| Wash and oil hands before handling to reduce sticking | Use cold hands on warm dough—creates tension and uneven mixing |
Real Example: From Dense Loaf to Artisan Success
Sarah, a home baker in Portland, struggled for months with flat, gummy loaves. She followed recipes precisely but skipped kneading, relying solely on mixer time. Her dough never passed the windowpane test. After attending a local workshop, she learned to incorporate stretch-and-folds during fermentation and reduced added flour. Within two weeks, her sourdough had an open crumb and crisp crust. The breakthrough wasn’t new ingredients—it was understanding that gluten development happens over time and through mindful manipulation, not just motorized mixing.
Common Kneading Mistakes and How to Fix Them
- Dough sticks constantly: Resist adding flour. Instead, use a bench scraper and wet hands. Stickiness decreases as gluten strengthens.
- Dough tears easily: Under-developed or over-hydrated. Continue kneading gently or perform additional stretch-and-folds.
- Dough feels tight and won’t stretch: Overworked or too cold. Let it rest 10–15 minutes to relax the gluten before continuing.
- Kneading takes longer than expected: Low-protein flour or cold environment slows development. Warm the workspace or extend bulk fermentation.
FAQ: Your Kneading Questions Answered
How long should I knead bread by hand?
Typically 8–12 minutes of continuous kneading yields full development for standard loaves. However, using stretch-and-folds during fermentation can replace prolonged kneading, especially for sourdough.
Can I over-knead dough by hand?
Rarely. Most home bakers stop before reaching over-kneading territory. Machine kneading poses greater risk—after 10–12 minutes on medium speed, gluten may break down, leading to sticky, collapsed dough.
Why does my dough lose elasticity after resting?
If properly developed, dough should retain elasticity. Loss suggests under-kneading or enzymatic degradation due to excessive fermentation. Always monitor total fermentation time and temperature.
Essential Checklist for Perfect Dough Every Time
- Use the right flour for your recipe (bread flour for chewy loaves, AP for softer sandwich bread).
- Autolyse flour and water for 15–30 minutes before adding yeast and salt.
- Knead until smooth, supple, and capable of passing the windowpane test.
- Maintain dough temperature between 75–78°F (24–26°C) for optimal gluten and yeast activity.
- Use stretch-and-folds or coil folds during bulk fermentation to build strength gently.
- Trust tactile feedback over strict timing—every batch behaves differently based on humidity, flour age, and water quality.
Conclusion: Make Kneading Part of Your Baking Intuition
Mastering how to knead bread isn’t about replicating a timer or following rigid steps—it’s about building a relationship with your dough. With practice, you’ll learn to read its texture, respond to its needs, and shape it with confidence. The perfect loaf doesn’t come from perfectionism, but from repetition, observation, and care. Whether you’re folding ciabatta or shaping a classic batard, each movement strengthens not just gluten, but your skill as a baker.


 浙公网安备
33010002000092号
浙公网安备
33010002000092号 浙B2-20120091-4
Comments
No comments yet. Why don't you start the discussion?