
Adding interactivity to web pages is one of the core strengths of HTML, and linking images is a fundamental skill every beginner should master. Unlike plain text links, clickable images offer visual engagement while maintaining functionality. Whether you're building a personal blog, portfolio, or e-commerce site, knowing how to properly wrap an image in a hyperlink ensures your design remains both attractive and navigable.
This guide walks through the exact process of linking an image using standard HTML, explains common pitfalls, and provides practical tips to keep your code clean and accessible.
Understanding the Basic Structure
In HTML, images are embedded using the <img> tag, which is self-closing and requires the src attribute to specify the image file path. To make that image clickable, it must be wrapped inside an anchor <a> element, which defines the hyperlink destination via the href attribute.
The correct nesting order is crucial: the <img> tag goes *inside* the opening and closing <a> tags.
“Properly structured markup not only works better across devices but also supports accessibility tools like screen readers.” — Sarah Lin, Front-End Developer & Web Accessibility Advocate
Syntax Breakdown
Here’s the standard format:
<a href=\"destination-url\">
  <img src=\"image-path.jpg\" alt=\"descriptive text\">
</a>- href: The URL where the user will be taken when clicking the image.
- src: The path to the image file (can be relative or absolute).
- alt: Alternative text describing the image for accessibility and SEO.
alt attribute—even if it's empty (
alt=\"\")—to support screen readers and improve SEO.
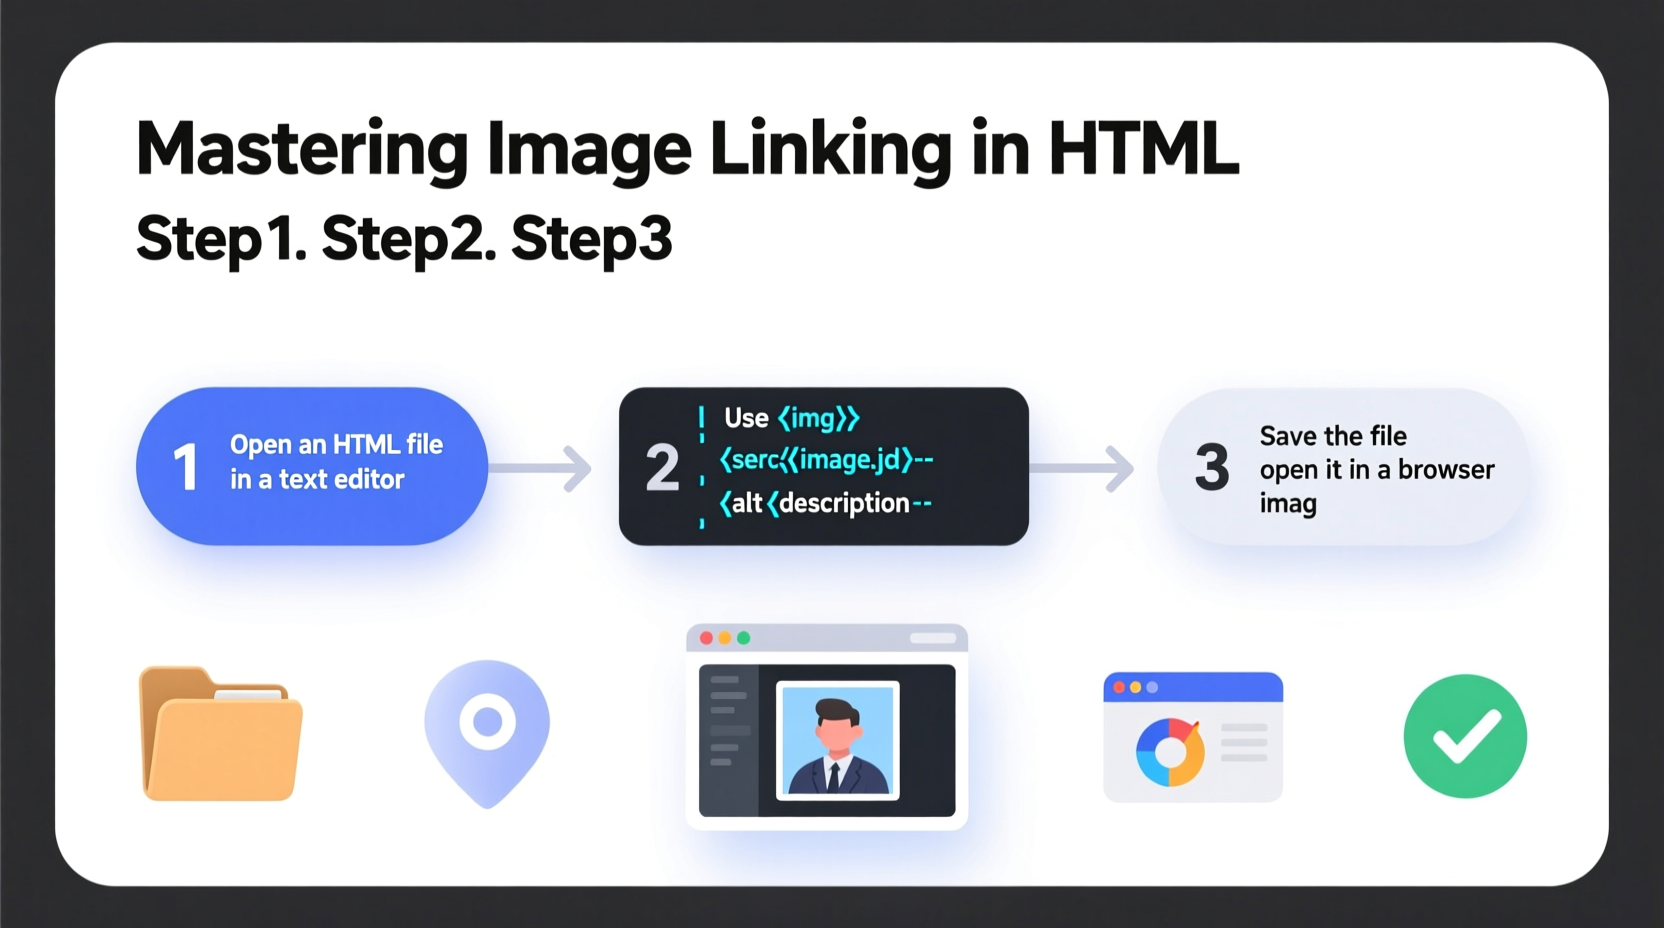
Step-by-Step Guide to Linking an Image
Follow these steps to successfully embed a linked image on your webpage:
- Choose your image – Save it in a dedicated folder (e.g.,
/images/) within your project directory. - Determine the destination URL – This could be another page on your site, an external website, or a downloadable file.
- Write the anchor tag with the
hrefattribute pointing to your target. - Insert the image tag inside the anchor, specifying the
srcandaltattributes. - Test the link in a browser to ensure it works as expected.
Example: Linking a Logo to the Homepage
If you want your site’s logo (stored in /images/logo.png) to return users to the homepage when clicked:
<a href=\"/index.html\">
  <img src=\"/images/logo.png\" alt=\"Company Home Page\">
</a>
This creates a clickable logo that enhances navigation without requiring additional buttons or text links.
Best Practices and Common Mistakes
While the syntax is simple, improper implementation can lead to broken links, poor accessibility, or unexpected behavior. Below is a comparison of recommended approaches versus frequent errors.
| Do’s | Don’ts |
|---|---|
Use descriptive alt text (e.g., alt=\"Red hiking boots on trail\") |
Avoid leaving alt blank unless the image is purely decorative |
Use lowercase filenames and hyphens in paths (e.g., my-photo.jpg) |
Don’t use spaces or uppercase letters in file names—some servers are case-sensitive |
Use relative paths for internal links (e.g., ../images/photo.jpg) |
Avoid hardcoding full URLs unless linking externally |
| Validate your HTML using tools like the W3C Markup Validator | Never omit closing </a> tags or misnest elements |
Common Pitfall: Misplaced Tags
A frequent error is placing the <a> tag incorrectly:
<img src=\"pic.jpg\" alt=\"Image\"></a>


<a href=\"page.html\"></a><img src=\"pic.jpg\" alt=\"Image\">
These result in invalid HTML. The anchor must fully wrap the image.
Real-World Example: E-Commerce Product Grid
Imagine building a product listing page where each item is represented by an image. Clicking the image should take the user to the product details page.
You might structure multiple items like this:
<div class=\"product-grid\">
  <a href=\"/products/sneakers.html\">
    <img src=\"/images/sneakers-thumb.jpg\" alt=\"White athletic sneakers\">
  </a>
  <a href=\"/products/backpack.html\">
    <img src=\"/images/backpack-thumb.jpg\" alt=\"Water-resistant hiking backpack\">
  </a>
</div>
This approach keeps the layout clean and scalable. As the site grows, new products can be added following the same pattern. Using semantic class names like product-grid also makes styling with CSS easier.
Frequently Asked Questions
Can I link an image to a downloadable file?
Yes. Set the href to the file path (e.g., href=\"/files/brochure.pdf\"). Users will download the file upon clicking. Consider adding a download icon or text hint for clarity.
What if my linked image isn’t working?
Check three things: (1) the file path in src is correct, (2) the image file exists and is spelled correctly, and (3) the <a> tag properly wraps the image. Use your browser’s developer tools to inspect the element and view console errors.
Should I use target=\"_blank\" for external links?
You can, but use it responsibly. Adding target=\"_blank\" opens the link in a new tab. However, always include rel=\"noopener\" for security: <a href=\"https://example.com\" target=\"_blank\" rel=\"noopener\">.
Final Checklist Before Publishing
Before launching your page, verify the following:
- ✅ All image paths are correct and files are uploaded.
- ✅ Every
<img>has an appropriatealtattribute. - ✅ Each linked image wraps cleanly inside
<a>tags. - ✅ External links use
rel=\"noopener\"when opening in a new tab. - ✅ The link destination loads correctly and returns a 200 status code.
- ✅ The design looks good on mobile and desktop screens.
Conclusion
Linking an image in HTML is a small task with significant impact on user experience. When done correctly, it blends visual appeal with seamless navigation. By understanding the proper structure, avoiding common errors, and applying best practices for accessibility and maintenance, you lay a strong foundation for more advanced web development work.


 浙公网安备
33010002000092号
浙公网安备
33010002000092号 浙B2-20120091-4
Comments
No comments yet. Why don't you start the discussion?