
Filo dough—also known as phyllo—is the delicate, paper-thin pastry that forms the backbone of many beloved Mediterranean and Middle Eastern desserts and savory dishes. From baklava to spanakopita, its crisp, flaky texture is unmatched. While store-bought versions are widely available, making filo dough from scratch elevates both flavor and control over ingredients. Achieving those impossibly thin, evenly layered sheets requires patience, technique, and a few insider tricks. This guide walks you through the entire process, from mixing the first batch to baking golden results.
The Science Behind Filo: Why Technique Matters
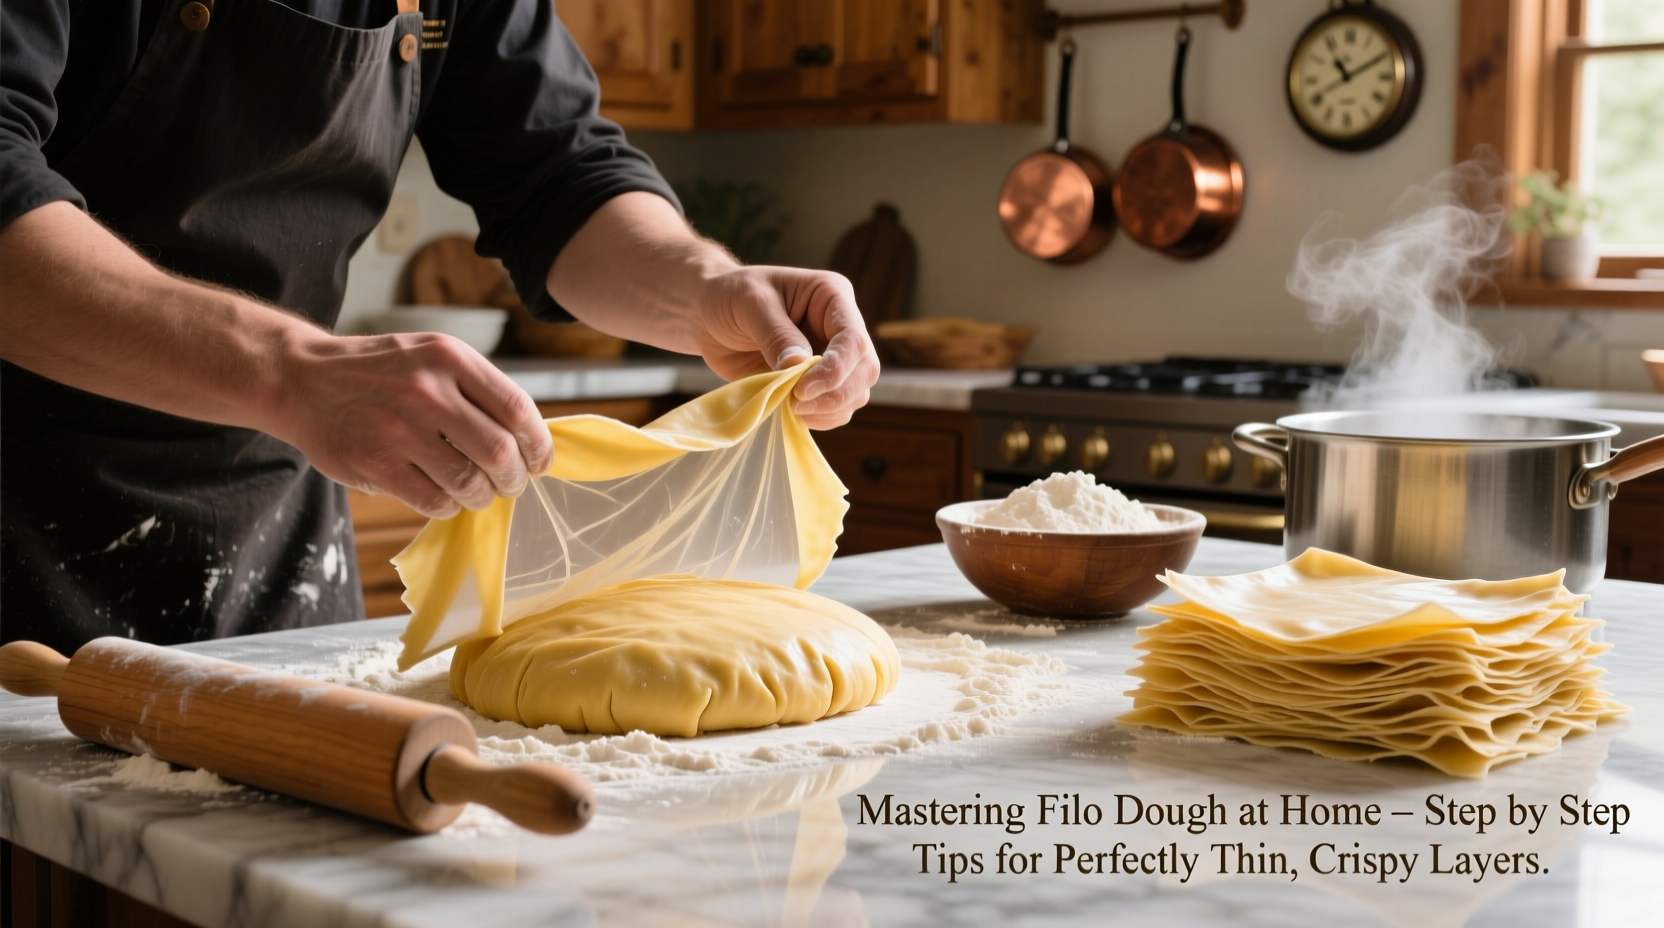
Filo dough’s magic lies in its simplicity: flour, water, salt, oil, and time. Unlike puff pastry, it doesn’t rely on laminated butter but instead achieves its structure through repeated stretching and folding. The gluten network must be strong enough to stretch without tearing, yet supple enough to roll paper-thin. Overworking or under-hydrating the dough leads to brittleness; too little kneading results in poor elasticity.
Hydration plays a critical role. A slightly sticky dough (around 60–65% hydration) stretches better than a dry one. Resting allows gluten to relax, preventing shrinkage during rolling. Each rest period—typically 30 minutes after kneading and between stretch sessions—gives the dough memory recovery, essential for thinning without snapping.
“Homemade filo isn’t about perfection—it’s about consistency. Even slightly uneven sheets bake beautifully when layered with butter.” — Leila Nassar, Pastry Chef & Middle Eastern Baking Instructor
Step-by-Step Guide to Making Filo Dough at Home
While traditionally stretched by hand on a large table, home cooks can achieve excellent results using a rolling pin and careful handling. Follow this timeline for best results:
- Mix the dough: Combine 2 cups all-purpose flour, 1/2 tsp salt, 1 tbsp olive oil, and 3/4 cup warm water. Mix until shaggy, then knead 10–12 minutes until smooth and elastic.
- Rest covered: Place dough in a bowl, brush with oil, cover with plastic wrap, and let rest 1 hour at room temperature.
- Divide into small balls: Split into 8–10 equal pieces (about 30g each). Keep unused portions covered.
- Roll each ball: On a lightly floured surface, roll one ball into the thinnest possible circle. Rotate frequently and flip to prevent sticking.
- Layer with oil: Brush each sheet lightly with melted butter or oil. Stack immediately if using later.
- Use or freeze: Use within 2 hours for peak freshness, or freeze layered sheets with parchment between them.
Essential Tools and Ingredients Checklist
Success starts with preparation. Gather these before beginning:
- All-purpose or pastry flour (high protein helps elasticity)
- Olive oil or melted butter (for brushing and resting)
- Warm water (not hot—can cook the flour)
- Rolling pin (preferably long and smooth)
- Clean kitchen towel or plastic wrap (to prevent drying)
- Bench scraper (helps lift and turn dough)
- Parchment paper (for stacking and freezing)
Common Pitfalls and How to Avoid Them
Even experienced bakers encounter issues with homemade filo. The following table outlines frequent problems and their solutions:
| Issue | Causes | Solutions |
|---|---|---|
| Dough tears easily | Under-kneaded, too dry, insufficient rest | Knead longer, add water gradually, rest 30 min between attempts |
| Sheets shrink when rolled | Gluten still tense from lack of rest | Let dough rest longer—up to 1 hour per ball if needed |
| Dough sticks to surface | Too much moisture, inadequate dusting | Use cornstarch, lift often with bench scraper |
| Uneven thickness | Inconsistent rolling pressure, not rotating dough | Apply even pressure, rotate dough 90° every few rolls |
| Baked layers are tough | Not enough fat between layers, overbaked | Brush generously with butter, monitor oven closely |
Real Example: Homemade Baklava Success Story
Sarah, a home baker in Portland, had always relied on frozen filo for her holiday baklava. After two failed attempts at handmade dough—both resulting in torn sheets and soggy pastries—she adjusted her method. She increased hydration slightly, used cornstarch on her board, and gave each ball a full 45-minute rest before rolling. Her third attempt yielded translucent sheets that layered beautifully. After brushing each with clarified butter and layering with walnuts and honey syrup, the baklava baked to a deep amber with audible crunch upon slicing. “It tasted like my grandmother’s,” she said. “The homemade dough made all the difference in texture and flavor.”
Pro Tips for Perfectly Thin, Crispy Layers
- Work in a draft-free area: Airflow dries out exposed dough quickly, increasing tear risk.
- Keep layers covered: Drape unused sheets with a damp cloth while working to prevent cracking.
- Clarified butter > oil: It has a higher smoke point and imparts richer flavor without burning.
- Roll toward yourself: This gives better control and even pressure distribution.
- Freeze for future use: Layer sheets with parchment, seal in airtight bags, and freeze up to 3 months. Thaw slowly in fridge before use.
FAQ: Your Filo Dough Questions Answered
Can I make filo dough without a rolling pin?
Yes, though more challenging. Traditional methods use hands and a convex wooden board called a *sac*. With practice, you can stretch small rounds by hand, rotating and gently pulling edges outward. Start with larger, thicker sheets if freehand stretching.
Why does my filo dough taste bland?
Plain filo should be neutral, but some bakers add a pinch of sugar or replace part of the water with milk for subtle richness. The real flavor comes from fillings and butter, so focus on quality fats and seasoning between layers.
How thin should filo dough be?
Ideal thickness is nearly transparent—about 1/64 inch (0.4 mm) or less. You should be able to read newsprint through it. Don’t aim for perfection; consistent thinness across the sheet matters more than absolute thinness.
Final Thoughts: Mastery Through Practice
Perfecting homemade filo dough is less about precision and more about rhythm. The first few batches may test your patience, but each attempt builds muscle memory and intuition. Embrace imperfections—slightly uneven sheets still deliver incredible crispness when baked properly. The reward is unmistakable: a depth of flavor and texture no store-bought version can replicate.
Start small. Make one or two sheets at a time. Focus on relaxation, even rolling, and proper layering. With each batch, you’ll gain confidence and skill. Soon, you’ll be crafting delicate desserts and savory pies that impress both visually and texturally.


 浙公网安备
33010002000092号
浙公网安备
33010002000092号 浙B2-20120091-4
Comments
No comments yet. Why don't you start the discussion?