
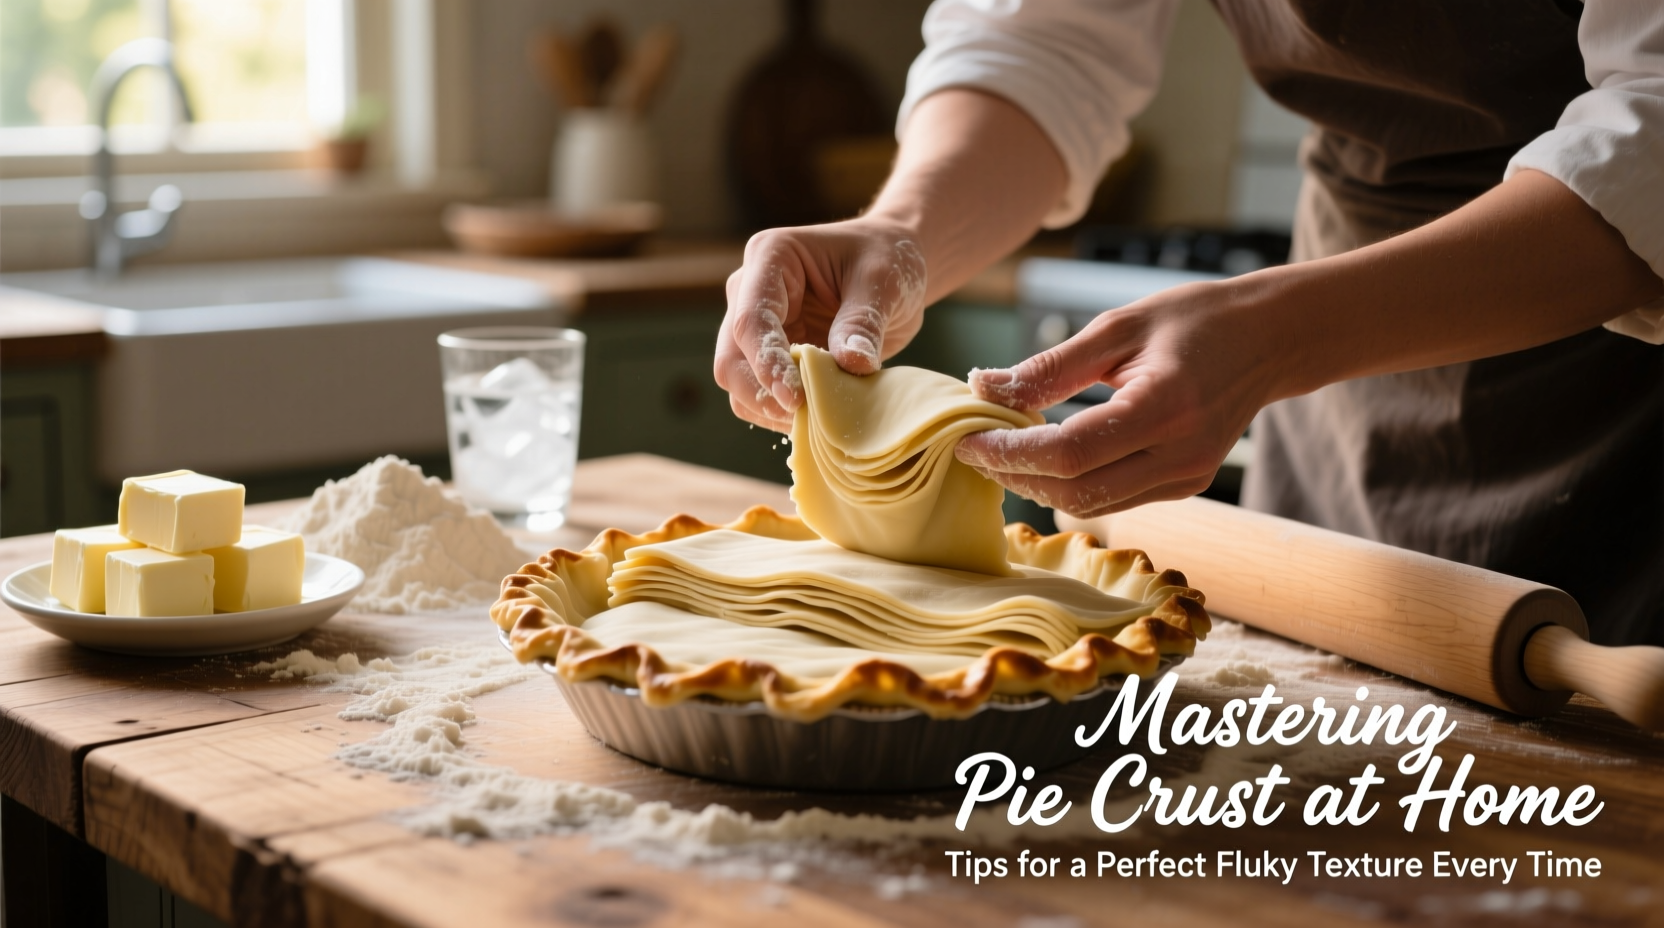
There’s something deeply satisfying about pulling a golden, flaky pie crust from the oven—one that shatters delicately at the fork, revealing layers of buttery richness beneath. Yet for many home bakers, achieving this ideal texture feels elusive. Crusts crack, shrink, or turn out tough despite careful effort. The truth is, perfect pie crust isn’t magic; it’s science and technique. With the right ingredients, temperature control, and method, anyone can master homemade pie dough. This guide breaks down the essentials for consistent, restaurant-quality results every time.
The Science Behind Flakiness
Flakiness in pie crust comes from pockets of steam created when cold fat (typically butter or shortening) melts during baking. These steam pockets separate thin layers of dough, creating lift and delicate texture. Gluten development must be minimized—too much mixing leads to chewiness instead of tenderness. The balance lies in handling the dough as little as possible while still bringing it together cohesively.
Fat choice plays a crucial role. Butter provides superior flavor and contributes to flakiness through its water content, which turns to steam. Shortening has a higher melting point and creates more consistent structure, reducing shrinkage. Many bakers use a blend—60% butter, 40% shortening—for optimal taste and performance.
Essential Ingredients and Their Roles
Every ingredient in pie crust serves a purpose. Understanding these roles allows for smarter substitutions and troubleshooting.
- All-purpose flour: Provides structure via gluten. Pastry flour (lower protein) can yield a more tender crust but may be harder to handle.
- Fat: Creates flakiness and richness. Must remain cold until baking.
- Cold liquid: Binds the dough without activating excess gluten. Ice water is standard; some add vinegar or vodka to inhibit gluten formation.
- Salt: Enhances flavor and slightly tightens gluten strands.
- Optional acid (e.g., apple cider vinegar): Tenderizes by weakening gluten networks, improving workability.
“Temperature is the silent hero of pie crust. Cold ingredients and minimal handling are non-negotiables.” — Claire Thompson, Pastry Chef & Cookbook Author
Step-by-Step Guide to Perfect Pie Crust
Follow this timeline-based method for reliable results. Total active time: 20 minutes. Chill time: at least 1 hour (up to 2 days).
- Chill all ingredients and tools: Place butter, shortening (if using), and water in the freezer for 15–30 minutes. A chilled bowl and pastry cutter or food processor blade help maintain low temperatures.
- Mix dry ingredients: Whisk 2½ cups all-purpose flour and 1 tsp salt in a large bowl. Optional: Add 1 tbsp sugar for sweet pies.
- Incorporate cold fat: Cut in 1 cup (2 sticks) cold butter or butter-shortening mix until pea-sized crumbs form. Use a pastry cutter, two forks, or pulse in a food processor.
- Add ice-cold liquid: Sprinkle ¼ cup ice water mixed with 1 tbsp vodka or vinegar over the flour. Gently mix with a fork. Add up to ¼ cup more water, 1 tbsp at a time, just until the dough begins to clump.
- Form the dough: Turn onto a floured surface. Press gently into two disks—one slightly larger for the bottom crust, one smaller for the top. Wrap in plastic and refrigerate for at least 1 hour.
- Roll out carefully: On a lightly floured surface, roll one disk from center outward, rotating occasionally to prevent sticking. Aim for ⅛-inch thickness and a 12-inch diameter.
- Transfer to pie dish: Fold dough in quarters, place over dish, unfold, and gently press into corners without stretching.
- Bake or fill: For pre-baked (blind-baked) crusts, line with parchment, fill with pie weights, and bake at 375°F (190°C) for 15 minutes. Remove weights and bake 10–15 minutes more until golden.
Do’s and Don’ts: What Makes or Breaks Your Crust
| Do | Don’t |
|---|---|
| Keep everything cold—bowl, fat, liquid, even your hands. | Use warm ingredients or work in a hot kitchen. |
| Handle dough minimally; overworking develops gluten. | Knead the dough like bread. |
| Chill dough before rolling and again before baking if time allows. | Skip chilling—this causes shrinkage during baking. |
| Use a combination of fats for best flavor and texture. | Rely solely on margarine or oil, which lack proper structure. |
| Let dough rest in the fridge to relax gluten. | Stretch dough into the pan—it will shrink back. |
Real Example: From Failure to Flawless
Sarah, an avid home baker in Portland, struggled for years with cracked, tough pie crusts. She followed recipes precisely but overlooked temperature. Her butter was “cold” from the fridge, not frozen, and her kitchen was warm. After switching to grated frozen butter and chilling her bowl and flour, she noticed immediate improvement. She also began adding 1 tbsp of apple cider vinegar to her ice water, which made the dough more pliable without sacrificing flakiness. Her pumpkin pie last Thanksgiving received rave reviews—not for the filling, but for the “crisp, melt-in-your-mouth crust.”
Checklist for Success
Before you start, ensure you’ve covered these critical steps:
- ✅ Butter and shortening are very cold (preferably frozen for 15 minutes)
- ✅ Ice water is ready (with optional vinegar or vodka)
- ✅ Mixing bowl and tools are chilled
- ✅ Flour measured correctly (spoon and level, don’t scoop)
- ✅ Work surface and rolling pin lightly floured
- ✅ Dough will chill for at least 1 hour before rolling
- ✅ Oven preheated and pie dish ready
Frequently Asked Questions
Why does my pie crust shrink during baking?
Shrinkage occurs when gluten is overdeveloped or the dough wasn’t chilled sufficiently. Stretching the dough to fit the pan also causes it to pull back. To prevent this, avoid overmixing, chill thoroughly, and let the dough relax in the pan before baking.
Can I make pie crust ahead of time?
Absolutely. Wrap dough disks tightly in plastic and refrigerate for up to 3 days or freeze for 3 months. Thaw frozen dough in the refrigerator overnight before rolling.
What’s the best fat for flaky pie crust?
Butter offers the best flavor and contributes to flakiness through steam. For maximum tenderness and less shrinkage, a blend of ¾ cup butter and ¼ cup shortening is ideal. Lard is traditional and excellent for savory pies.
Final Tips for Consistent Results
Humidity, flour type, and even altitude affect dough behavior. Keep notes on what works in your kitchen. If your dough feels too dry, sprinkle with more ice water—one teaspoon at a time. If sticky, dust with flour sparingly. Always err on the side of under-hydration; you can add moisture, but you can’t remove it.
For extra browning and shine, brush the top crust with an egg wash (1 egg beaten with 1 tbsp water) before baking. Sprinkle with coarse sugar for sweetness and crunch.
Conclusion: Your Perfect Crust Starts Now
Mastering pie crust is within reach. It doesn’t require fancy equipment or years of training—just attention to temperature, technique, and timing. Once you understand the principles behind flakiness, each attempt becomes more intuitive. Whether you’re making apple, pecan, or quiche, a well-executed crust elevates the entire dish.


 浙公网安备
33010002000092号
浙公网安备
33010002000092号 浙B2-20120091-4
Comments
No comments yet. Why don't you start the discussion?