
Printing a document may seem like a simple task, but the difference between a hastily printed page and one that looks polished and professional can affect how your work is perceived. Whether you're submitting an academic paper, preparing a business report, or printing creative content, attention to detail in formatting, printer settings, and paper selection makes all the difference. This guide walks you through each stage of the printing process with precision, ensuring consistently high-quality output.
1. Prepare Your Document for Printing
The foundation of a well-printed paper begins long before it reaches the printer. Digital preparation ensures that layout, fonts, and margins translate accurately onto physical paper.
Start by reviewing your document in Print Layout or Print Preview mode. This view simulates how the final product will appear, revealing issues such as awkward page breaks, misaligned images, or text cutoffs. Adjust margins to at least 1 inch on all sides unless specific guidelines (like APA or MLA) require otherwise. Use standard fonts like Times New Roman, Arial, or Calibri in 10–12 pt size for optimal readability.
Check headers, footers, and page numbers. If your paper includes citations or references, ensure they follow the required style guide. Inserting section breaks can help manage different formatting needs—such as landscape orientation for charts—without disrupting the rest of the document.
2. Select the Right Paper and Printer Settings
Not all paper is created equal. The type of paper you choose influences the appearance, durability, and professionalism of your printed piece.
| Paper Type | Best For | Weight (gsm) | Finish |
|---|---|---|---|
| Bond Paper | Essays, reports, letters | 75–90 gsm | Matte |
| Copier Paper | Everyday printing | 75 gsm | Semi-gloss |
| Cardstock | Covers, presentations | 120–200 gsm | Matte or glossy |
| Recycled Paper | Eco-conscious printing | 70–80 gsm | Matte |
For most formal documents, 80–90 gsm bright white bond paper delivers a clean, professional look. Avoid off-white or yellowed paper, which can give the impression of age or poor quality.
Printer settings are equally critical. In your print dialog box:
- Select “High Quality” or “Best” print mode.
- Choose “Print in Grayscale” only if color isn’t essential—this saves ink and maintains clarity.
- Ensure “Scale to Fit” is unchecked unless intentional resizing is needed.
- Use “Duplex” (double-sided) printing when appropriate to reduce paper use.
“Consistency in paper weight and finish contributes significantly to the perceived credibility of a printed document.” — Dr. Alan Reeves, Technical Communications Specialist, University of Michigan
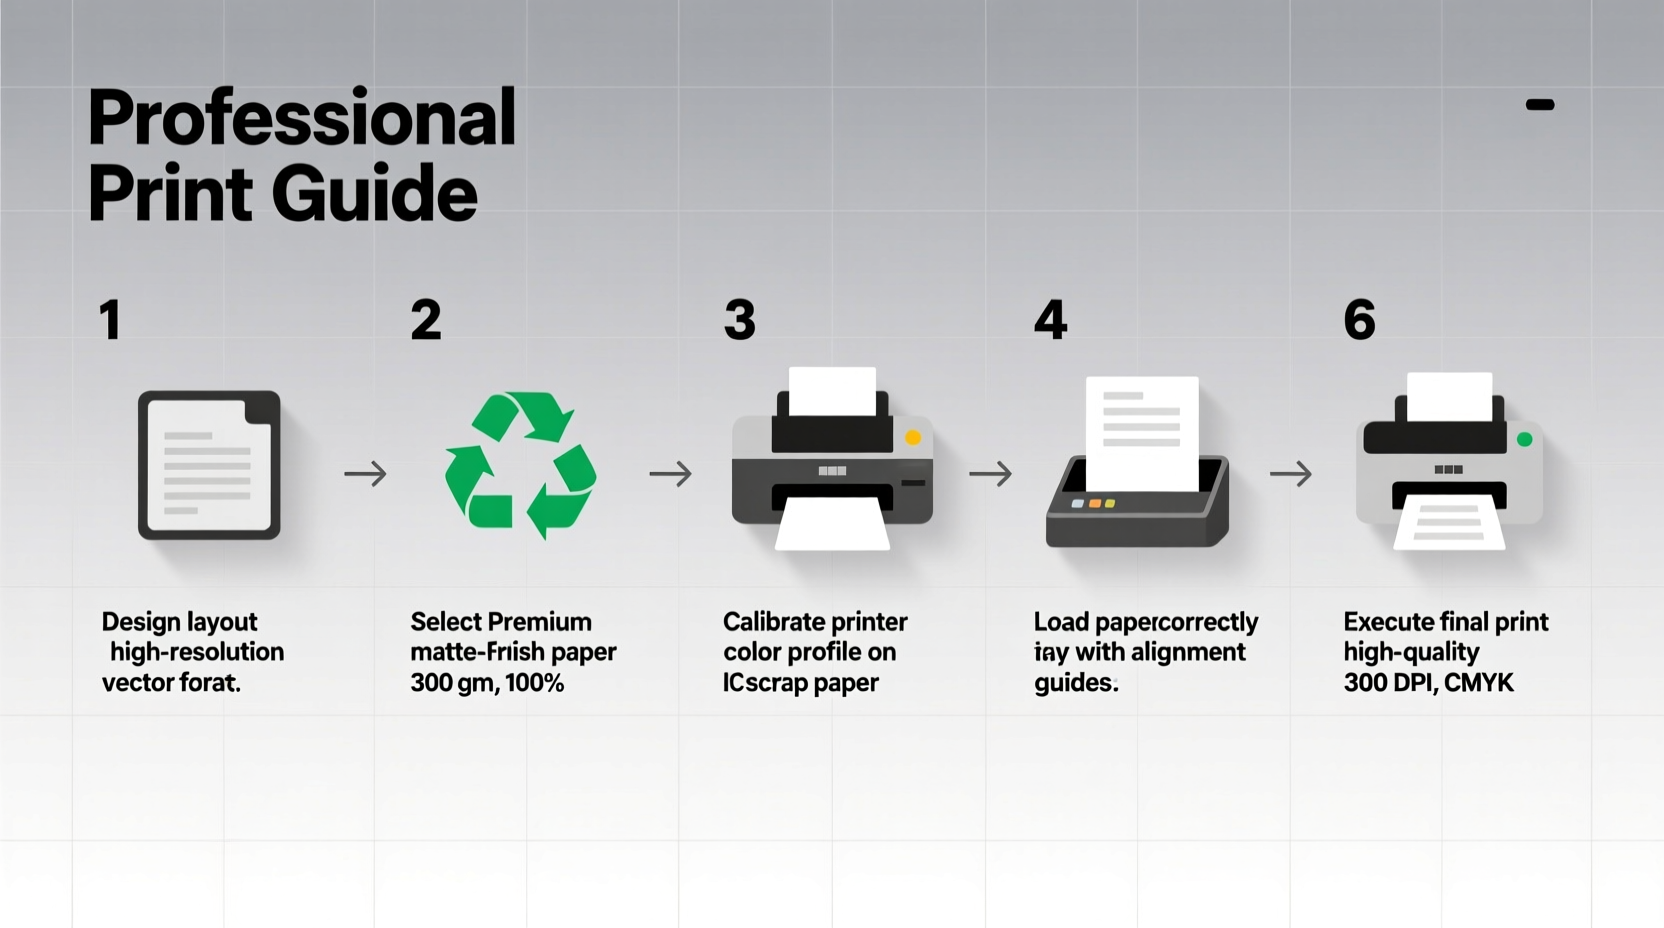
3. Step-by-Step Guide to Printing Your Paper
Follow this chronological checklist to produce a flawless printed copy:
- Finalize Content: Proofread spelling, grammar, and formatting. Use tools like Grammarly or Hemingway Editor for additional accuracy.
- Export as PDF: Save your document as a PDF to lock in fonts, spacing, and layout integrity.
- Open Print Dialog: Press Ctrl+P (Cmd+P on Mac) and select your printer.
- Adjust Page Range: Choose “All” for full documents or specify pages if printing sections.
- Set Orientation: Confirm Portrait for standard papers; switch to Landscape only for wide tables or diagrams.
- Select Paper Size: Usually Letter (8.5” x 11”) in the U.S., A4 elsewhere. Match exactly to your paper tray.
- Choose Quality Settings: Set print quality to “High” or “Best” for sharp text and crisp lines.
- Load Paper Correctly: Fan sheets before loading to prevent jams. Align edges in the tray and adjust guides snugly.
- Print a Test Page: Print one copy first to verify alignment, margins, and toner/ink levels.
- Review and Approve: Check for smudges, fading, or misfeeds. Make adjustments if necessary.
- Print Final Copy: Once satisfied, proceed with full printing.
4. Real-World Example: Printing a Research Paper Under Deadline
Consider Maria, a graduate student preparing her thesis proposal for a faculty review panel. She finishes writing at midnight the night before submission. Instead of rushing straight to print, she takes 20 minutes to review her document in PDF format. She notices that a table spans two pages awkwardly and adjusts column widths to fit on one. She exports the file, selects premium 90 gsm paper, and prints a single test page. The initial print shows faint text, indicating low toner. She replaces the cartridge, reprints the test, and confirms clarity. Her final six-page document is printed double-sided, stapled at the top left, and delivered professionally bound in a clear sleeve.
This careful approach ensured her work was judged on content—not technical flaws. Had she skipped even one step, smudged text or poor formatting could have undermined her credibility.
5. Common Mistakes and How to Avoid Them
Even experienced users make errors that compromise print quality. Awareness helps prevent avoidable setbacks.
- Using Low-Quality Draft Mode: While faster, draft mode reduces resolution and ink coverage, leading to faded text.
- Ignoring Printer Maintenance: Dust, dried ink, or paper debris inside the printer causes streaks and jams. Clean rollers and print heads monthly.
- Overloading the Tray: Too many sheets increase jam risk. Load no more than 150–200 sheets at a time.
- Mismatched Paper Size: Feeding A4 into a tray set for Letter causes misalignment. Always confirm both software and hardware settings match.
- Skipping the Test Print: Assuming everything will print correctly risks wasting time and materials.
6. Frequently Asked Questions
Why does my printed text look blurry or pixelated?
Blurry output usually stems from low-resolution source files or incorrect printer settings. Ensure your document is at least 300 DPI when converted to PDF, and select “High Quality” print mode. Also, check that your printer drivers are up to date.
Can I use any type of paper in my home printer?
No. Most consumer printers support plain, inkjet, or laser paper up to 100 gsm. Heavier cardstock or specialty finishes may require manual feed or a printer designed for thicker media. Always consult your printer’s manual for compatible paper types.
How do I fix a paper jam without damaging the printer?
Turn off the printer first. Gently pull the paper out in the direction of the paper path—never force it backward. Remove torn fragments with tweezers if needed. After clearing, close trays and power back on. Regular cleaning reduces future jams.
Final Checklist Before Hitting Print
Before finalizing your print job, run through this concise checklist:
- ✅ Document finalized and proofread
- ✅ Saved as PDF to preserve formatting
- ✅ Correct paper loaded and aligned in tray
- ✅ Printer settings: High quality, correct size/orientation
- ✅ Test page printed and reviewed
- ✅ Toner/ink levels sufficient
- ✅ Final copies printed and inspected
Conclusion: Elevate Your Professional Image Through Precision Printing
A well-printed paper reflects discipline, attention to detail, and respect for the reader. It’s not just about transferring words from screen to paper—it’s about presenting your ideas in their strongest possible form. By mastering the steps outlined here, from digital preparation to physical output, you ensure that your work communicates competence and care.


 浙公网安备
33010002000092号
浙公网安备
33010002000092号 浙B2-20120091-4
Comments
No comments yet. Why don't you start the discussion?