
Printing a picture on a shirt is more than just transferring an image—it’s about creating wearable art. Whether you're designing custom apparel for personal use, a small business, or a special event, achieving professional-quality results requires precision, the right materials, and a clear understanding of available methods. From inkjet transfers to screen printing and heat presses, each technique offers distinct advantages depending on your needs, budget, and volume. This guide walks you through every essential phase, ensuring your designs look sharp, last through washes, and stand out with confidence.
Choosing the Right Printing Method
Not all shirt printing techniques are created equal. The method you choose affects durability, color vibrancy, cost, and scalability. Here's a breakdown of the most common approaches:
- Inkjet Transfer Paper: Ideal for beginners and one-off projects. Requires a standard inkjet printer and iron or heat press.
- Laser Toner Transfer: More durable than inkjet, suitable for dark fabrics when using specialty transfer paper.
- Heat Transfer Vinyl (HTV): Best for solid-color graphics or text but can be layered for complex images with proper cutting tools.
- Screen Printing: Professional-grade, perfect for bulk orders. Offers rich colors and longevity but has a steep learning curve.
- Direct-to-Garment (DTG) Printing: Uses specialized printers that apply ink directly onto fabric. Excellent for full-color photos and fine detail.
Step-by-Step Guide to Printing a Picture on a Shirt
Follow this detailed process to ensure crisp, lasting prints every time. This example uses the inkjet transfer method—accessible, affordable, and effective for home users.
- Select Your Image: Choose a high-resolution image (300 DPI minimum). Avoid blurry or pixelated photos. Edit brightness and contrast if needed.
- Print Mirror Image: Flip your design horizontally before printing. This ensures correct orientation after transfer.
- Use Transfer Paper: Load transfer paper into your inkjet printer according to manufacturer instructions. Print your mirrored image.
- Cut Out the Design: Trim excess paper around the image, leaving a small border if needed.
- Preheat the Shirt: Iron the garment flat to remove moisture and wrinkles. This improves adhesion.
- Position the Transfer: Place the printed side down where you want the image. Cover with a thin cotton cloth or parchment paper.
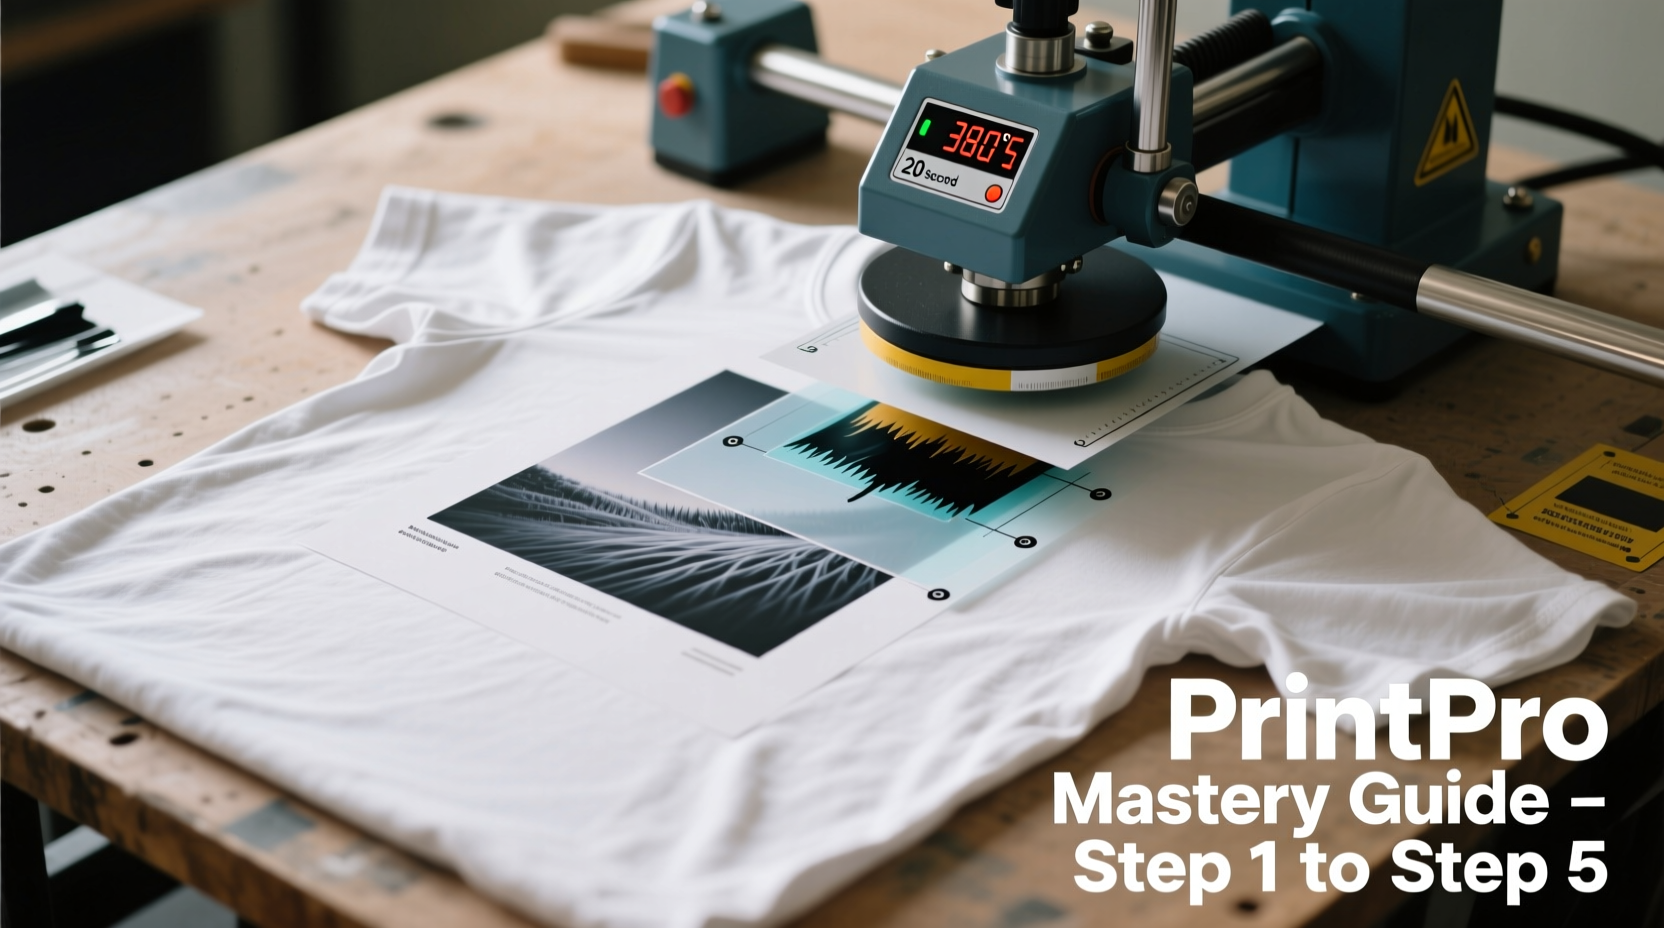
- Apply Heat: Use a household iron or heat press at 350°F (177°C) for 30–60 seconds with firm, even pressure.
- Peel Carefully: Wait until cool (cold peel method) or immediately (hot peel), depending on paper type. Check packaging for guidance.
- Post-Press (Optional): For added durability, re-press from the front after peeling to seal the ink.
- Cure the Print: Let the shirt sit for 24 hours before washing. Wash inside out in cold water on gentle cycle.
Material & Equipment Checklist
Before starting, gather these essentials to avoid mid-process delays:
- High-resolution digital image file (JPEG or PNG)
- Inkjet or laser printer (depending on transfer type)
- Transfer paper compatible with your printer and fabric color
- 100% cotton or cotton-blend t-shirt (avoid heavy synthetics)
- Iron or heat press machine
- Parchment paper or Teflon sheet
- Scissors or precision cutter
- Lint roller (to clean shirt surface pre-print)
Do’s and Don’ts: Common Pitfalls and How to Avoid Them
| Do’s | Don’ts |
|---|---|
| Use 100% cotton shirts for best ink absorption | Don’t use stretchy or polyester-heavy blends unless using sublimation |
| Always pre-wash and dry garments to prevent shrinkage post-print | Don’t skip pre-pressing the shirt—moisture reduces adhesion |
| Allow 24 hours before first wash | Don’t use bleach or fabric softener on printed shirts |
| Store transfers flat and away from humidity | Don’t stack freshly pressed shirts—let them cool completely |
| Test print on scrap fabric first | Don’t apply excessive pressure during ironing—can blur the image |
“Image quality starts with the source. A 72 DPI web image will never produce a clean transfer, no matter how good your printer is.” — Jordan Lee, Textile Printing Consultant
Real-World Example: Custom Family Reunion Shirts
The Thompson family wanted matching reunion shirts featuring a vintage photo of their grandparents. They selected a high-resolution scan (300 DPI), edited it for contrast in free software (GIMP), and used inkjet transfer paper designed for light fabrics. After printing mirrored copies, they applied each design with a home heat press at 375°F for 45 seconds. By following curing instructions and washing garments inside out, the shirts retained vivid detail through multiple family events and washes. One year later, the prints showed minimal fading—proof that careful execution yields lasting results.
Frequently Asked Questions
Can I print photos on dark-colored shirts?
Yes, but not with standard inkjet transfer paper. Use specialty transfer paper designed for dark fabrics, which includes a white toner base layer. Alternatively, consider HTV for outlines and highlights over printed areas.
How long do printed shirt designs last?
A well-applied transfer on 100% cotton, properly cured and washed according to guidelines, can last 20+ washes. DTG and screen-printed images often exceed 50 washes with minimal degradation.
Is a heat press better than an iron?
Absolutely. While irons work in a pinch, heat presses deliver consistent temperature, even pressure, and adjustable timers—critical for professional results. The investment pays off quickly if you're producing more than a few shirts.
Advanced Tips for Professional-Quality Results
To elevate your output beyond basic transfers, consider these pro-level enhancements:
- Use a Color Profile: Calibrate your monitor and printer using ICC profiles so what you see matches the final print.
- Add a Base Layer: For dark garments, some systems allow a white underbase to boost color brightness.
- Layer Transfers: Combine HTV for text with inkjet transfers for background images to add texture and dimension.
- Seal with Spray: Some crafters use fabric sealants to increase wash resistance, though test first to avoid discoloration.
- Invest in Software: Tools like Adobe Photoshop or Canva Pro help resize, crop, and enhance images while maintaining DPI integrity.
Conclusion: Turn Passion Into Wearable Art
Printing a picture on a shirt isn’t just a DIY project—it’s a blend of technical skill and creative expression. With the right tools, attention to detail, and respect for material limitations, anyone can produce striking, durable designs. Whether you're crafting a single keepsake or launching a clothing line, mastering these techniques opens doors to endless possibilities. Start small, experiment wisely, and refine your process with each print.


 浙公网安备
33010002000092号
浙公网安备
33010002000092号 浙B2-20120091-4
Comments
No comments yet. Why don't you start the discussion?