
Printing digital images can be frustrating when the final output doesn’t match what you see on screen. Colors shift, details blur, and contrast appears flat. Achieving crisp, high-quality prints requires more than just pressing “Print.” It demands an understanding of color management, resolution, printer capabilities, and paper types. Whether you're printing family photos, art reproductions, or portfolio pieces, this guide walks you through every critical step to ensure consistently excellent results.
Understanding Image Resolution and DPI
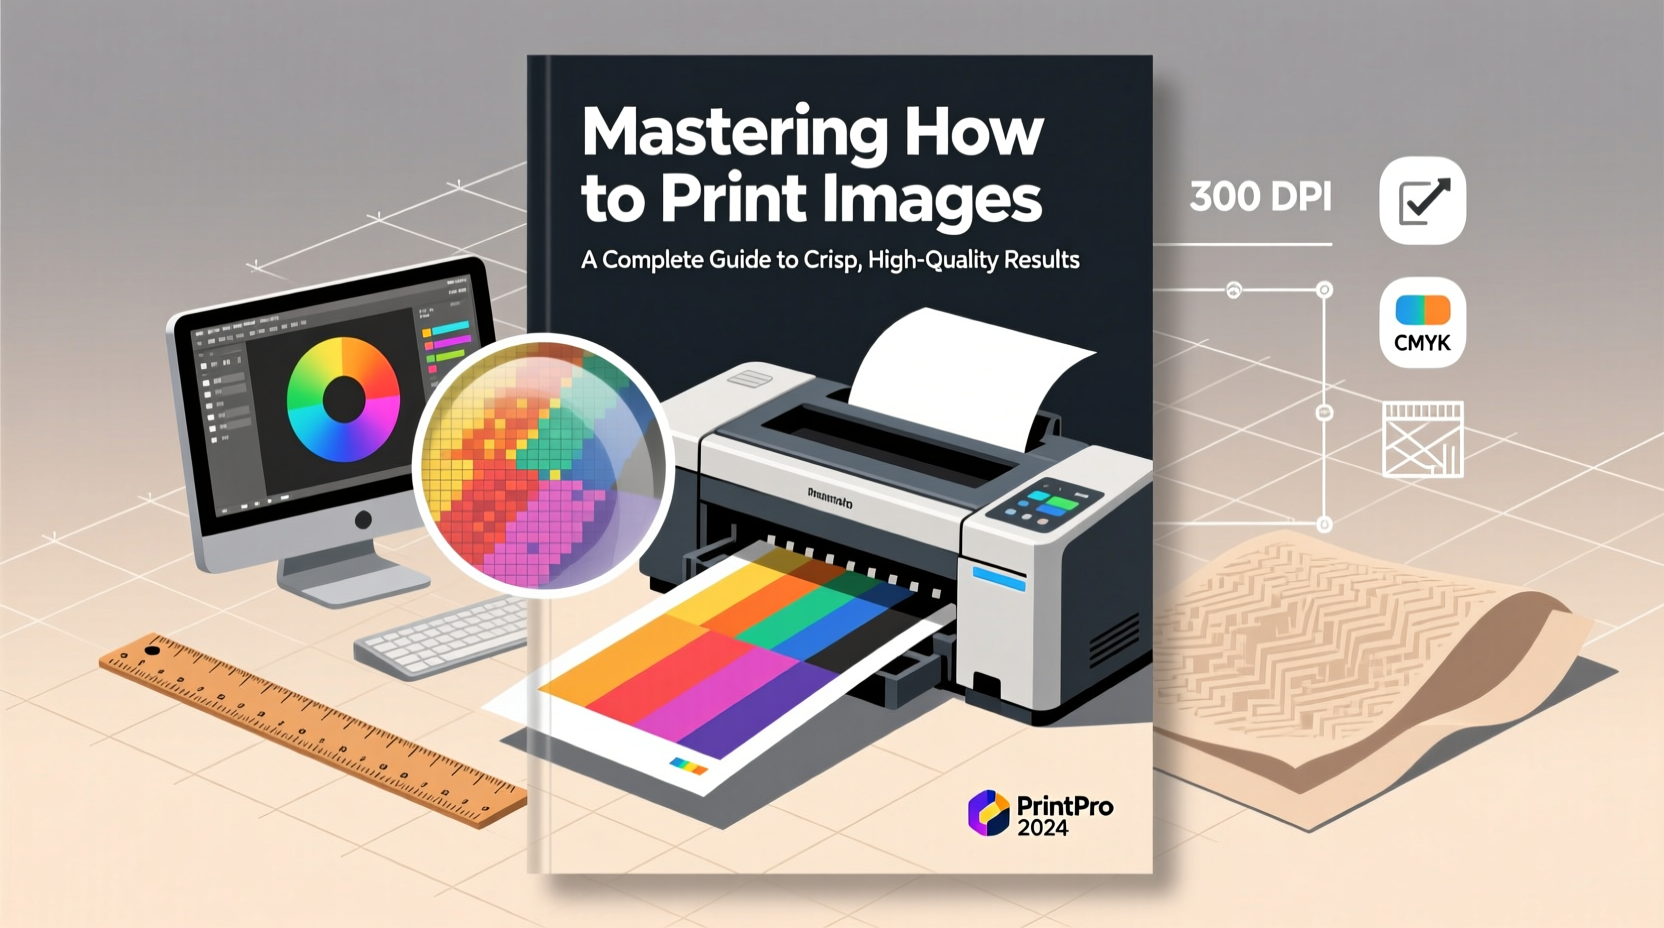
The foundation of a sharp print starts with image resolution. Digital images are measured in pixels per inch (PPI), while printers use dots per inch (DPI). For high-quality photo prints, aim for a minimum of 300 PPI at the intended print size. Lower resolutions result in pixelation and loss of detail.
To determine if your image is suitable for printing:
- Note the pixel dimensions of your image (e.g., 4000 x 3000 pixels).
- Divide each dimension by the desired print size in inches (e.g., 4000 ÷ 16 = 250 PPI).
- If the result is below 300 PPI, consider resizing carefully or rethinking the print size.
Color Management: Matching Screen to Print
One of the most common frustrations in photo printing is color mismatch. A vibrant sunset on your monitor may come out dull or too warm on paper. This happens because monitors and printers use different color spaces—RGB for screens, CMYK or proprietary ink systems for printers.
To minimize discrepancies:
- Calibrate your monitor regularly using a hardware calibrator (e.g., X-Rite ColorMunki).
- Edit images in a standard color space like sRGB or Adobe RGB, depending on your printer’s profile support.
- Use soft proofing in software like Adobe Photoshop to preview how colors will translate to print.
- Always apply the correct ICC profile for your printer and paper combination.
“Without proper color calibration, even the best printer can’t deliver accurate results.” — Daniel Kim, Professional Print Technician
Selecting the Right Paper and Printer
Your choice of paper significantly affects texture, color depth, and longevity. Similarly, not all printers are built for photo work. Inkjet printers, especially pigment-based models from Epson, Canon, and HP, dominate the high-end photo printing market due to their precision and archival quality.
| Paper Type | Best For | Texture & Finish | Considerations |
|---|---|---|---|
| Glossy | Vibrant photos, commercial prints | High shine, smooth surface | Shows fingerprints; glare under bright light |
| Luster / Semi-Gloss | Portraits, fine art, general use | Subtle sheen, slight texture | Balances vibrancy and durability; less reflective |
| Fine Art Matte | Art reproductions, gallery prints | Dull finish, cotton or alpha-cellulose base | Absorbs ink deeply; archival but less color pop |
| Photo Rag | Premium portfolios, exhibitions | Soft, fibrous texture | Expensive; requires high-end ink sets |
For home printing, models like the Epson SureColor P-series or Canon PIXMA PRO series offer excellent color fidelity and long-lasting pigment inks. If you don’t own a capable printer, consider professional labs such as Bay Photo, WHCC, or local fine art print studios that provide calibrated output and material options.
Step-by-Step Guide to Printing High-Quality Images
Follow this sequence to produce consistent, high-fidelity prints:
- Edit in a controlled environment: Work in a dimly lit room with a calibrated monitor. Use software like Lightroom or Photoshop with color-managed workflows enabled.
- Resize and sharpen appropriately: Resize the image to the exact print dimensions at 300 PPI. Apply output sharpening only after resizing—use moderate settings (e.g., Amount: 80, Radius: 1.0, Threshold: 3).
- Select the correct color profile: In your print dialog, choose the ICC profile matching your printer and paper. Avoid letting the printer driver override color management.
- Set print settings accurately: Choose “Printer Manages Colors” only if you’re not using a custom profile. Otherwise, select “Photoshop Manages Colors” and pick the correct paper profile.
- Do a test print: Print a small section or use letter-sized paper first. Evaluate color balance, contrast, and sharpness.
- Adjust and reprint: Tweak exposure, saturation, or sharpening based on the test. Reprint only after corrections.
Real Example: From Screen to Gallery Wall
Sophie Chen, a landscape photographer based in Colorado, struggled for months with inconsistent prints of her mountain scenes. Her vibrant blue skies turned cyan, and shadow details disappeared. After investing in a monitor calibrator and testing multiple paper types, she switched to Epson Premium Luster Paper with a custom ICC profile. She began using soft proofing in Lightroom and applied subtle contrast adjustments post-proofing. The result? Her first gallery submission was accepted, and three prints sold within a week. “I didn’t change my camera,” she said. “I changed how I prepared the files for print.”
Common Mistakes and How to Avoid Them
Even experienced photographers make errors that compromise print quality. Here are frequent pitfalls and solutions:
- Mistake: Printing directly from unedited JPEGs.
Solution: Process RAW files or edit JPEGs with attention to exposure, white balance, and noise reduction. - Mistake: Ignoring printer margins and safe zones.
Solution: Leave a 0.25-inch buffer around edges to avoid unwanted cropping. - Mistake: Using compressed or web-resized images.
Solution: Always start with the highest resolution source file available. - Mistake: Skipping test prints.
Solution: Budget time and materials for at least one trial run per new paper type or image set.
FAQ
Why do my prints look darker than my screen?
Monitors emit light, making images appear brighter. Prints reflect light, so they naturally look darker. Adjust brightness and contrast slightly upward during editing, and use soft proofing to simulate paper response.
Can I use third-party inks and papers?
You can, but proceed with caution. Off-brand inks may clog nozzles or produce inaccurate colors. Generic papers often lack proper coating, leading to poor ink absorption and shorter lifespan. Stick to manufacturer-recommended supplies for critical work.
How long do printed photos last?
With pigment inks and archival paper, prints can last over 100 years without significant fading when stored properly. Dye-based inks typically last 20–50 years. Avoid direct sunlight and high humidity to maximize longevity.
Final Checklist Before Printing
- ✅ Image resolution is 300 PPI at print size
- ✅ Monitor is calibrated and in a neutral lighting environment
- ✅ Correct color space selected (sRGB or Adobe RGB)
- ✅ ICC profile loaded for specific printer and paper
- ✅ Output sharpening applied
- ✅ Test print completed and evaluated
- ✅ Print area free of dust and smudges
Conclusion
Printing images with crisp, high-quality results isn’t magic—it’s method. From resolution and color accuracy to paper selection and workflow discipline, every step influences the final product. With the right tools and attention to detail, you can transform digital files into tangible works that impress viewers and stand the test of time. Don’t settle for mediocre prints. Master the process, trust your calibrated setup, and let your images shine beyond the screen.


 浙公网安备
33010002000092号
浙公网安备
33010002000092号 浙B2-20120091-4
Comments
No comments yet. Why don't you start the discussion?