
Installing a zipper may seem like a small detail in garment construction, but it can make or break the final look and functionality of a piece. Whether you're repairing a favorite jacket, sewing a dress, or crafting a custom tote, knowing how to properly install a zipper is a foundational skill. Many beginners shy away from zippers, fearing misalignment, puckering, or broken stitches—but with the right tools, technique, and patience, it’s a task anyone can master. This guide walks through every stage of the process, offering actionable advice for both novice sewers and experienced seamsters looking to refine their method.
Understanding Zipper Types and When to Use Them
Before picking up a needle, it's essential to choose the correct zipper for your project. Not all zippers are interchangeable, and using the wrong type can lead to poor performance or visible seams.
| Type | Best For | Notes |
|---|---|---|
| Coil (Nylon) | Dresses, skirts, lightweight jackets | Flexible, durable, available in various colors |
| Metal | Denim, jeans, heavy coats | Rugged appearance; requires special presser foot |
| Plastic Molded | Bags, outdoor gear | Water-resistant options available |
| Invisible | Formal wear, lined garments | Hidden when closed; needs invisible zipper foot |
| Separating | Jackets, outerwear | Can fully open at the bottom |
The length should match or slightly exceed the opening. Always test the zipper mechanism before sewing—slide it open and closed several times to ensure smooth operation.
Essential Tools and Setup
A successful zipper installation begins with proper preparation. Using the right equipment reduces frustration and increases precision.
- Zipper foot: Allows stitching close to the teeth without catching them.
- Pins or clips: Baste the zipper in place before sewing for accurate alignment.
- Seam ripper: Mistakes happen—have this on hand for quick corrections.
- Iron and pressing cloth: Press seams flat before and after sewing for clean results.
- Thread color match: Choose thread that blends with fabric or zipper tape for discreet stitching.
Adjust your machine tension if needed—tight tension can pucker fabric, while loose tension creates weak seams. Test on scrap fabric first.
“Precision in basting and pressing is what separates amateur zipper work from professional-grade finishes.” — Clara Mendez, Tailoring Instructor at Boston School of Fashion
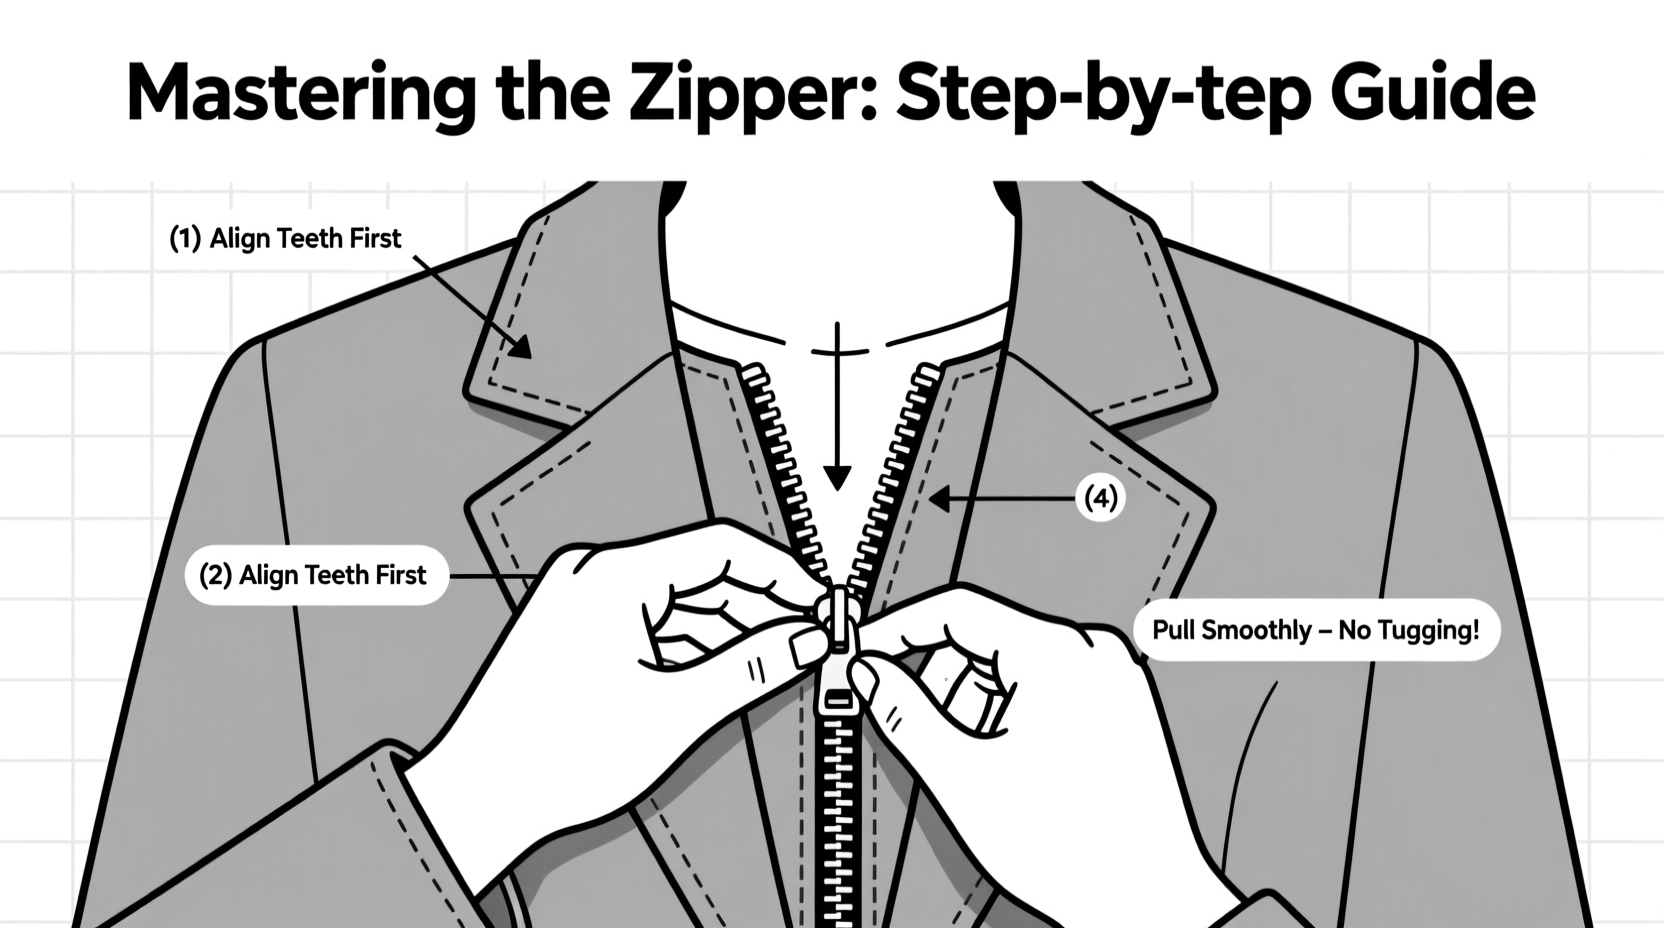
Step-by-Step Guide to Installing a Standard Centered Zipper
This method works well for skirts, dresses, and simple closures where the zipper sits centered at the back or side seam.
- Prepare the fabric edges. Finish the seam allowances where the zipper will be installed using zigzag stitch or serger to prevent fraying.
- Press under 1/2 inch along each side of the opening. This fold will cover the zipper tape later.
- Pin the zipper face down to the right side of the fabric, aligning the top edge with the waistline or top of the opening. Use pins perpendicular to the edge for easy removal as you sew.
- Baste the zipper in place using long hand stitches or longest machine stitch. Ensure it lies flat and straight.
- Switch to the zipper foot. Stitch from the top down to the bottom stop, staying as close to the teeth as possible. Repeat on the opposite side.
- Flip the fabric to the wrong side and press the seam flat. Then, fold one side over the other, enclosing the zipper tape, and edgestitch to secure.
- Remove basting threads and test the zipper. It should glide smoothly without catching.
Avoiding Common Mistakes: Do’s and Don’ts
Even experienced sewers can fall into traps that compromise zipper quality. Here’s a checklist to keep your work flawless.
| Do’s | Don’ts |
|---|---|
| Use clips instead of pins near teeth to avoid snagging | Force the fabric under the foot if it resists—reposition instead |
| Press at every stage for crisp lines | Forget to lock stitches at the top and bottom |
| Test the zipper frequently during installation | Use a regular presser foot—it won’t get close enough |
| Hand-baste tricky areas for better control | Stretch the fabric while sewing—this causes rippling |
One frequent error is not leaving enough seam allowance. A standard 5/8-inch allowance gives room for adjustments. If the fabric is bulky, consider trimming the seam allowance slightly after stitching to reduce bulk, especially around the coil.
Real Example: Repairing a Vintage Dress
Sophie, a hobbyist sewer in Portland, inherited a 1950s silk dress with a broken metal zipper. She wanted to preserve its authenticity but struggled with the stiff teeth and delicate fabric. After researching techniques, she opted to hand-baste the new vintage-style metal zipper in place, used a Teflon foot to glide over the teeth, and pressed between each step with a silk organza pressing cloth. The result was nearly invisible from the outside, with smooth function and no stress on the fragile silk. Her key takeaway? “Taking time to prep and press made all the difference—I didn’t need to redo a single stitch.”
Pro Tips for Invisible Zippers
Invisible zippers offer a seamless finish ideal for formal garments. Though they require a specialized foot, the technique is straightforward once mastered.
- Open the zipper completely before sewing.
- Align the coil—not the tape—with the seam line.
- Sew slowly, guiding the fabric so the coil nestles into the foot’s groove.
- After attaching both sides, use a blunt tool (like a chopstick) to push out the coils before closing.
- Press carefully—the heat can melt the plastic coil if too high.
FAQ
Can I install a zipper by hand?
Yes, especially on delicate fabrics or historical reproductions. Use a whipstitch along the zipper tape, keeping stitches small and even. Hand application offers greater control and less risk of damaging fragile materials.
What if my zipper is too long?
You can shorten most zippers. For coil types, cut below the stop, seal the end with clear nail polish, and re-sew a new bottom stop with a bar tack. Metal zippers are harder to alter—consider replacing them instead.
Why does my fabric pucker near the zipper?
Puckering usually results from uneven feeding or incorrect tension. Try reducing presser foot pressure, using tissue paper underneath to stabilize, or adjusting upper tension. Also, ensure you’re not stretching the fabric as you sew.
Conclusion
Mastering how to put on a zipper transforms your sewing projects from homemade to professionally finished. With the right tools, attention to detail, and a methodical approach, even complex installations become manageable. Whether you're a beginner building confidence or a seasoned seamster refining your craft, each zipper you install adds to your expertise. Don’t shy away from the challenge—embrace it as a chance to elevate your work. Practice on scrap fabric, document your progress, and soon, zippers will be one of your most trusted techniques.


 浙公网安备
33010002000092号
浙公网安备
33010002000092号 浙B2-20120091-4
Comments
No comments yet. Why don't you start the discussion?