
Sewing by hand may seem outdated in an age of high-speed machines, but it remains a vital skill for anyone interested in textiles, fashion repair, or creative crafts. From securing delicate hems to mending tears invisibly, hand sewing offers precision, portability, and control that machines can't always match. For beginners, learning the fundamentals builds confidence and dexterity, forming a strong foundation for all future sewing projects. Whether you're repairing a favorite shirt, quilting by hand, or attaching buttons securely, mastering basic hand stitches is both practical and deeply satisfying.
Essential Tools for Hand Sewing
Before diving into stitches, gather the right tools. Using quality supplies makes a noticeable difference in ease and results. You don’t need a large investment—just a few key items will get you started.
- Needles: Choose based on fabric type. Sharps are general-purpose; betweens are shorter for fine work; embroidery needles have larger eyes for thicker threads.
- Thread: Cotton-wrapped polyester is durable and smooth. Match thread weight and fiber to your fabric when possible.
- Pins and Pin Cushion: Use fine pins to hold fabric without damaging it. A magnetic holder or traditional cushion keeps them organized.
- Scissors: Small, sharp embroidery scissors allow precise trimming.
- Thimble: Protects your finger when pushing needles through thick layers.
- Fabric Marker or Tailor’s Chalk: For marking seams or stitch lines without permanent damage.
Core Hand Sewing Stitches Every Beginner Should Know
Start with five foundational stitches. Each serves a unique purpose and, once mastered, becomes second nature.
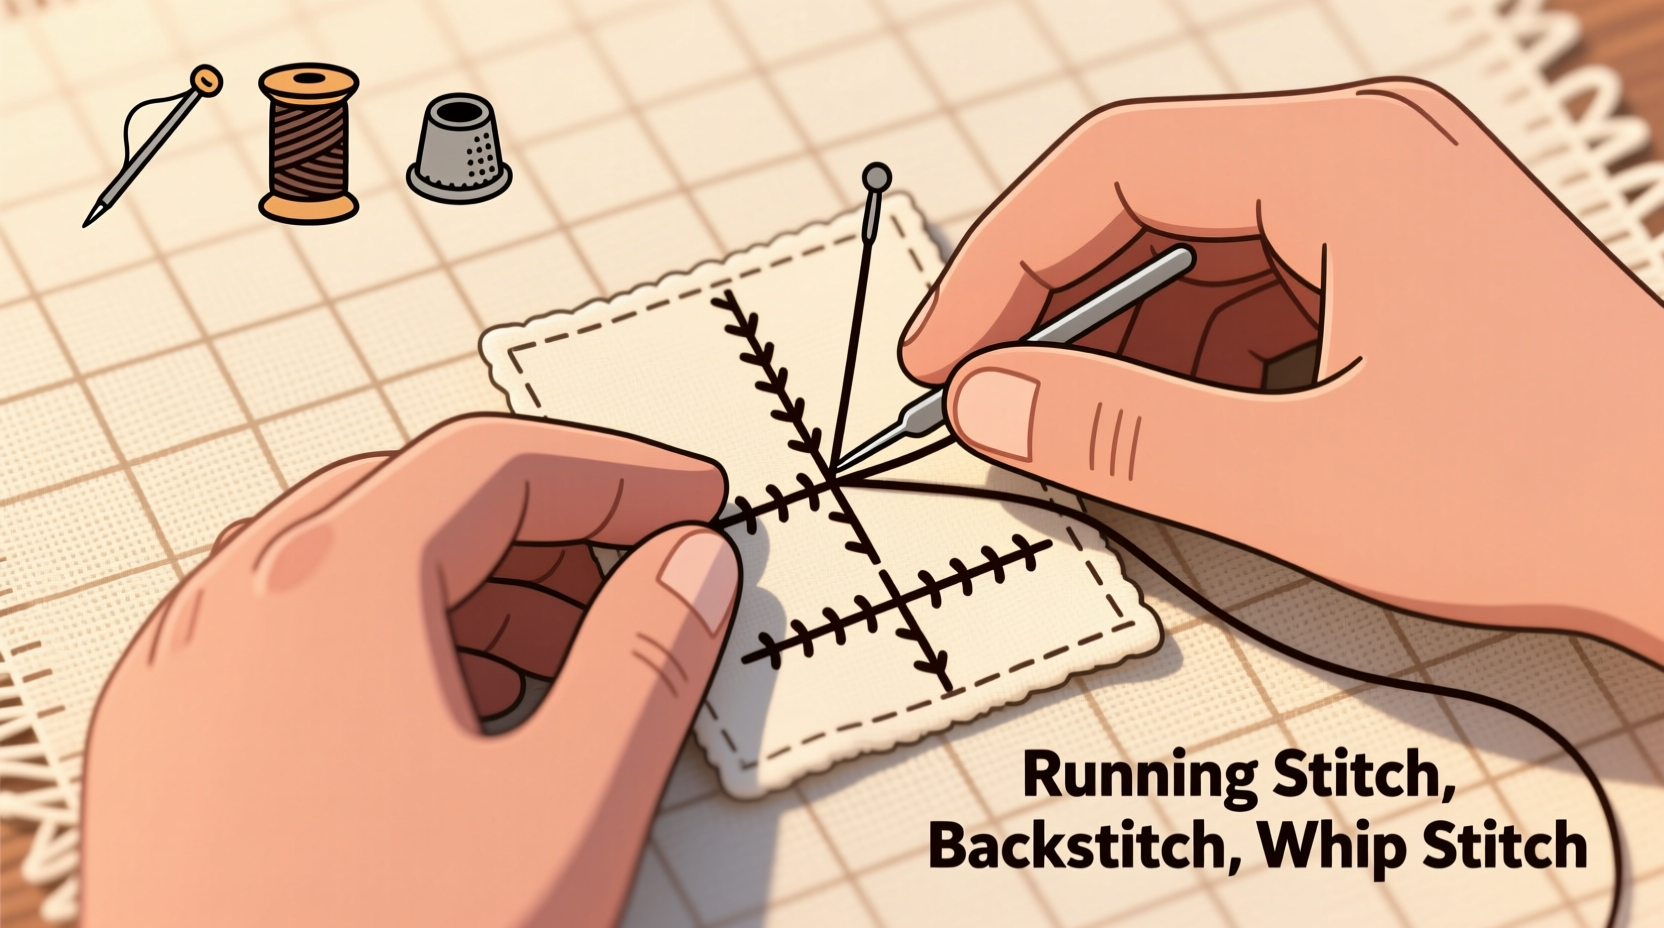
- Running Stitch: The simplest form—up and down in a straight line. Ideal for basting, gathering, or temporary seams.
- Backstitch: Strong and secure, this stitch creates a continuous line by overlapping each new stitch with the end of the previous one. Perfect for durable seams.
- Whip Stitch: Used to join two edges together, such as in leatherwork or felt projects. The needle passes diagonally over the seam from one side to the other.
- Ladder (Invisible) Stitch: Closes openings neatly without visible thread. Commonly used for pillows or stuffed toys.
- Slip Stitch: Similar to the ladder stitch but used for hems where only tiny dots of thread appear on the surface.
Practice each stitch on scrap fabric using contrasting thread so you can clearly see your progress. Focus on consistent tension and even spacing.
Step-by-Step Guide: Sewing a Button Securely by Hand
One of the most common hand-sewing tasks is replacing a missing button. Done well, it can last years. Follow these steps carefully.
- Cut a length of thread about 18 inches long and thread it through the needle. Double the thread and tie a knot at the end.
- Position the button where it belongs. Insert the needle from the back of the fabric, bringing it up through one hole.
- Pass the needle down through the opposite hole and repeat 4–6 times for strength.
- Before tightening, place a toothpick or pin across the top of the button to create slack for a shank. This allows room for the fabric layer beneath when fastened.
- Remove the toothpick and wrap the thread tightly around the base 5–6 times to form a sturdy shank.
- Flip the fabric and secure the thread with several backstitches on the underside. Knot firmly and trim excess.
“Taking time to build a proper shank ensures the button functions smoothly and resists pulling off.” — Clara Nguyen, Textile Restoration Specialist
Common Mistakes and How to Avoid Them
Even simple sewing tasks can go wrong without attention to detail. Recognizing pitfalls early helps refine technique.
| Mistake | Why It’s a Problem | How to Fix It |
|---|---|---|
| Using thread that’s too long | Increases tangling and weakens with repeated friction | Cut threads under 24 inches and wax them lightly for smoothness |
| Inconsistent stitch length | Looks unprofessional and can cause puckering | Count mentally or use a marked ruler as a guide while practicing |
| Skipping knots or backstitches | Stitches unravel easily | Always secure both ends with a knot or 2–3 backstitches |
| Pulling thread too tight | Distorts fabric and causes ripples | Keep tension firm but gentle, like holding a bird without crushing it |
Real Example: Repairing a Hem Without a Machine
Sophie noticed her favorite wool coat had a hem coming loose after months of winter wear. Instead of setting aside time for the sewing machine, she repaired it during her evening commute using a slip stitch.
She turned up the fabric edge to match the original fold, pinned it in place, and used a single strand of matching silk thread. With small, evenly spaced stitches catching just one fiber from the outer fabric, she secured the hem invisibly. The entire process took 20 minutes, and no one could tell the repair had been done—except Sophie, who appreciated the quiet focus the task brought her.
This example shows how hand sewing isn’t just functional—it can be meditative and empowering.
Beginner Checklist: First 5 Hand Sewing Projects
To build muscle memory and confidence, try these accessible starter projects in order:
- ✅ Sew a button onto a piece of denim or canvas
- ✅ Mend a small tear with a whip stitch
- ✅ Close a pillowcase opening with a ladder stitch
- ✅ Create gathers on a strip of cotton using a running stitch
- ✅ Hand-quilt two layers of fabric with a simple backstitch border
Each project introduces new skills while reinforcing basics like threading, knotting, and maintaining even tension.
Frequently Asked Questions
How do I prevent my thread from knotting as I sew?
Knotting often happens with overly long thread or excessive twisting. Cut shorter lengths (18–24 inches), wax the thread lightly, and let the needle hang freely every few stitches to release twists.
Can I use hand sewing for heavy fabrics like denim?
Absolutely. Use a strong thread like polyester, a sharp needle (size 3–5 sharps), and reinforce critical areas with backstitching. Take your time—the strength comes from consistency, not force.
Is hand sewing durable enough for clothing repairs?
Yes, especially when using the right stitch and thread. A well-executed backstitch is nearly as strong as machine stitching and more flexible on curved seams.
Final Thoughts and Call to Action
Hand sewing is more than a backup skill—it's a timeless craft that connects us to generations of makers who created with nothing but needle, thread, and patience. The techniques you learn today aren’t just useful; they’re empowering. Each stitch strengthens your ability to care for your belongings, express creativity, and solve problems independently.
Don’t wait for something to break before picking up a needle. Start small, practice daily, and celebrate progress over perfection. Mastery comes not from flawless work, but from consistent effort.


 浙公网安备
33010002000092号
浙公网安备
33010002000092号 浙B2-20120091-4
Comments
No comments yet. Why don't you start the discussion?