
Sewing is more than just a craft—it's a skill that empowers creativity, saves money, and fosters mindfulness. Whether you're mending a torn shirt or creating your first garment from scratch, understanding the core techniques of sewing lays the foundation for long-term success. For beginners, the process can seem overwhelming: threading a machine, choosing fabric, reading patterns, and mastering stitches all require patience and practice. But with the right guidance, anyone can learn to sew confidently. This guide breaks down the most essential techniques, offers real-world tips, and provides a clear path forward for those just starting out.
Essential Tools and Materials Every Beginner Needs
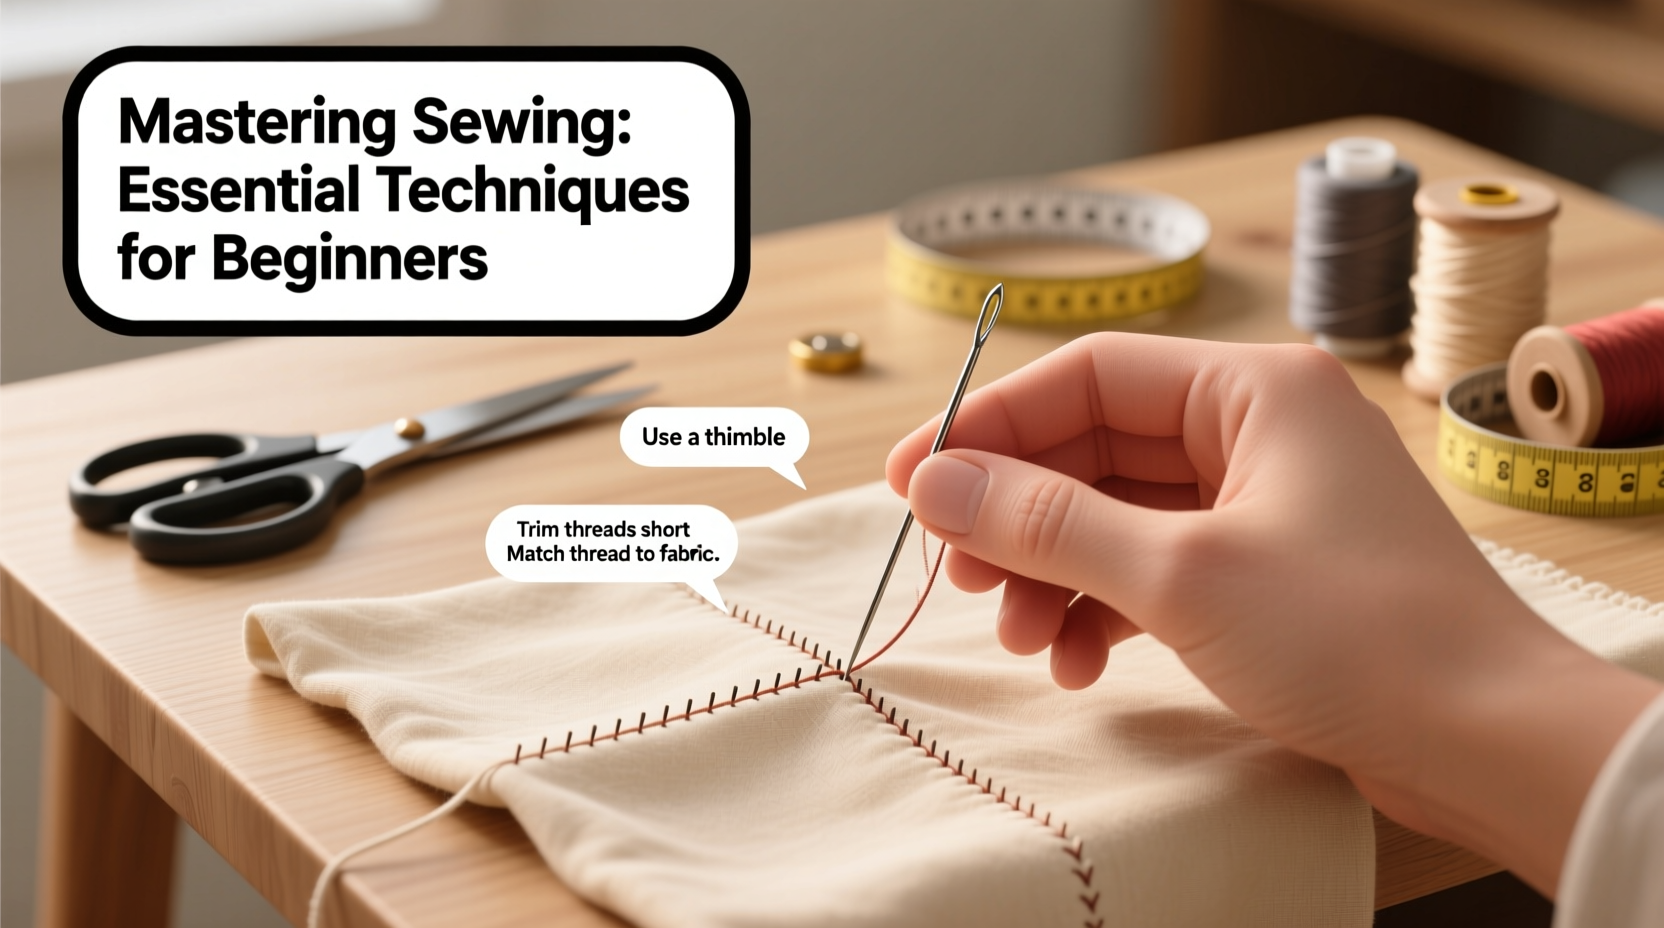
Before you begin stitching, ensure you have the right tools. A well-equipped workspace reduces frustration and increases precision. While sewing doesn’t require expensive gear at first, investing in quality basics makes a noticeable difference in results.
| Tool | Purpose | Beginner Recommendation |
|---|---|---|
| Sewing Machine | Creates consistent stitches | Basic mechanical model (e.g., Brother XM2701) |
| Fabric Scissors | Cutting fabric cleanly | Dedicated shears—never use on paper |
| Pins & Pin Cushion | Holding fabric layers together | Ballpoint pins for knits, sharp pins for wovens |
| Tape Measure | Taking body and fabric measurements | Flexible 60-inch retractable tape |
| Seam Ripper | Correcting mistakes | Standard Y-shaped metal ripper |
| Iron & Ironing Board | Pressing seams for crisp finishes | Adjustable steam iron |
Mastering Basic Hand and Machine Stitches
Stitching is the heart of sewing. Beginners should become familiar with both hand and machine techniques to handle various situations—from delicate repairs to full garment construction.
Common Hand Stitches
- Running Stitch: Simple in-and-out stitch for temporary basting or gathering.
- Backstitch: Strong, durable seam used for mending or hand-sewn hems.
- Slip Stitch: Nearly invisible finish for hems and closures.
- Whip Stitch: Joins two edges together, often used in appliqué.
Essential Machine Stitches
- Straight Stitch: The default setting for most seams. Adjust length between 2.0–2.5mm for medium-weight fabrics.
- Zigzag Stitch: Prevents fraying on stretchy or raw-edged fabrics. Width depends on fabric elasticity.
- Overlock Alternative: Use zigzag followed by a straight stitch for clean interior finishes when no serger is available.
Practice these stitches on scrap fabric before working on actual projects. Test tension settings—loose or too tight thread creates puckering or breakage.
“Precision begins with preparation. Always test your stitch settings on a fabric swatch before sewing your main piece.” — Lena Torres, Textile Instructor at Portland Craft School
Step-by-Step Guide to Your First Sewing Project
Starting with a simple project builds confidence and reinforces technique. A fabric tote bag is ideal: it uses straight seams, requires minimal pattern reading, and yields immediate satisfaction.
- Gather Supplies: Two 14” x 16” cotton canvas pieces, coordinating thread, 1-yard webbing for handles, scissors, pins, ruler.
- Cut Fabric: Use sharp shears to cut two identical rectangles. Mark ½” seam allowance around all edges.
- Prepare Handles: Cut webbing into two 20” lengths. Fold under ½” at each end and pin securely.
- Pin Handles: Position one handle end ½” from the top edge and 3” from the side on the right side of one fabric piece. Repeat for all four ends.
- Sew Seams: Align fabric pieces with right sides together. Pin around edges. Sew around three sides (both sides and bottom) using a ½” seam allowance.
- Box Corners (Optional): To give the bag depth, pinch the bottom corners, align the seam, and sew across 1.5” from point. Trim excess.
- Turn and Press: Turn the bag right side out through the open top. Use a blunt tool to push out corners. Press flat with an iron.
- Topstitch: Sew ¼” from the top edge to close the opening and reinforce the structure.
Avoiding Common Beginner Mistakes
New sewists often encounter predictable challenges. Recognizing them early prevents discouragement.
- Mismatched Seam Allowances: Always double-check your machine’s guide or use painter’s tape as a visual marker.
- Ignoring Grainline: Fabric has a direction (grain). Cutting against it causes garments to twist after washing.
- Skipping Pre-Washing Fabric: Untreated fabric may shrink later, distorting your finished piece.
- Forgetting to Backstitch: Failing to secure the start and end of a seam leads to unraveling.
- Using Dull Needles: Replace needles every 8–10 hours of sewing or immediately if fabric skips or snags.
“I ruined three blouses trying to rush through fitting. Now I always make a muslin mock-up first.” — Rachel Kim, home sewist and blogger
Checklist: Launch Your Sewing Journey Successfully
Follow this checklist before beginning any new project:
- ✅ Wash and press your fabric beforehand
- ✅ Choose the correct needle type (universal, ballpoint, denim)
- ✅ Match thread weight and fiber to fabric (polyester thread for cotton, silk for delicate silks)
- ✅ Transfer all pattern markings (darts, notches, pleats)
- ✅ Pin or clip layers instead of stretching while feeding through the machine
- ✅ Press seams as you go—not just at the end
- ✅ Keep a small notebook to log settings, adjustments, and lessons learned
Frequently Asked Questions
How do I fix a tangled bobbin thread?
First, remove the fabric and gently cut away tangles. Re-thread both the upper thread and bobbin following your machine’s manual. Ensure the bobbin is seated correctly and spinning in the right direction. Most tangles stem from incorrect threading or loose bobbin tension.
Why does my fabric pucker when I sew?
Puckering usually indicates incorrect tension, a dull needle, or pulling the fabric through manually. Let the feed dogs move the fabric naturally. Reduce upper tension slightly and check that the needle is sharp and appropriate for the fabric weight.
Can I sew without a pattern?
Yes, especially for simple items like pillowcases, tote bags, or elastic-waist skirts. Start with geometric shapes and gradually build skills. However, patterns provide consistency and professional fit, so they’re recommended for garments.
Conclusion: Start Small, Build Confidence, Create Joy
Learning to sew is a journey rooted in patience and repetition. Each stitch adds to your growing expertise. Begin with manageable projects, embrace mistakes as part of the learning curve, and celebrate every completed piece—no matter how imperfect. With consistent practice, what once seemed complex becomes second nature. The ability to create, repair, and personalize clothing and home goods brings lasting satisfaction and independence.


 浙公网安备
33010002000092号
浙公网安备
33010002000092号 浙B2-20120091-4
Comments
No comments yet. Why don't you start the discussion?