
Slow-draining or completely blocked shower drains are among the most common household plumbing issues. While chemical cleaners may offer temporary relief, they often fail to remove deep buildup and can damage pipes over time. For lasting results, manually snaking the drain is the most reliable method. This guide walks through the entire process—safely and effectively—using a hand auger (plumber’s snake), helping you restore full drainage without calling a professional.
Understanding Shower Drain Clogs
Shower floor drains typically clog due to the accumulation of hair, soap scum, body oils, and mineral deposits. Unlike kitchen sinks, which face food waste, showers collect organic debris that binds together into stubborn blockages just a few feet down the pipe. These obstructions reduce water flow, cause standing water, and can lead to unpleasant odors or mold growth if left unresolved.
Most clogs occur within the first 6 to 15 feet of pipe—the perfect range for a hand-cranked drain snake. Mechanical clearing removes the root cause rather than dissolving it partially, making it more effective than liquid drain openers.
“Snaking is the gold standard for removing physical obstructions in shower drains. It’s faster, safer for pipes, and more thorough than chemicals.” — Rafael Mendez, Master Plumber with 20+ years in residential service
Essential Tools and Safety Precautions
Before starting, gather the right tools. Using improper equipment can scratch fixtures or push clogs deeper. Here's what you’ll need:
- Hand-cranked drain auger (25-foot length recommended)
- Rubber gloves (nitrile or heavy-duty)
- Safety goggles
- Bucket and old towels
- Adjustable wrench or screwdriver (for removing drain cover)
- Vinegar and baking soda (optional, for post-clearing flush)
Always wear gloves and eye protection. The debris pulled from a shower drain often contains bacteria, fungi, and trapped moisture. Work slowly to avoid damaging the pipe joints or scratching the shower base.
Step-by-Step Guide to Snaking a Shower Floor Drain
- Remove Standing Water
Use a cup or small pump to remove any water in the shower. Clear visibility helps prevent slipping and allows better access to the drain opening. - Take Off the Drain Cover
Most shower drains have a removable grate held by screws or a central fastener. Use a screwdriver or wrench to loosen it. Set aside safely to avoid losing parts. - Inspect the Drain Opening
Look inside the drain hole. If visible hair or gunk is present, use needle-nose pliers to pull out as much as possible. This reduces resistance when inserting the snake. - Feed the Snake Into the Drain
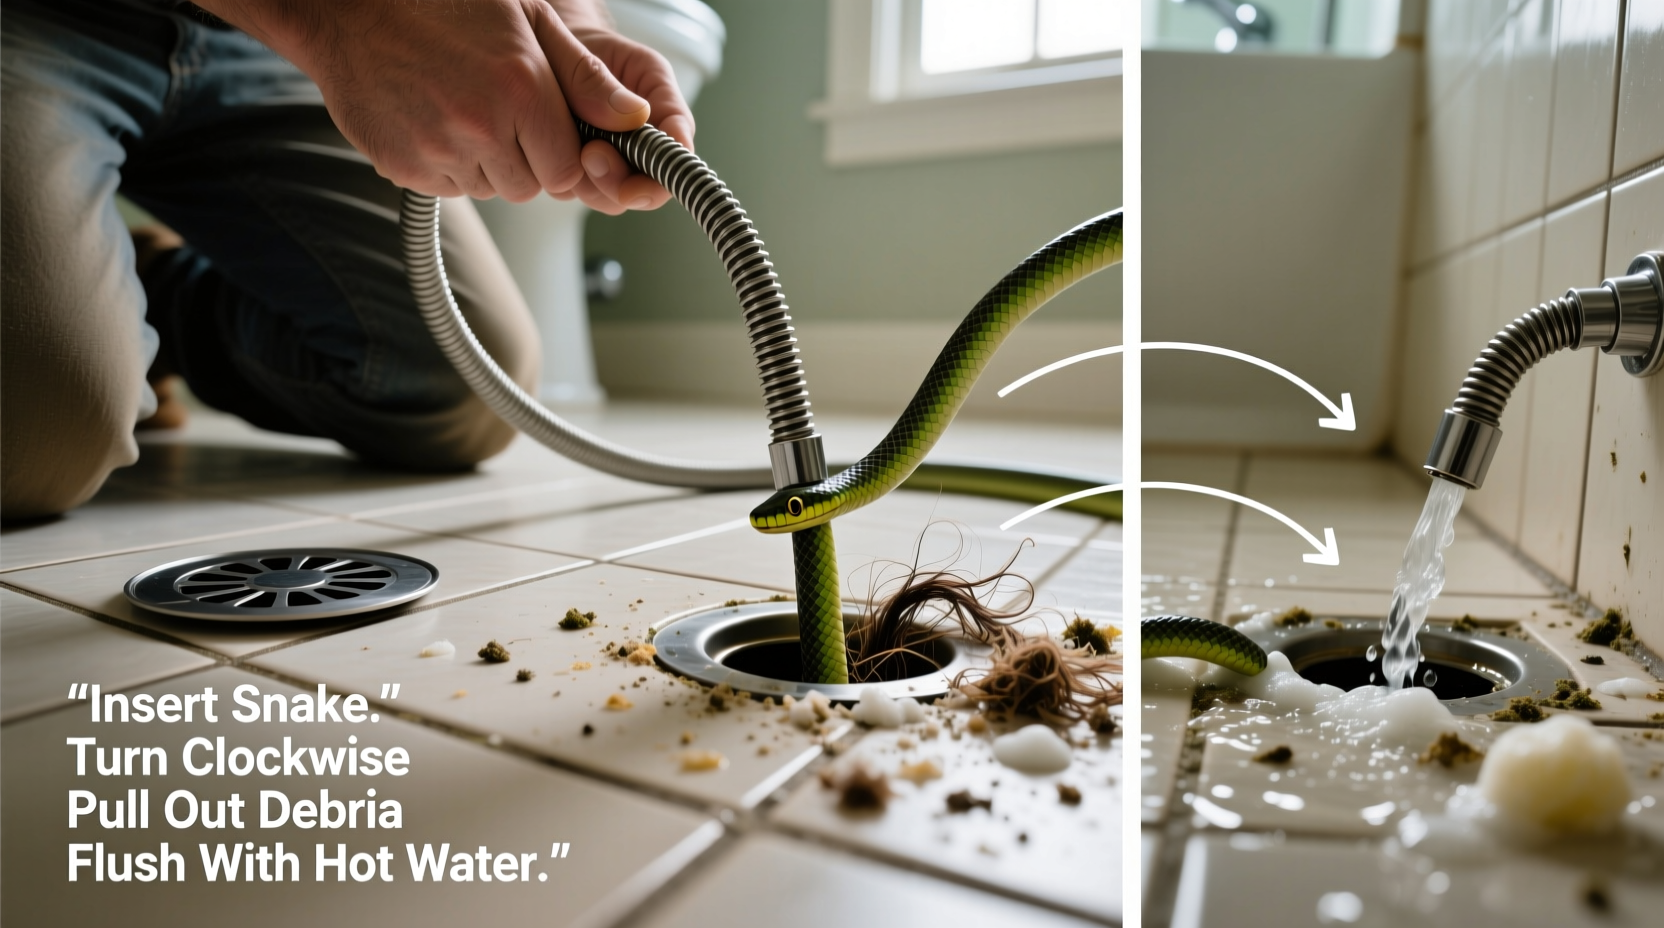
Insert the end of the auger cable into the drain opening. Begin turning the handle clockwise while gently pushing forward. The cable should advance smoothly. If it stops, do not force it—rotate back slightly and try again at a different angle. - Break Through the Clog
Once the cable reaches the obstruction, continue cranking. You’ll feel increased resistance. Keep rotating until the cable either pierces through or hooks into the clog. If using a drum-style auger, twist the handle to engage the clog and slowly retract the cable. - Remove Debris
Pull the cable out slowly, checking for attached hair, sludge, or grime. Wipe off the cable with a rag as it exits. Repeat insertion if drainage remains poor after the first pass. - Flush the Drain
Replace the drain cover temporarily and run hot water for 2–3 minutes. Observe flow speed. For added cleaning, pour ½ cup baking soda followed by 1 cup vinegar down the drain, then flush with hot water after 15 minutes.
When to Use a Power Auger
If the clog is beyond 20 feet or recurring frequently, consider renting a motorized drain machine. However, these are best used by experienced individuals or professionals, as excessive torque can damage older pipes.
Common Mistakes to Avoid
Even simple tasks can go wrong without proper technique. Below are frequent errors and their consequences:
| Mistake | Consequence | How to Avoid |
|---|---|---|
| Using excessive force on the auger | Bent cable or cracked pipe joint | Turn slowly and let the tool do the work |
| Not cleaning the cable after use | Contamination during next use | Rinse with soapy water and dry before storage |
| Skipping pre-snake debris removal | Reduced effectiveness and messy reinsertion | Manually pull visible hair first |
| Using chemical cleaners before snaking | Corrosive residue on skin during cleanup | Never mix chemicals with mechanical cleaning |
Real-World Example: Resolving a Chronic Bathroom Drain Issue
A homeowner in Portland reported persistent slow drainage in her master bathroom shower despite monthly use of enzyme-based cleaners. After two months, water began pooling during use. She attempted plunging with no success. Following the steps in this guide, she removed the drain cover and extracted a dense wad of hair and soap scum with pliers. Then, using a 25-foot hand auger, she advanced the cable about 12 feet before feeling resistance. After several rotations, she retrieved a thick, tangled mass wrapped around the tip. Post-flush testing showed immediate improvement. She now snakes the drain every six months preventively and has had no recurrence in over a year.
Preventive Maintenance Checklist
To minimize future clogs and extend time between snaking sessions, follow this routine:
- Install a fine-mesh drain strainer to catch hair
- Flush weekly with hot water
- Monthly treatment: ½ cup baking soda + 1 cup vinegar, wait 15 min, then rinse with hot water
- Encourage short showers to reduce soap and oil buildup
- Wear gloves and remove visible debris monthly
Frequently Asked Questions
How deep should I snake a shower drain?
Most clogs occur within 6 to 15 feet of the drain opening. A 25-foot auger provides enough reach for typical home plumbing. If you’ve extended beyond 20 feet with no contact, the blockage may be further downstream or require professional hydro-jetting.
Can snaking damage my pipes?
When done correctly, snaking is safe for PVC, PEX, and metal pipes. Damage usually results from using too much force, incorrect tools (like a toilet auger in a shower), or aggressive twisting in tight bends. Always use controlled, steady pressure.
Why does my shower still smell after snaking?
Foul odors after clearing a clog often come from biofilm buildup in the P-trap or overflow vent. Flush with a mixture of bleach and water (1:5 ratio) or use a bacterial drain treatment weekly for two weeks to eliminate lingering bacteria.
Final Thoughts and Action Plan
Learning how to snake a shower floor drain empowers homeowners to solve one of the most frequent bathroom issues efficiently and affordably. With minimal investment in tools and a bit of practice, you can maintain optimal drainage and avoid costly emergency calls. The key is acting early—don’t wait for complete blockage—and incorporating preventive habits into your household routine.
Start by inspecting your shower drain this week. If it’s slow, gather your auger and follow the steps outlined here. Document the debris removed and set a reminder for next year’s maintenance. Over time, regular care will keep your plumbing flowing freely and extend the life of your entire drainage system.


 浙公网安备
33010002000092号
浙公网安备
33010002000092号 浙B2-20120091-4
Comments
No comments yet. Why don't you start the discussion?