
Capturing a moment is more than just pressing a button. The difference between an ordinary snapshot and a breathtaking photograph lies in intention, technique, and understanding the fundamentals of visual storytelling. Whether you're using a smartphone or a DSLR, mastering how to take pictures means learning to see like a photographer—not just looking. With deliberate practice and attention to detail, anyone can consistently produce images that resonate, inspire, and endure.
Understand the Exposure Triangle
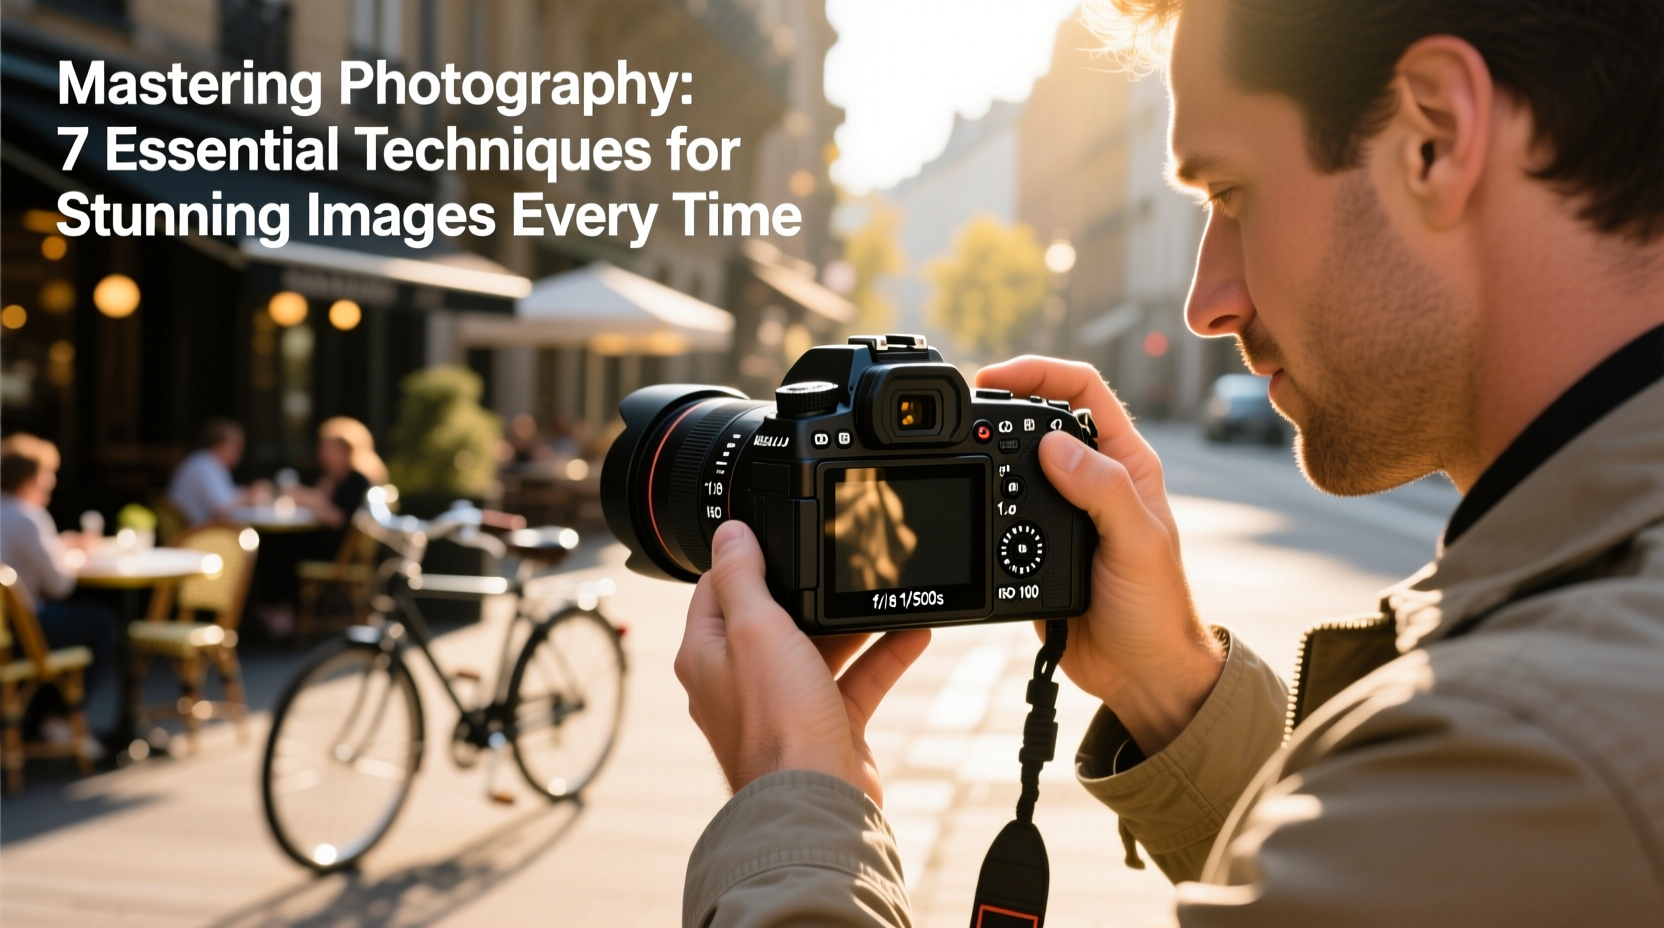
The foundation of every great photo rests on three interconnected elements: aperture, shutter speed, and ISO. Together, they form the exposure triangle, which controls how light interacts with your camera sensor.
- Aperture (f-stop) determines the size of the lens opening. A lower f-number (e.g., f/1.8) creates a shallow depth of field, ideal for portraits with blurred backgrounds. A higher f-number (e.g., f/16) keeps more of the scene in focus, perfect for landscapes.
- Shutter Speed controls how long the sensor is exposed to light. Fast speeds (1/1000 sec) freeze motion, while slow speeds (1 sec or longer) create motion blur—ideal for waterfalls or night photography.
- ISO adjusts the sensor’s sensitivity to light. Lower ISO (100–200) produces clean, noise-free images in bright conditions. Higher ISO (800+) allows shooting in low light but may introduce grain.
Compose with Purpose
Technical settings matter, but composition shapes how viewers experience your photo. Strong composition guides the eye, evokes emotion, and tells a story without words.
- Rule of Thirds: Imagine your frame divided into nine equal parts by two horizontal and two vertical lines. Place key elements along these lines or at their intersections for balanced, dynamic compositions.
- Leading Lines: Use natural lines—roads, fences, rivers—to draw attention toward your subject.
- Framing: Incorporate archways, windows, or overhanging branches to frame your subject and add depth.
- Simplify: Eliminate clutter. A clean background keeps the focus on your subject.
| Composition Technique | Best Used For | Example |
|---|---|---|
| Rule of Thirds | Portraits, landscapes, street photography | Positioning a person’s eyes on the top third line |
| Symmetry | Architecture, reflections | A mirror-like reflection in still water |
| Fill the Frame | Detail shots, intimate portraits | A close-up of hands holding a cup of coffee |
Master Lighting Conditions
Light is the essence of photography. Even the most perfectly composed shot can fall flat under poor lighting. Understanding how light behaves—and how to use it—is crucial.
Natural light changes throughout the day. The golden hour—shortly after sunrise and before sunset—produces soft, warm, directional light ideal for portraits and outdoor scenes. Harsh midday sun creates strong contrasts and unflattering shadows; diffusing it with shade or reflectors helps balance exposure.
In low-light situations, stabilize your camera with a tripod to allow longer exposures without blur. When using artificial light, experiment with angles and modifiers like diffusers or bounce cards to soften intensity.
“Photography is painting with light. Learn to read it, shape it, and wait for it.” — Dorothea Lange, Pulitzer Prize-winning photographer
Real Example: Capturing a Street Portrait
Imagine photographing a street vendor in Marrakech during mid-morning. The sun is high, casting sharp shadows across his face. Instead of shooting immediately, you wait until late afternoon when the light wraps around him gently. You position yourself so he’s backlit slightly, then use a silver reflector to bounce light onto his features. The result? A portrait rich in texture and warmth, where both environment and emotion are preserved.
Focus Accurately and Mind Depth of Field
Sharp focus draws viewers into your image. Modern cameras offer multiple focus modes—single-shot (AF-S), continuous (AF-C), and manual—but knowing when to use each is key.
- Use AF-S for still subjects like landscapes or posed portraits.
- Switch to AF-C for moving subjects such as athletes or wildlife.
- Manual focus gives full control, especially useful in macro or low-contrast scenes.
Depth of field—the range of sharpness in front of and behind your focal point—can be manipulated creatively. A wide aperture (f/2.8) isolates a flower in a garden, making everything else fade into soft color. A narrow aperture (f/11) ensures every layer of a mountain range remains crisp.
Post-Processing: Enhance, Don’t Fix
Editing should refine your vision, not rescue poorly taken photos. Tools like Adobe Lightroom or free alternatives (e.g., Darktable) allow precise adjustments to exposure, contrast, white balance, and cropping.
Start with global edits: correct exposure, adjust highlights and shadows, and set accurate white balance. Then move to local adjustments—dodging (lightening) key areas or burning (darkening) distractions. Sharpening and noise reduction polish the final image.
Resist the urge to over-saturate or over-sharpen. Subtlety preserves realism and emotional impact.
Checklist: Pre-Shoot Preparation
- Charge batteries and format memory cards
- Bring lens cleaning cloth and extra gear
- Check weather forecast and plan accordingly
- Scout location ahead of time if possible
- Set camera mode based on subject (manual, aperture priority, etc.)
- Confirm focus mode and metering settings
Common Mistakes and How to Avoid Them
| Mistake | Why It Happens | Solution |
|---|---|---|
| Blurry photos | Slow shutter speed or poor focus | Use faster shutter speed or tripod; confirm focus point |
| Overexposed skies | Bright areas fool the meter | Use spot metering or graduated filter in post |
| Distracting backgrounds | Lack of attention to surroundings | Reposition yourself or use wider aperture |
FAQ
Do I need an expensive camera to take great photos?
No. While advanced gear offers more control, the most important tool is your eye. Many stunning photos have been taken with smartphones. Master composition, lighting, and timing first—equipment follows.
How do I get my photos to look more professional?
Consistency comes from understanding exposure, using thoughtful composition, and editing deliberately. Study work you admire, analyze why it works, and practice those principles. Also, develop a cohesive editing style for visual continuity.
What’s the best way to learn photography quickly?
Shoot daily with intention. Set small challenges: one day, focus only on shadows; another, capture movement. Review each image critically. Ask: What worked? What didn’t? Over time, this builds instinctive decision-making.
Conclusion: Make Every Shot Count
Mastering how to take pictures isn’t about memorizing rules—it’s about developing awareness. Notice light patterns on walls, study how people move through space, and anticipate moments before they happen. Each photograph is a chance to express perspective, preserve memory, or evoke feeling.
Great photos don’t require perfection. They require presence. Pick up your camera with purpose. Experiment fearlessly. Refine relentlessly. And remember: the most stunning images aren’t just seen—they’re felt.


 浙公网安备
33010002000092号
浙公网安备
33010002000092号 浙B2-20120091-4
Comments
No comments yet. Why don't you start the discussion?