
In today’s visual world, the ability to capture high-quality video is no longer limited to professionals with expensive gear. Whether you're filming a family event, creating content for social media, or producing a short film, your smartphone, mirrorless camera, or even a tablet can deliver stunning results—if used correctly. The key isn’t just the device; it’s understanding lighting, composition, stability, and audio. With the right techniques, anyone can elevate their video from amateur to professional in appearance.
1. Understand Your Device’s Capabilities
Every device has strengths and limitations. A flagship smartphone may shoot 4K at 60fps, while an older model might only support 1080p. Similarly, DSLRs offer manual controls but require more setup. Knowing what your device can do—its resolution options, frame rates, low-light performance, and microphone inputs—is the first step toward better footage.
Check your device settings before recording. Enable the highest resolution available without sacrificing too much battery or storage. For most users, 1080p at 30fps provides a clean, stable image suitable for web platforms. If you want slow motion, switch to 60fps or higher if supported. Avoid digital zoom, as it degrades image quality. Instead, move closer to your subject or use optical zoom if available.
2. Master Lighting for Crisp, Natural-Looking Footage
Lighting makes or breaks a video. Poor lighting leads to grainy, dark, or overexposed images, regardless of your device’s quality. Natural light is often the best option—soft, diffused daylight creates flattering illumination. Position your subject facing a window or just outside in open shade to avoid harsh shadows.
Avoid backlighting unless intentional. If the sun is behind your subject, they’ll appear as a silhouette. Use reflectors (even white poster boards) to bounce light onto faces. Indoors, combine ambient room lights with directional lamps to eliminate flat or uneven lighting.
In low-light conditions, increase exposure manually if your device allows it. However, be cautious—high ISO settings introduce noise. Some phones now include \"night mode\" video, which stabilizes and brightens footage through software processing. While useful, these modes may reduce dynamic range.
“Lighting is the silent storyteller in every frame. Even the best camera won’t save a poorly lit scene.” — Lena Torres, Cinematographer & Visual Storytelling Coach
3. Frame with Intention: Composition Matters
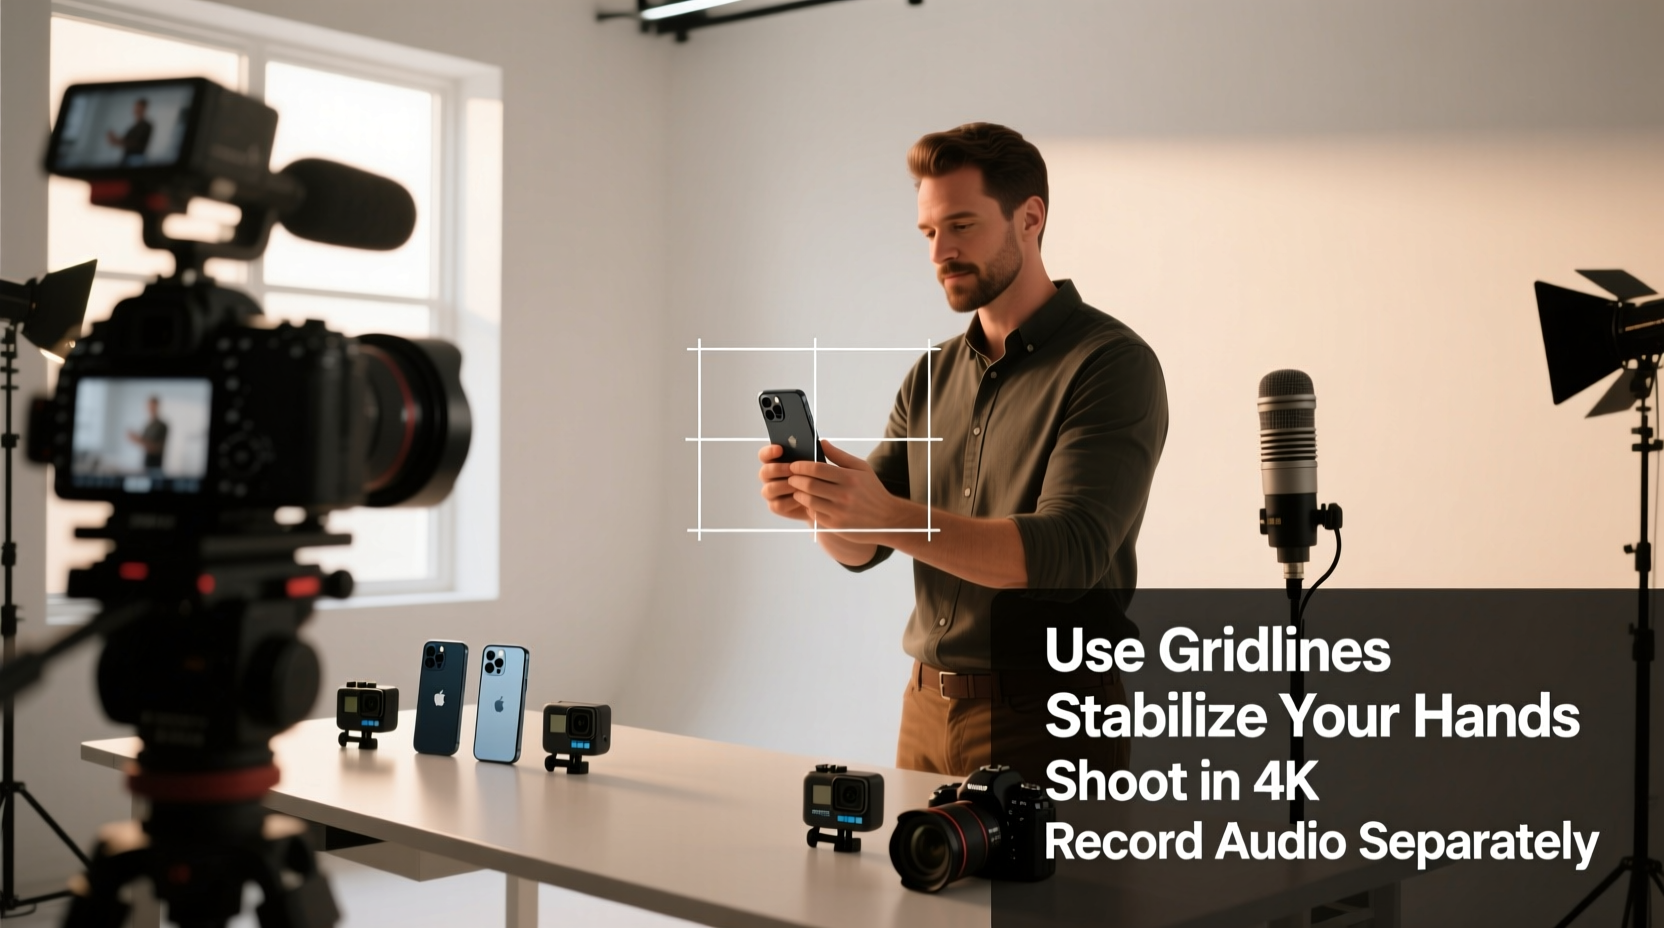
Great video isn’t just about clarity—it’s about engagement. Use compositional rules like the rule of thirds, leading lines, and symmetry to create visually compelling shots. Most devices have grid overlays in camera settings; enable them to align your subject along intersecting lines.
Vary your shots for depth and interest. Include wide shots to establish context, medium shots for interaction, and close-ups to emphasize emotion. Maintain consistent headroom and avoid cutting off limbs awkwardly at joints.
Keep the background uncluttered. A busy backdrop distracts viewers from the subject. Look through the lens carefully before recording—move objects, adjust angles, or reposition to keep the focus where it belongs.
| Shot Type | Purpose | Best Used When |
|---|---|---|
| Wide Shot | Show environment and scale | Opening scenes, landscapes, group shots |
| Medium Shot | Capture upper body and gestures | Interviews, conversations |
| Close-Up | Highlight facial expressions | Emotional moments, product details |
| Over-the-Shoulder | Create perspective | Dialogue sequences, vlogs |
4. Stabilize Your Shots for Professional Results
Shaky footage is one of the fastest ways to make a video look unprofessional. Even slight hand tremors become exaggerated when viewed on larger screens. While many devices have built-in stabilization, relying solely on software correction can lead to cropping and reduced resolution.
For steady results, use physical stabilization tools. A simple tripod or mini gimbal dramatically improves shot quality. Clip-on phone tripods are affordable and portable. Gimbals smooth out movement during walking shots or tracking scenes.
If no equipment is available, brace yourself. Lean against a wall, rest your arms on a table, or tuck your elbows into your sides. Move slowly and deliberately. Avoid quick pans or jerky motions—smooth transitions are more cinematic.
5. Prioritize Audio Quality
No amount of visual polish compensates for muffled, distorted, or noisy audio. Built-in microphones pick up wind, handling noise, and ambient sounds that distract from your message. For interviews or voiceovers, consider external solutions.
Use lavalier (lapel) microphones connected via USB or Bluetooth for clear voice capture. Shotgun mics mounted on cameras offer directional sound pickup. Even recording audio separately with a dedicated recorder and syncing it in post can yield better results than relying on internal mics.
Monitor audio levels during recording. Many apps allow real-time volume checks. Avoid filming in excessively windy or echo-prone environments. If necessary, add subtle background music in editing—but never let it overpower speech.
Step-by-Step Guide: Preparing for a High-Quality Video Shoot
- Plan your content: Outline the purpose, script key points, and decide on shot types.
- Charge all devices: Ensure camera, microphone, and phone batteries are fully charged.
- Check storage space: Delete unnecessary files to free up room for high-resolution video.
- Set up lighting: Use natural light or position lamps to evenly illuminate the subject.
- Stabilize your device: Mount on a tripod or secure surface.
- Test audio: Record a short clip and play it back to confirm clarity.
- Frame and focus: Adjust composition, enable grid lines, and tap to focus on the subject.
- Record multiple takes: Capture backups in case of mistakes or technical issues.
Real Example: From Blurry Home Videos to Engaging Content
Sophie, a small business owner, initially recorded product demos on her phone held in one hand, near a dim kitchen counter. Her videos had shaky framing, muffled audio, and poor lighting. After learning basic video principles, she made simple changes: she moved filming to a well-lit corner, used a $20 tripod, and clipped a lapel mic to her shirt. Within weeks, customer engagement doubled. “I didn’t upgrade my phone,” she said. “I just learned how to use it better.”
Essential Video Recording Checklist
- ✅ Charge device and backup power bank
- ✅ Clear storage space for HD/4K footage
- ✅ Enable highest usable resolution and frame rate
- ✅ Disable digital zoom
- ✅ Set up proper lighting (natural or artificial)
- ✅ Use a tripod, gimbal, or stable surface
- ✅ Frame using rule of thirds and check background
- ✅ Test and monitor audio levels
- ✅ Record a short test clip and review
- ✅ Capture multiple takes for safety
FAQ
Can I shoot professional-looking video with just a smartphone?
Absolutely. Modern smartphones have advanced sensors and processing capabilities. Pair them with good lighting, a stable mount, and an external mic, and you can produce content indistinguishable from higher-end cameras for most online uses.
Why does my video look grainy?
Grain (or noise) usually occurs in low light when the camera boosts ISO sensitivity. Improve lighting instead of relying on digital enhancement. Shooting in well-lit environments significantly reduces grain and preserves detail.
Should I edit my videos?
Yes. Even basic editing enhances quality. Trim dead space, adjust color balance, normalize audio, and add subtle transitions. Free apps like DaVinci Resolve, iMovie, or CapCut offer powerful tools for beginners.
Final Thoughts: Quality Over Gear
The best camera is the one you have with you—and the one you know how to use well. You don’t need the latest model to capture compelling footage. What matters most is intentionality: controlling light, composing thoughtfully, stabilizing your shot, and ensuring clear sound. These fundamentals apply whether you’re using a budget phone or a cinema-grade rig.
Start applying these techniques today. Revisit old recordings and compare them with new ones. You’ll quickly see the difference thoughtful execution makes. Mastery comes not from upgrading equipment, but from refining technique.


 浙公网安备
33010002000092号
浙公网安备
33010002000092号 浙B2-20120091-4
Comments
No comments yet. Why don't you start the discussion?