
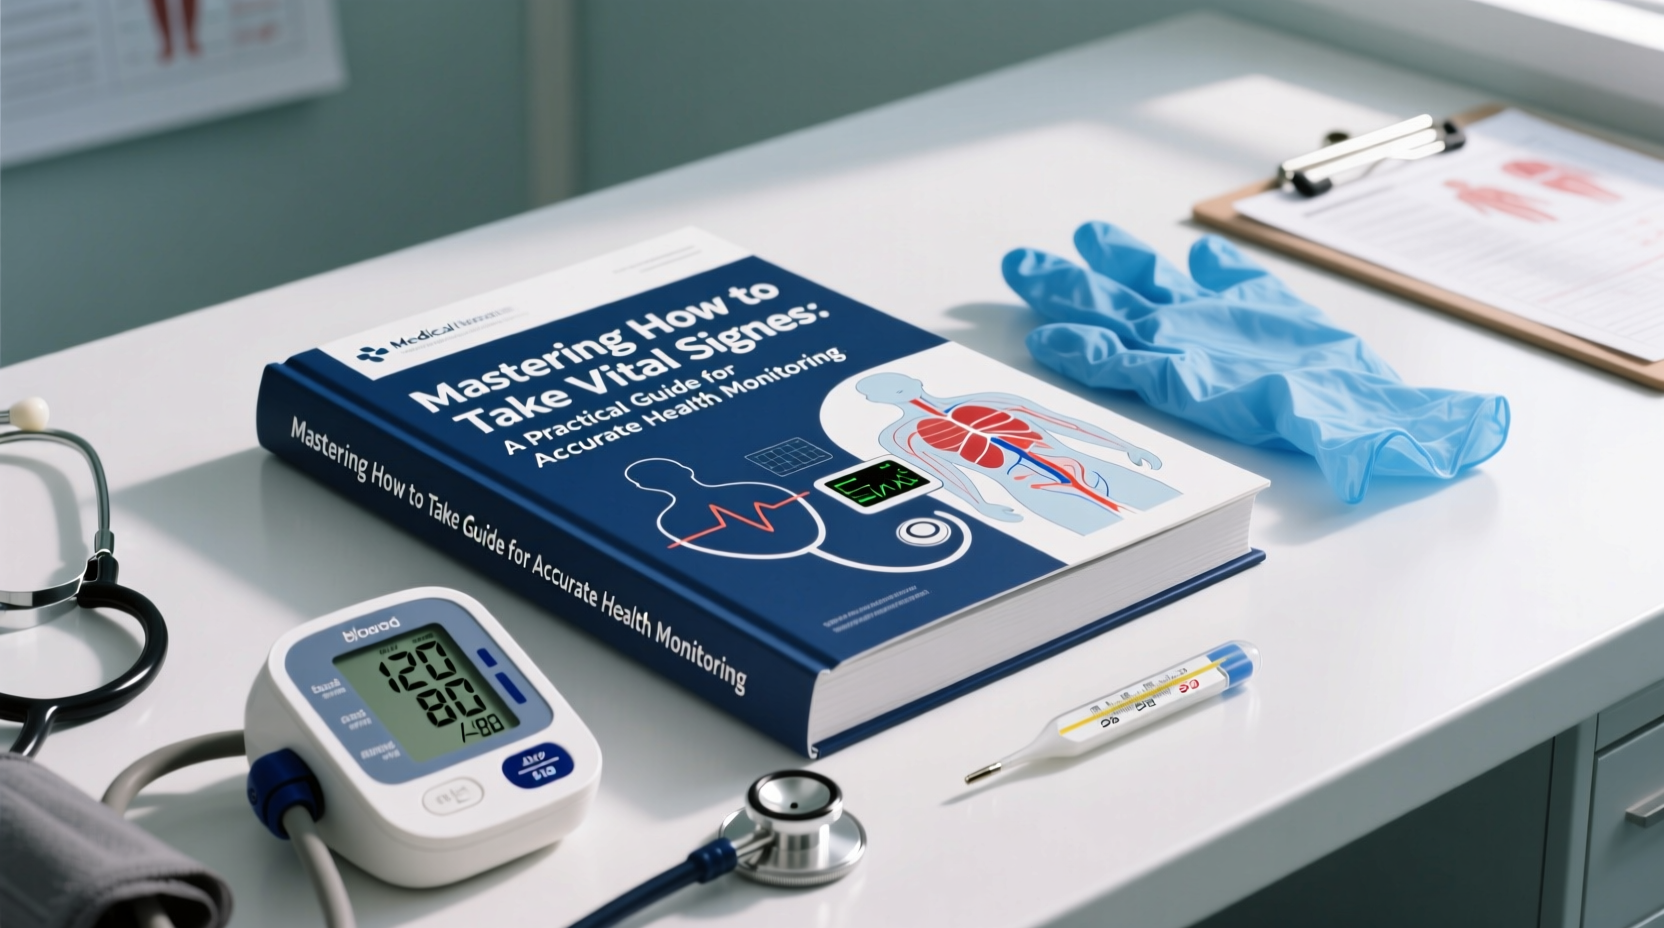
Vital signs are the cornerstone of clinical assessment. They provide immediate insight into a person’s physiological status and serve as early warning indicators for illness, deterioration, or recovery. Whether you're a healthcare professional, caregiver, or someone managing chronic conditions at home, understanding how to measure vital signs accurately is essential. This guide walks through the core components—temperature, pulse, respiration rate, blood pressure, and oxygen saturation—with precise methods, common pitfalls, and real-world applications to ensure consistent, reliable results.
Understanding the Five Primary Vital Signs
The five key vital signs offer a snapshot of basic bodily functions:
- Temperature: Reflects the body’s ability to generate and dissipate heat.
- Pulse (Heart Rate): Measures the number of heartbeats per minute.
- Respiratory Rate: Counts breaths taken per minute.
- Blood Pressure: Indicates the force of blood against artery walls.
- Oxygen Saturation (SpO₂): Assesses how well oxygen binds to hemoglobin in the blood.
Together, these measurements help detect infections, cardiac issues, respiratory distress, dehydration, and other critical conditions. Small deviations from normal ranges can signal significant changes, especially when tracked over time.
Step-by-Step Guide to Measuring Each Vital Sign
1. Temperature
Use a digital thermometer for safety and precision. Common sites include oral, tympanic (ear), temporal (forehead), axillary (underarm), and rectal.
- Wash hands and clean the thermometer with alcohol.
- For oral measurement: Place the tip under the tongue, ask the patient to close lips gently, and wait for the beep.
- Avoid food, drink, or smoking 15 minutes prior to oral readings.
- Rectal temperatures are most accurate in infants; use only with appropriate technique and lubrication.
- Record the reading and site used (e.g., “Oral: 98.6°F”).
2. Pulse (Heart Rate)
The radial artery (wrist) is most commonly used.
- Place two fingers (not thumb) on the inside of the wrist below the thumb base.
- Press lightly until you feel a rhythmic beat.
- Count beats for 30 seconds and multiply by 2, or count for a full minute if the rhythm is irregular.
- Note both rate and rhythm—regular or irregular.
3. Respiratory Rate
Measure while the patient remains unaware to avoid altering their breathing pattern.
- After taking the pulse, keep your hand in place and observe chest rise and fall.
- One breath = one inhalation and exhalation cycle.
- Count for a full 60 seconds for accuracy, especially in children or ill patients.
- Normal adult rate: 12–20 breaths per minute.
4. Blood Pressure
Use a properly sized cuff and a calibrated sphygmomanometer (manual or digital).
- Seat the patient with back support, feet flat, arm supported at heart level.
- Wrap the cuff snugly around the upper arm, centering the bladder over the brachial artery.
- For manual measurement: Inflate to 180 mmHg, then deflate slowly (2–3 mmHg per second).
- Listen for Korotkoff sounds: First sound = systolic; disappearance = diastolic.
- Digital devices display values automatically—ensure they’re validated for clinical use.
5. Oxygen Saturation (SpO₂)
Measured using a pulse oximeter placed on the fingertip, earlobe, or toe.
- Clean the sensor site and remove nail polish if possible.
- Clip the device on, ensuring the light source aligns with the photodetector.
- Wait 10–20 seconds for a stable reading.
- Normal SpO₂ is ≥95%; values below 92% warrant medical evaluation.
“Accurate vital sign measurement begins with proper technique, not just advanced equipment. A well-trained clinician with a basic stethoscope often outperforms an untrained user with high-tech tools.” — Dr. Lena Torres, Emergency Medicine Physician and Clinical Educator
Common Errors and How to Avoid Them
Inaccurate readings often stem from procedural mistakes rather than faulty devices. Awareness of these pitfalls improves reliability:
| Vital Sign | Common Error | Best Practice |
|---|---|---|
| Temperature | Using oral thermometers after hot/cold drinks | Wait 15–30 minutes post-consumption |
| Pulse | Using the thumb to palpate (can feel own pulse) | Use index and middle fingers |
| Respiration | Measuring too quickly or alerting the patient | Count for full 60 seconds without drawing attention |
| Blood Pressure | Cuff too small or arm not at heart level | Select correct cuff size; support arm properly |
| SpO₂ | Nail polish, cold extremities, poor perfusion | Clean nails, warm hands, consider alternative sites |
Practical Checklist for Accurate Vital Sign Monitoring
Follow this checklist every time to standardize your process:
- ✅ Wash hands and ensure equipment is clean and functional.
- ✅ Confirm patient identity and explain the procedure.
- ✅ Position the patient correctly (seated, lying, or as appropriate).
- ✅ Use properly sized equipment (especially BP cuffs).
- ✅ Measure in a quiet, comfortable environment.
- ✅ Record all values immediately with date, time, and method.
- ✅ Compare with baseline trends when available.
- ✅ Report any abnormal findings promptly.
Real-World Example: Early Detection Saves a Life
Maria, a 72-year-old woman with hypertension and diabetes, began daily monitoring her blood pressure and pulse at home after a hospital discharge. One morning, she recorded a BP of 188/110 mmHg with a pulse of 110 bpm—significantly higher than her usual 130/80. Though she felt only mildly dizzy, she contacted her nurse. Upon evaluation, she was found to have acute kidney injury contributing to hypertensive urgency. Immediate intervention prevented stroke or heart failure. Her consistent monitoring and accurate technique made the difference.
This case underscores that vital signs aren’t just numbers—they’re dynamic indicators requiring context, consistency, and prompt action when deviations occur.
Frequently Asked Questions
How often should I check vital signs at home?
Frequency depends on health status. For stable chronic conditions like hypertension, once daily at the same time is sufficient. During illness, fever, or post-surgery recovery, monitor every 4–6 hours. Always follow your healthcare provider’s guidance.
Can stress affect my vital signs?
Yes. Stress triggers the sympathetic nervous system, increasing heart rate, blood pressure, and respiratory rate. This \"white coat effect\" is common during clinical visits. To reduce anxiety-related spikes, rest quietly for 5 minutes before measuring and practice slow breathing.
What should I do if a vital sign is outside the normal range?
Don’t panic. Retake the measurement after 5–10 minutes. If still abnormal and accompanied by symptoms like chest pain, shortness of breath, confusion, or fainting, seek medical help immediately. For isolated, mild elevations, document the reading and consult your provider within 24 hours.
Conclusion: Empower Yourself Through Knowledge and Practice
Mastering how to take vital signs transforms passive observation into active health management. Whether in a clinic, nursing home, or private residence, accurate monitoring enables early detection, informed decisions, and better outcomes. The skills outlined here require no advanced degree—just attention to detail, consistency, and a commitment to learning. As healthcare becomes increasingly decentralized, these competencies are more valuable than ever.


 浙公网安备
33010002000092号
浙公网安备
33010002000092号 浙B2-20120091-4
Comments
No comments yet. Why don't you start the discussion?