
Proper maintenance of an air conditioning system is essential for efficiency, reliability, and long-term performance. One of the most critical procedures during installation or repair is evacuating the refrigerant lines using a vacuum pump. This process removes moisture, non-condensable gases, and contaminants that can severely impact cooling capacity and damage internal components. When executed correctly, deep vacuuming ensures clean, dry, and efficient operation. This guide walks through every phase of using a vacuum pump on an AC unit, offering actionable insights, best practices, and expert-backed methods to achieve optimal results.
Why Vacuuming Is Non-Negotiable in AC Maintenance
Air conditioning systems operate under precise pressure and chemical conditions. Even small amounts of moisture or air trapped in the refrigerant lines can lead to acid formation, oil breakdown, ice blockages, and compressor failure. Moisture combines with refrigerant to form hydrochloric and hydrofluoric acids—corrosive substances that degrade valves, motors, and heat exchangers over time.
Vacuuming isn't just about removing air; it's about creating a pure environment where refrigerant can transfer heat efficiently. The goal is to pull a deep vacuum—typically below 500 microns—to boil off any residual moisture (via sublimation) and ensure all non-condensable gases are extracted.
“Skipping evacuation is like building a house on sand. No matter how good the equipment is, contamination will undermine performance from day one.” — James Rutherford, HVAC Systems Engineer with 28 years of field experience
Essential Tools and Setup for Effective Vacuuming
Before beginning the evacuation process, gather the correct tools and verify their condition. Using substandard hoses or gauges can compromise accuracy and safety.
| Tool/Equipment | Purpose | Recommended Specification |
|---|---|---|
| Vacuum Pump | Removes air and moisture from refrigerant lines | Single-stage or two-stage, ≥4 CFM rating |
| Manifold Gauge Set | Monitors vacuum level and connects components | Copper core, micron-rated with hose ports |
| Recovery Tank (if applicable) | Safely stores refrigerant before evacuation | EPA-certified, properly labeled |
| Vacuum-Proof Hoses | Connect pump to system without leaks | Rated for deep vacuum, ¼” and ⅜” fittings |
| Micron Gauge | Measures vacuum depth accurately | Digital readout, calibrated regularly |
| Valve Wrench & Leak Detector | Opens service valves and checks for leaks | Electronic or bubble solution type |
Step-by-Step Guide to Evacuating Your Air Conditioner
Follow this detailed sequence to perform a proper evacuation. Each step contributes to achieving a clean, dry, and stable refrigerant circuit.
- Turn Off Power and Recover Refrigerant
Shut down the power at the disconnect switch. If the system contains refrigerant, recover it into a certified tank using a recovery machine. Never vent refrigerant into the atmosphere—it’s illegal and environmentally harmful. - Connect Manifold Gauge Set
Attach the red hose to the high-side service valve, blue to the low-side, and yellow to the vacuum pump. Ensure all hand valves on the manifold are closed before connecting. - Check for Leaks Before Pumping
Pressurize the system with nitrogen (around 150 psi) and inspect all joints, flare connections, and valves with a leak detector. Repair any leaks before proceeding—vacuuming a leaking system is ineffective. - Begin Evacuation Process
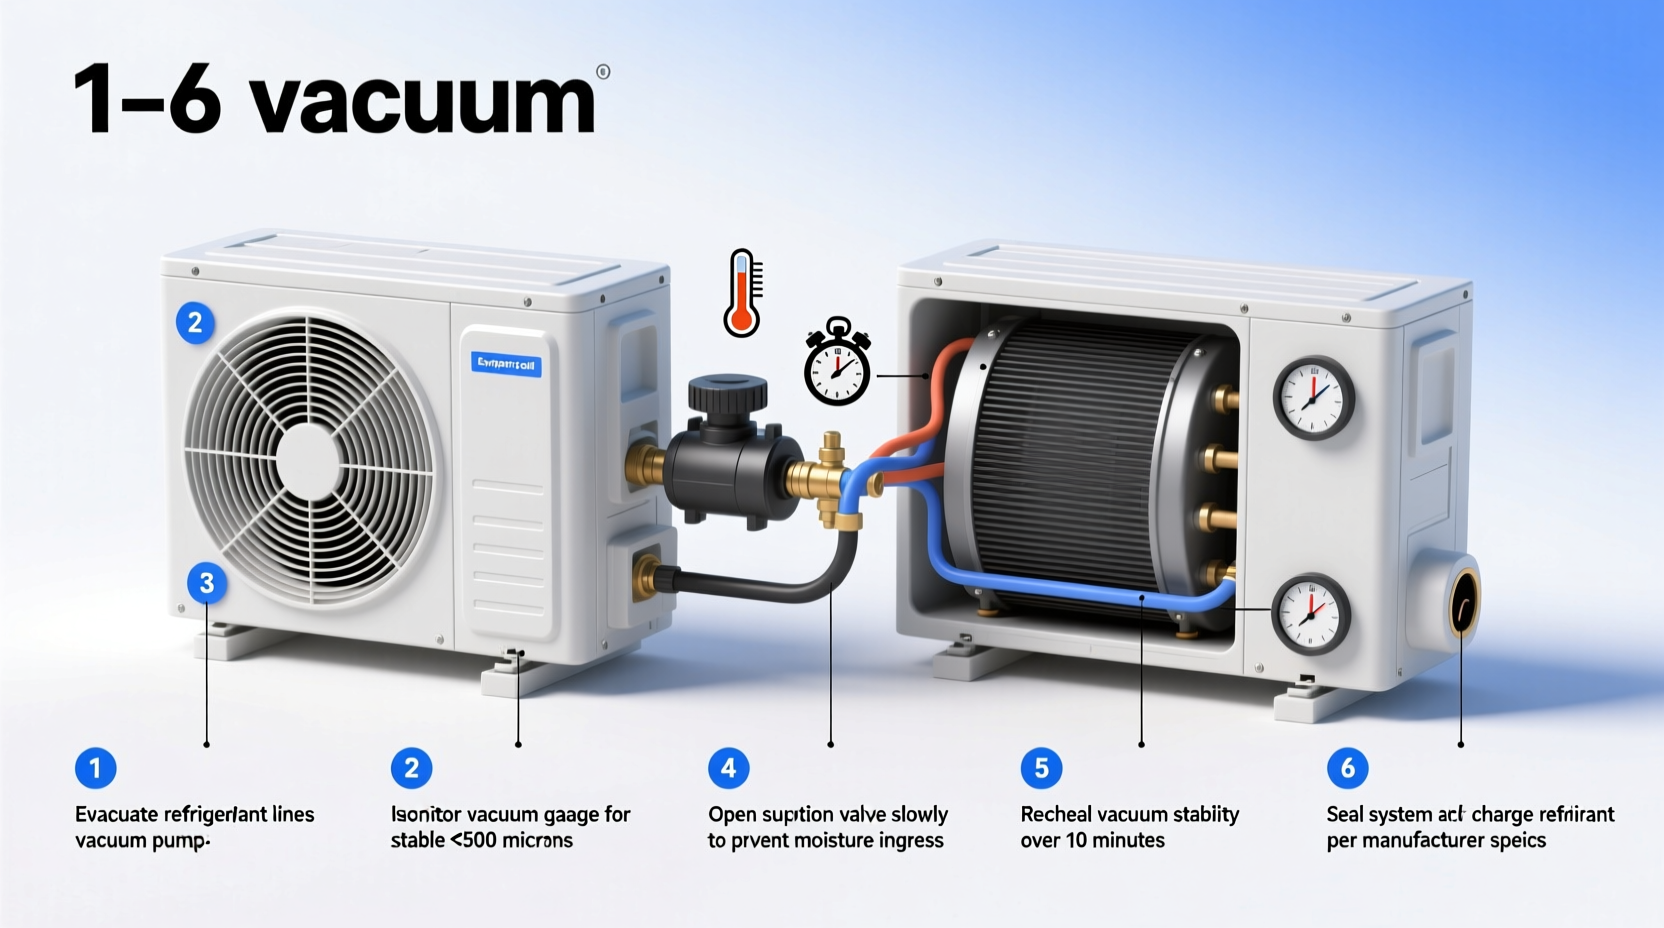
Open the low-side valve on the manifold, then start the vacuum pump. After one minute, open the high-side valve to allow full-system evacuation. - Maintain Deep Vacuum for Sufficient Time
Run the pump until the micron gauge reads below 500 microns. For best results, continue pumping for an additional 15–30 minutes after reaching this threshold to ensure moisture is fully removed. - Perform a Standing Test (Holding Test)
Close both manifold valves and turn off the pump. Let the system sit for 15 minutes. If the micron level rises above 750, there’s a leak or moisture presence. Recheck connections and repeat evacuation if needed. - Charge the System Safely
Once the vacuum holds steady, slowly introduce refrigerant according to manufacturer specifications. Use weight-based charging for precision rather than relying solely on pressure readings.
Common Mistakes and How to Avoid Them
Even experienced technicians sometimes make errors that reduce evacuation effectiveness. Awareness of these pitfalls leads to better outcomes.
- Using dirty or worn hoses – Old hoses absorb moisture and harbor debris. Replace them every 1–2 years or after exposure to contaminated systems.
- Insufficient pump runtime – Pulling vacuum for only a few minutes won’t remove dissolved moisture. Always allow adequate time based on system size.
- Ignoring micron measurement – Relying on compound gauges alone gives false confidence. A micron gauge is the only accurate way to confirm deep vacuum.
- Over-tightening fittings – This can strip Schrader cores or crack flare nuts. Use torque wrenches for consistency.
- Charging too quickly – Rapid refrigerant introduction can cause liquid slugging in compressors. Charge slowly and monitor superheat/subcooling.
Real-World Example: Preventing Premature Compressor Failure
A residential HVAC technician was called to a home with weak cooling despite a recent refrigerant recharge. Upon inspection, the system showed signs of acid buildup and oil discoloration. The previous technician had skipped evacuation, assuming “a little air won’t hurt.”
The current technician recovered the contaminated refrigerant, flushed the lines, replaced the filter drier, and performed a 45-minute deep vacuum down to 300 microns. After recharging with new refrigerant, the system achieved design temperatures and ran smoothly for years afterward. This case underscores how skipping one crucial step can lead to costly repairs—and how proper vacuuming restores function and prevents future issues.
Checklist: Vacuum Pump Procedure Verification
Use this checklist before, during, and after evacuation to ensure nothing is overlooked:
- ✅ Power to the unit is disconnected
- ✅ Refrigerant has been safely recovered
- ✅ Nitrogen pressure test completed and no leaks found
- ✅ Vacuum pump oil is clean and at proper level
- ✅ Micron gauge is zeroed and functioning
- ✅ Hoses are short, large-diameter, and vacuum-rated
- ✅ Deep vacuum achieved (≤500 microns)
- ✅ Holding test passed (no rise over 15 minutes)
- ✅ System charged using proper method and quantity
- ✅ Final operating pressures and temperatures verified
Frequently Asked Questions
How long should I run the vacuum pump?
Minimum duration depends on system size and ambient conditions. As a rule: pull vacuum until below 500 microns, then continue for 15–30 minutes more. Larger systems (e.g., ducted units) may require 45+ minutes total. Always follow up with a standing test.
Can I use a single-stage vacuum pump?
Yes, but a two-stage pump is preferred. Single-stage pumps struggle to reach very low micron levels and take longer. They’re acceptable for small residential systems if maintained well and used with proper technique.
What causes high micron readings after evacuation?
Common causes include leaks, wet components, restricted lines, contaminated pump oil, or faulty micron gauges. Check each factor systematically. Replacing the filter drier often resolves moisture-related issues.
Final Thoughts: Precision Leads to Performance
Mastering the use of a vacuum pump on your air conditioner isn’t just a technical skill—it’s a commitment to quality workmanship. Every connection, every reading, and every minute spent under deep vacuum contributes to a system that cools effectively, runs reliably, and lasts longer. Whether you're a seasoned technician or a dedicated DIYer, treating evacuation as a non-negotiable step elevates your results and protects your investment.


 浙公网安备
33010002000092号
浙公网安备
33010002000092号 浙B2-20120091-4
Comments
No comments yet. Why don't you start the discussion?