
Infrared photography transforms the ordinary into the otherworldly. Lush green foliage glows white, skies turn dramatic, and skin takes on an ethereal tone. Once limited to specialized DSLR cameras and complex setups, infrared imaging is now accessible through smartphones—thanks to advancements in sensor technology and affordable accessories. With the right approach, you can create surreal, high-impact images using just your phone.
This guide breaks down everything you need to know: from understanding how infrared works with mobile devices, to selecting equipment, optimizing settings, and editing for maximum effect. Whether you're a landscape enthusiast or experimental photographer, mastering infrared mobile photography opens a new creative dimension.
Understanding Infrared Light and Mobile Sensors
Infrared (IR) light exists just beyond the visible spectrum, with wavelengths longer than red light. While human eyes can't perceive it, many smartphone camera sensors can detect near-infrared (NIR) light—typically between 700–1100 nanometers. However, manufacturers install IR-cut filters over sensors to block this light and ensure accurate color reproduction under normal conditions.
The strength of these filters varies across models. Some phones, particularly older or mid-range devices, have weaker IR filtering, making them more responsive to infrared light when paired with external filters. This sensitivity forms the foundation of mobile IR photography.
“Smartphone sensors are more versatile than most people realize. With the right filter and lighting, they can produce infrared results rivaling dedicated modified cameras.” — Dr. Lena Torres, Computational Imaging Researcher
Essential Equipment for Mobile IR Photography
You don’t need a full studio setup to begin. The following tools form the core of a functional mobile IR kit:
- Infrared pass filter – Blocks visible light and allows only IR wavelengths to pass. Common types include 720nm, 850nm, and 950nm. The 720nm filter offers a balance between visible detail and strong IR effect.
- Clip-on lens adapter – Secures the filter directly over your phone’s rear camera.
- Sturdy tripod or mount – Long exposures are often necessary due to reduced light transmission through IR filters.
- Manual camera app – Enables control over focus, exposure, ISO, and white balance.
Choosing the Right IR Filter
| Filter Type | Wavelength | Effect | Best For |
|---|---|---|---|
| 720nm | 720 nanometers | Mixed IR and visible light; wood effect with pink tones | Landscape, creative portraits |
| 850nm | 850 nanometers | Pronounced IR effect; near-monochrome output | Dramatic skies, architectural contrast |
| 950nm | 950 nanometers | Nearly pure IR; very dark viewfinder, requires long exposure | Advanced users, experimental work |
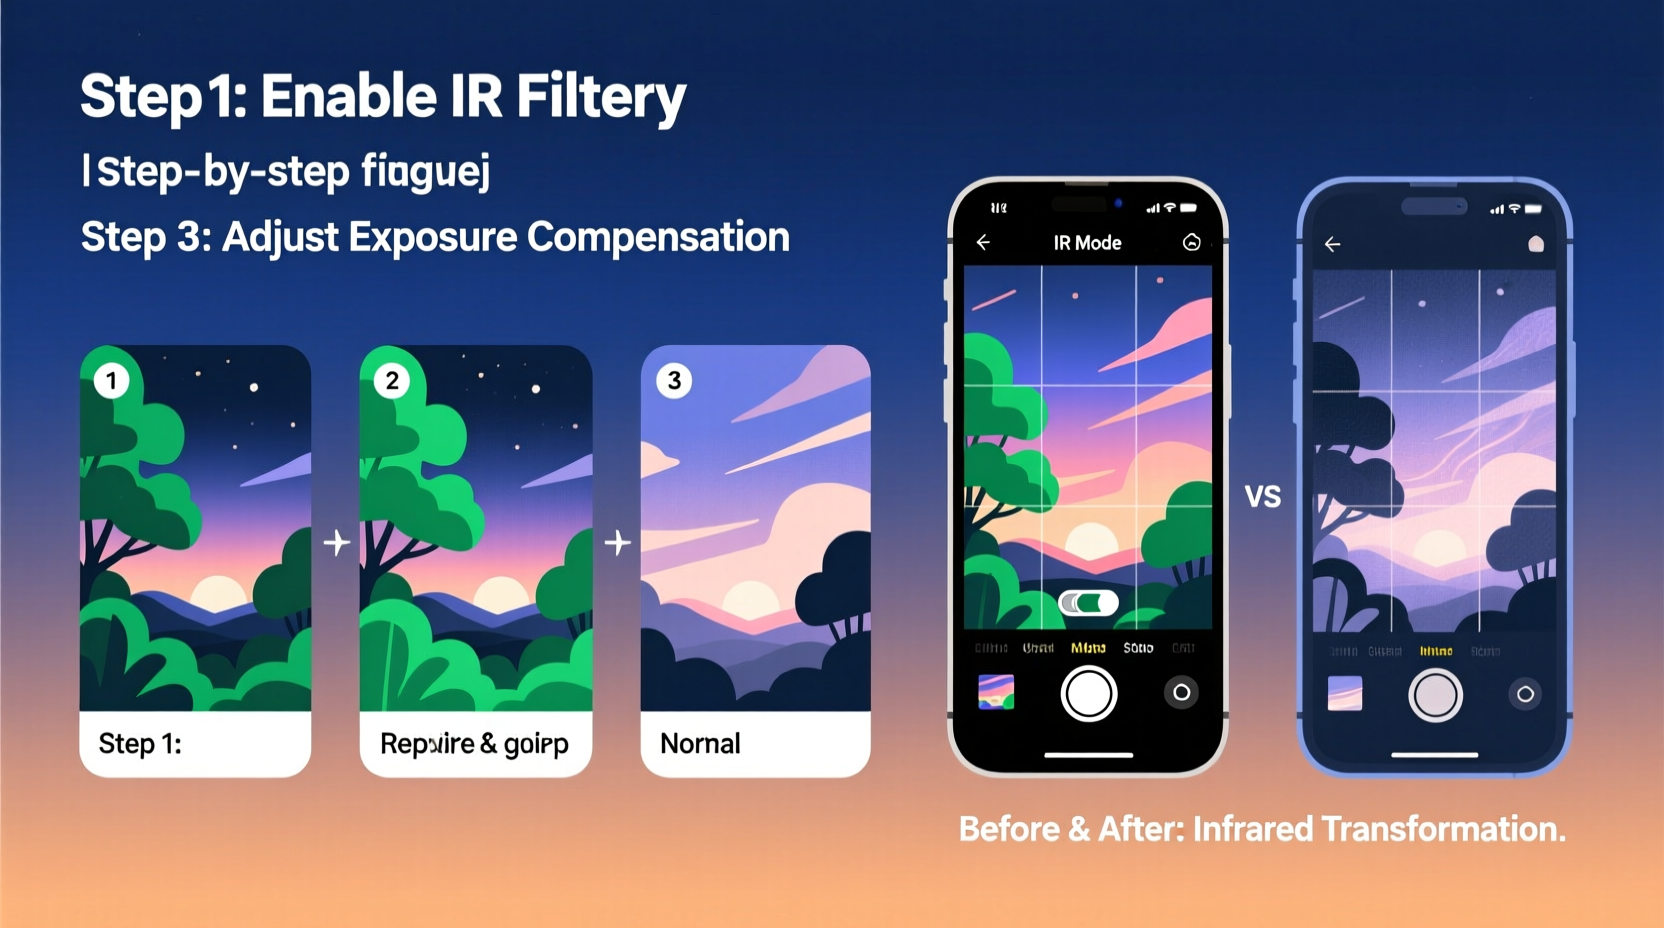
Step-by-Step Guide to Capturing Your First IR Shot
- Attach the IR filter securely using a clip-on adapter. Ensure no light leaks around the edges.
- Use a manual camera app such as ProCam (iOS), Filmic Pro, or Open Camera (Android). Auto modes struggle with IR.
- Set focus manually. IR light focuses at a different point than visible light. Tap to focus on a high-contrast edge, then fine-tune if needed.
- Adjust exposure compensation. IR filters block most visible light, so increase exposure by +1.5 to +3 EV.
- Lower ISO to 100–200 to minimize noise during longer exposures.
- Lock white balance on green grass or foliage. This prevents the image from turning completely red or magenta.
- Use a tripod and trigger the shutter remotely or via timer to avoid shake.
- Capture in RAW format if available. This preserves maximum data for post-processing.
Post-Processing: Turning Raw Data into Art
Raw IR images often appear red or magenta because the sensor still records some visible red light. Post-processing converts these tones into the classic black-and-white or false-color IR styles.
Basic Workflow in Editing Apps (e.g., Lightroom Mobile, Snapseed)
- Import the RAW file and adjust exposure, highlights, and shadows.
- Use the White Balance tool to click on a patch of grass—this neutralizes red casts.
- In the Color Mixer, desaturate reds and oranges, then boost blues and cyans for a cooler tone.
- Convert to black and white, emphasizing the “green” and “yellow” sliders to brighten foliage.
- Enhance contrast and clarity to emphasize the surreal “glow” of leaves.
For false-color effects, swap color channels using apps like Photoshop Express or specialized desktop software. A popular method swaps red and blue channels, turning skies cyan and foliage golden.
Mini Case Study: Urban Park Transformation
Rosa Kim, a mobile photographer in Portland, used her older Android phone with a 720nm filter to photograph a city park under harsh midday sun. Initially discouraged by the deep red preview, she exported the RAW file to Lightroom Mobile. After adjusting white balance on grass, converting to monochrome, and boosting green luminance, the trees appeared ghostly white against a dark sky. The final image won second place in a local digital art exhibition—proof that compelling IR work doesn’t require high-end gear.
Common Challenges and How to Overcome Them
- Blurry images: Caused by hand movement during long exposures. Always use a tripod.
- Hotspots: Circular bright spots in the center of the image. More common with wide-angle lenses. Use prime lenses or crop them out.
- Weak IR effect: May indicate a strong internal IR-cut filter. Try different phone models—older iPhones (6s–8) or select Samsung Galaxy models respond better.
- Dark viewfinder: Expected with 850nm+ filters. Compose and focus before attaching the filter.
Do’s and Don’ts of Mobile IR Photography
| Do | Don’t |
|---|---|
| Shoot in direct sunlight | Shoot on cloudy or shaded days |
| Use manual camera controls | Rely on auto mode |
| Focus before locking exposure | Tap randomly for focus |
| Edit in RAW for flexibility | Stick to JPEG-only capture |
| Experiment with foliage-rich scenes | Photograph indoors without strong IR sources |
Frequently Asked Questions
Can I do infrared photography without a physical filter?
No—despite some apps claiming “infrared mode,” true IR capture requires blocking visible light. Software filters simulate the look but cannot access real infrared data.
Which smartphones work best for IR?
Phones with less aggressive IR-cut filters perform better. Older models like iPhone 6s–8, Google Pixel 2–3, and select Samsung Galaxy S series units are known for higher IR sensitivity. Testing with a remote control is the easiest way to check compatibility.
Is infrared photography safe for my phone?
Yes. Infrared light is naturally present in sunlight. Using an external filter poses no risk to your device’s hardware.
Conclusion: Unlock a Hidden Visual World
Infrared mobile photography isn’t just a technical exercise—it’s a gateway to seeing the world differently. What looks mundane in daylight becomes poetic under infrared light. With minimal investment and deliberate technique, your smartphone can produce images that feel both futuristic and timeless.
The key lies in preparation: choosing the right filter, mastering manual settings, shooting in optimal conditions, and refining your vision through editing. Each step brings you closer to creating images that stop viewers in their tracks.


 浙公网安备
33010002000092号
浙公网安备
33010002000092号 浙B2-20120091-4
Comments
No comments yet. Why don't you start the discussion?