
Instagram has evolved into one of the most powerful platforms for visual storytelling, brand building, and audience engagement. While photos still hold value, video content dominates user attention—especially in feeds, Reels, and Stories. Whether you're a creator, entrepreneur, or marketer, mastering how to upload and optimize Instagram videos is no longer optional. It’s essential for visibility, growth, and impact.
But posting a video isn’t enough. Many users upload clips only to see low engagement, poor reach, or inconsistent results. The difference between an overlooked clip and a viral hit often comes down to technical precision, strategic formatting, and platform-specific optimization. This guide walks through every critical step—from preparation to publishing—to ensure your videos perform at their best.
Step 1: Prepare Your Video for Instagram
Before hitting upload, your video must meet Instagram’s technical standards and align with viewer expectations. Poor resolution, incorrect aspect ratios, or muffled audio can sabotage even the most compelling content.
Start by choosing the right format based on where your video will appear: Feed, Reels, IGTV (now integrated into Posts), or Stories. Each has unique specifications:
| Video Type | Aspect Ratio | Max Length | Resolution | File Size Limit |
|---|---|---|---|---|
| Feed Video | 1:1 (square), 4:5 (portrait), or 16:9 (landscape) | 60 seconds | 1080x1080 px or higher | 4GB |
| Reels | 9:16 (full-screen portrait) | 90 seconds | 1080x1920 px recommended | 4GB |
| Stories | 9:16 | 15 seconds per clip | 1080x1920 px | 4GB |
Ensure your audio is clear and balanced. Background music should not overpower speech. Use captions whenever possible—over 85% of videos are watched without sound initially. Tools like CapCut, Descript, or Canva allow quick caption generation and styling.
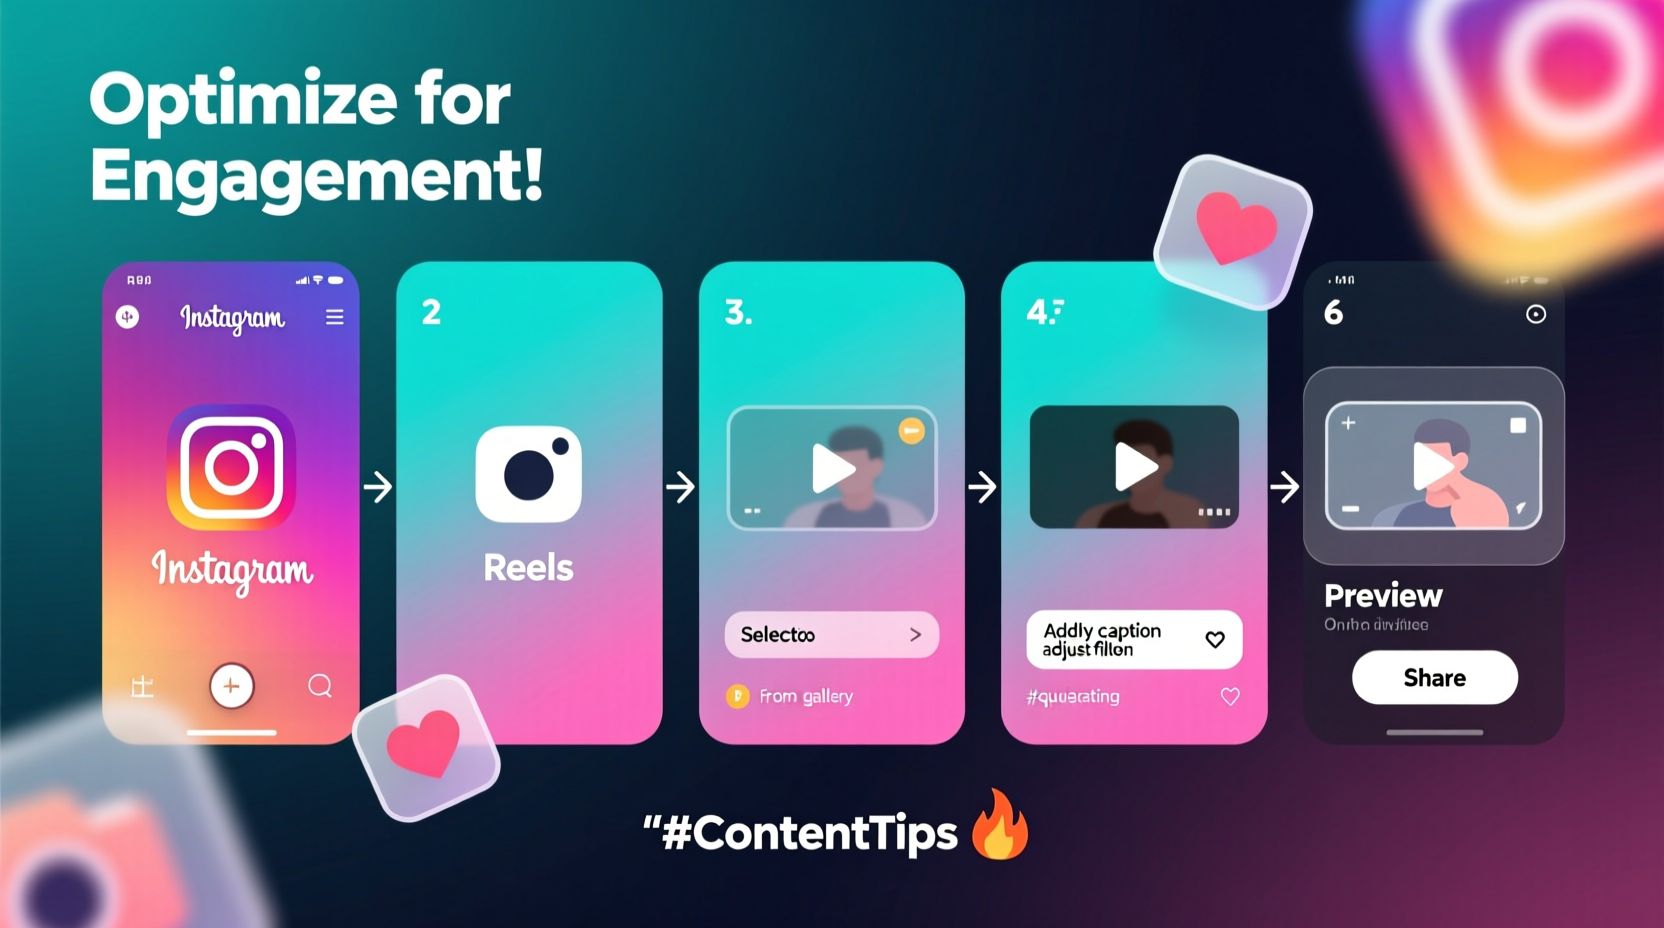
Step 2: Upload Your Video Correctly
The upload process varies slightly depending on the type of post. Follow this sequence for optimal results:
- Open the Instagram app and tap the \"+\" icon at the top of your profile or feed.
- Select your video from the camera roll. For Reels, choose the \"Reels\" option instead of \"Post.\"
- Crop and adjust if needed. Avoid stretching or distorting the image. Stick to native aspect ratios.
- Add alt text for accessibility. Describe the key visual elements for screen readers.
- Tap Next to proceed to caption and settings.
For long-form videos exceeding 60 seconds, Instagram automatically splits them into segments when posted to the main feed. To avoid abrupt cuts, edit your video externally into coherent parts or use Reels for continuous playback up to 90 seconds.
Step 3: Optimize for Engagement and Reach
Uploading is just the beginning. Optimization determines whether your video gets seen beyond your immediate followers.
Craft a compelling caption that adds context, invites interaction, and includes relevant keywords. Start with a hook—ask a question, state a surprising fact, or share a personal insight. Avoid generic phrases like “Check this out.” Instead, write as if speaking directly to someone scrolling past.
Leverage hashtags strategically. Use 5–10 targeted hashtags: a mix of high-volume (e.g., #MarketingTips), niche-specific (e.g., #ContentCreatorLife), and branded tags (e.g., #YourBrandName). Place them either at the end of the caption or in the first comment to maintain readability.
Tag relevant accounts—collaborators, featured creators, or locations—to increase discoverability. Geotagging boosts local visibility, especially for businesses.
Use Engaging Thumbnails
If your video appears in a carousel or as a standalone post, the thumbnail matters. Choose a frame that shows emotion, action, or text overlay. On desktop or slow connections, this static image may be all someone sees before deciding to play.
Step 4: Real-World Example – How a Small Brand Grew Using Reels
Sarah runs a handmade candle business with under 2,000 followers. After months of stagnant growth, she shifted focus to short-form video. Every week, she posted two Reels: one showing the candle-pouring process (close-ups of wax, scent mixing, labels) and another with customer testimonials paired with cozy home footage.
She used trending audio tracks within the lifestyle niche, added subtitles, and included a CTA: “Which scent would you try? Comment below!” Within six weeks, her average view count rose from 200 to over 12,000 per Reel. Two videos went viral, driving a 40% spike in website traffic and a full sellout of her seasonal collection.
Her success wasn’t accidental. It came from consistency, understanding platform mechanics, and prioritizing viewer experience over aesthetics alone.
“Video isn’t about perfection—it’s about presence. People connect with real moments, not polished ads.” — Marcus Tran, Social Media Strategist at Bloom Digital
Step 5: Track Performance and Iterate
After publishing, monitor key metrics via Instagram Insights (available to professional accounts). Focus on:
- Reach and Impressions: How many unique users saw your video?
- Engagement Rate: Likes, comments, shares, and saves relative to reach.
- Completion Rate: Percentage of viewers who watched the entire video.
- Follower Growth: Did the post contribute to new followers?
A high completion rate signals strong content quality. If drop-off happens early, revisit your opening frame or audio clarity. Low shares may indicate missed emotional triggers or lack of value.
Adjust future content based on data. Test different hooks, lengths, music choices, and CTAs. Treat each video as a learning opportunity.
Checklist: Before You Hit Share
- ✅ Video meets Instagram’s aspect ratio and resolution guidelines
- ✅ Audio is clear and balanced; captions are added
- ✅ Thumbnail is engaging and representative
- ✅ Caption includes a hook, context, and call-to-action
- ✅ Hashtags are relevant and limited to 10 or fewer
- ✅ Tags and location are included when appropriate
- ✅ Alt text is added for accessibility
- ✅ Scheduled during peak engagement window
Common Mistakes to Avoid
Even experienced creators make errors that limit performance. Watch out for these pitfalls:
| Mistake | Why It Hurts | Better Approach |
|---|---|---|
| Using copyrighted music | Reduces reach or causes takedowns | Use Instagram’s audio library or royalty-free tracks |
| Ignoring captions | Misses silent scrollers | Add auto-captions or burn them into the video |
| Overloading with hashtags | Looks spammy; distracts from message | Stick to 5–10 precise, relevant tags |
| Poor lighting or shaky footage | Reduces professionalism and watch time | Use natural light and stabilizers or tripods |
FAQ
Can I edit my video after posting?
No, you cannot replace or re-upload a video once it's published. However, you can delete the post and upload a revised version. Make sure to review everything carefully before sharing.
Why did my video get less reach than usual?
Several factors affect reach: algorithm changes, posting time, content relevance, engagement velocity in the first hour, and use of restricted audio. Review your analytics and compare recent patterns to identify shifts.
Should I cross-post videos from TikTok?
You can, but optimize them for Instagram first. Crop vertical TikTok videos to fit 9:16, remove watermarks, add custom captions, and update captions/hashtags to match Instagram’s tone. Native-looking content performs better than repurposed imports.
Final Thoughts: Consistency Wins
Mastering Instagram video isn’t about chasing virality. It’s about building trust, delivering value, and showing up consistently with intention. The most successful creators aren’t always the most polished—they’re the ones who understand their audience, adapt quickly, and refine their approach with every upload.
Start small. Publish one well-optimized video per week. Study the response. Tweak your strategy. Over time, your confidence and results will grow together.


 浙公网安备
33010002000092号
浙公网安备
33010002000092号 浙B2-20120091-4
Comments
No comments yet. Why don't you start the discussion?