
Capturing the right moment on your iPhone doesn’t have to be a hit-or-miss affair. Whether you're saving a text conversation, preserving a social media post, or documenting an app glitch, the screenshot is one of the most frequently used tools on any smartphone. Yet, many users only scratch the surface of what’s possible. With the right techniques, timing, and settings, you can elevate your screen capture game from basic to professional—ensuring clarity, precision, and usability every single time.
Modern iPhones offer multiple ways to take screenshots, enhanced editing features, and even full-page captures in Safari. Understanding these capabilities transforms how you interact with digital content and improves your productivity, communication, and creativity.
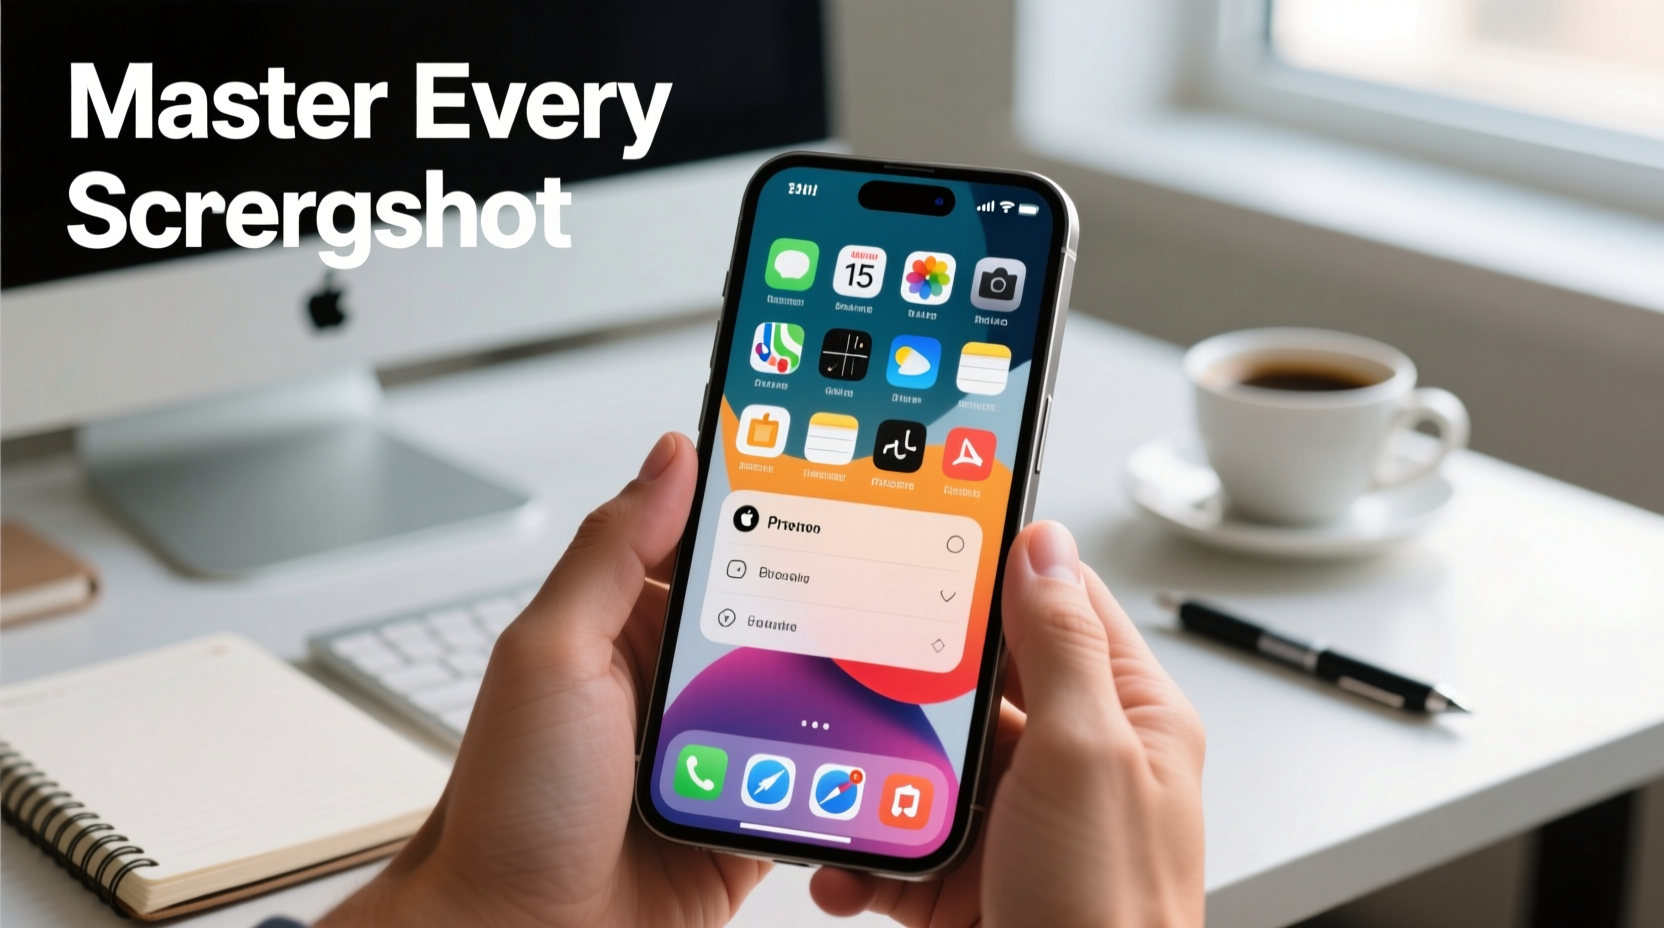
The Basics: How to Take a Screenshot on Any iPhone
Before diving into advanced techniques, it's essential to master the fundamentals. The method varies slightly depending on your iPhone model, primarily due to differences in button layout.
- iPhones with Face ID (iPhone X and later): Press the Side button and Volume Up button simultaneously. Release both quickly after seeing the flash and hearing the shutter sound.
- iPhones with a Home Button (iPhone 8 and earlier): Press the Side (or Top) button and the Home button at the same time. Again, release promptly after the screen flashes.
Once captured, a thumbnail appears in the lower-left corner of the screen. Tapping it opens the screenshot in edit mode; swiping it away saves it directly to your Photos app under “Screenshots.”
Editing Screenshots On-the-Fly for Precision and Clarity
One of the iPhone’s standout features is its instant screenshot editor. This tool allows annotation, cropping, and markup without switching apps—ideal when you need to highlight information or remove sensitive details.
After taking a screenshot, tap the preview thumbnail that appears. You’ll enter a markup interface featuring:
- A pen, pencil, crayon, and marker for freehand drawing
- A highlighter tool
- A shape detector for clean lines, rectangles, and ellipses
- A text box for adding labels or notes
- An eraser and undo button
- A crop tool to trim unnecessary areas
Use this space wisely. For example, if you’re sending a receipt, blur out credit card numbers with the marker tool. If explaining a setting, draw an arrow pointing directly to the toggle.
“Immediate editing turns a raw screenshot into a purposeful visual message. Most people skip this step—but that’s where clarity gets lost.” — Jordan Lee, Digital Communication Specialist
Full-Page Captures in Safari: Beyond the Visible Screen
One of the most underused yet powerful iPhone features is the ability to capture entire web pages—not just what fits on your screen. This works exclusively in Safari when viewing articles, long emails, or documentation.
When you take a screenshot on a Safari page, a new option appears above the thumbnail: “Full Page”. Tap it, and you’ll see the entire webpage rendered as a scrollable PDF. You can then:
- Scroll through the complete page
- Add notes or highlights
- Save it as a PDF to Files or share it via email
- Search text within the saved document
This feature is invaluable for students, researchers, or professionals who need to archive lengthy content without losing context.
Step-by-Step: Capturing a Full Web Page
- Open Safari and navigate to the desired webpage.
- Take a standard screenshot using your device’s button combination.
- Tap the thumbnail in the lower-left corner.
- Select “Full Page” at the top of the screen.
- Scroll through the entire document preview.
- Edit, annotate, or share directly from the markup screen.
- Choose “Done,” then “Save to Files” or “Share.”
Advanced Tips and Hidden Tricks
Beyond the basics, several lesser-known strategies can improve your screenshot workflow significantly.
Use AssistiveTouch for Button-Free Screenshots
If your physical buttons are worn out or hard to press, enable AssistiveTouch. Go to Settings > Accessibility > Touch > AssistiveTouch and toggle it on. A small circular icon will appear on-screen. Customize its double-tap or long-press action to trigger a screenshot without touching any hardware buttons.
Disable Screenshot Sound for Discretion
While the shutter sound provides feedback, it can be inconvenient in quiet environments. Turn on Silent Mode (via the ring switch) before taking a screenshot to mute the sound. Note: This is required by law in some countries to prevent covert recording.
Organize Screenshots Automatically
Over time, screenshots clutter your photo library. Use iOS’s built-in organization: go to Settings > Photos and enable “Shortcuts Album.” This creates a dedicated “Screenshots” folder in Albums, making it easier to find and manage them.
Screenshot Notifications and Lock Screens?
No—iOS intentionally prevents screenshots of certain secure content. You cannot capture Apple Pay transactions, Face ID authentication screens, or DRM-protected videos from services like Netflix. Attempting to do so results in a black or grayed-out image.
| Scenario | Can You Screenshot? | Result if Blocked |
|---|---|---|
| Text Message Thread | Yes | Full visibility |
| Netflix Video Playback | No | Black screen |
| Face ID Unlock Screen | No | Gray placeholder |
| Safari Webpage | Yes | Full or partial capture available |
| Password AutoFill Prompt | No | Obfuscated or blocked |
Real-World Example: Troubleshooting with Screenshots
Consider Maria, a freelance graphic designer. She encountered a bug in a design app that caused layers to disappear randomly. To report it, she didn’t just describe the issue—she documented it visually.
Maria took three sequential screenshots showing the normal state, the error message, and the missing layer panel. She annotated each with timestamps and arrows, then compiled them into a single message using the markup tool. Her detailed report helped the developer identify the issue within hours—something vague descriptions could not have achieved.
This case illustrates how precise, well-edited screenshots serve as powerful communication tools beyond casual use.
Checklist: Optimize Your Screenshot Workflow
- ✅ Know your button combo based on iPhone model
- ✅ Always check the thumbnail preview to confirm capture
- ✅ Edit immediately to annotate, crop, or redact
- ✅ Use “Full Page” in Safari for long articles
- ✅ Save important screenshots to a dedicated album or cloud folder
- ✅ Enable AssistiveTouch if hardware buttons are unreliable
- ✅ Mute your phone before capturing in quiet settings
- ✅ Avoid sharing unedited screenshots with personal data visible
Frequently Asked Questions
Why does my screenshot look blurry?
iOS automatically compresses screenshots slightly, but blurriness usually comes from zooming in on low-resolution content or poor lighting during screen recording. Ensure your display brightness is adequate and avoid capturing stretched or pixelated images.
Can I take a screenshot without using the buttons?
Yes. Enable AssistiveTouch in Settings > Accessibility > Touch. Then assign the screenshot function to the virtual button. Alternatively, use voice commands with Siri: say “Take a screenshot” (available on newer models).
Where are my screenshots stored?
All screenshots are saved in the Photos app under the “Screenshots” album. If you’ve enabled iCloud Photos, they sync across all your devices. You can also access them via the Files app when saved as PDFs from Safari.
Perfect Screenshots Start Now
Mastering iPhone screen capture isn’t about memorizing shortcuts—it’s about building a habit of intentionality. Every screenshot you take should serve a purpose: to inform, preserve, clarify, or communicate. With the right techniques, even the simplest capture becomes a polished piece of digital craftsmanship.


 浙公网安备
33010002000092号
浙公网安备
33010002000092号 浙B2-20120091-4
Comments
No comments yet. Why don't you start the discussion?