
Lace-up shirts have evolved from niche fashion statements into wardrobe staples that blend edgy design with everyday wearability. Whether featured on the runway or styled in urban streetwear, the strategic use of lacing offers both structure and visual interest. But beyond their aesthetic appeal, these shirts present a unique opportunity for personal expression—through how you tie them. With the right techniques, a single lace-up shirt can transform into multiple distinct outfits, adapting seamlessly from casual outings to elevated evening ensembles.
The key lies not just in owning a lace-up piece, but in mastering its potential through intentional styling. From asymmetrical knots to hidden closures and layered configurations, the way you manipulate the cords changes the silhouette, neckline, and overall vibe of your look. This guide explores practical, creative, and refined methods to tie your lace-up shirts—helping you unlock versatility, confidence, and standout style.
The Anatomy of a Lace-Up Shirt
Before diving into tying techniques, it’s essential to understand the components of a lace-up shirt. Most feature:
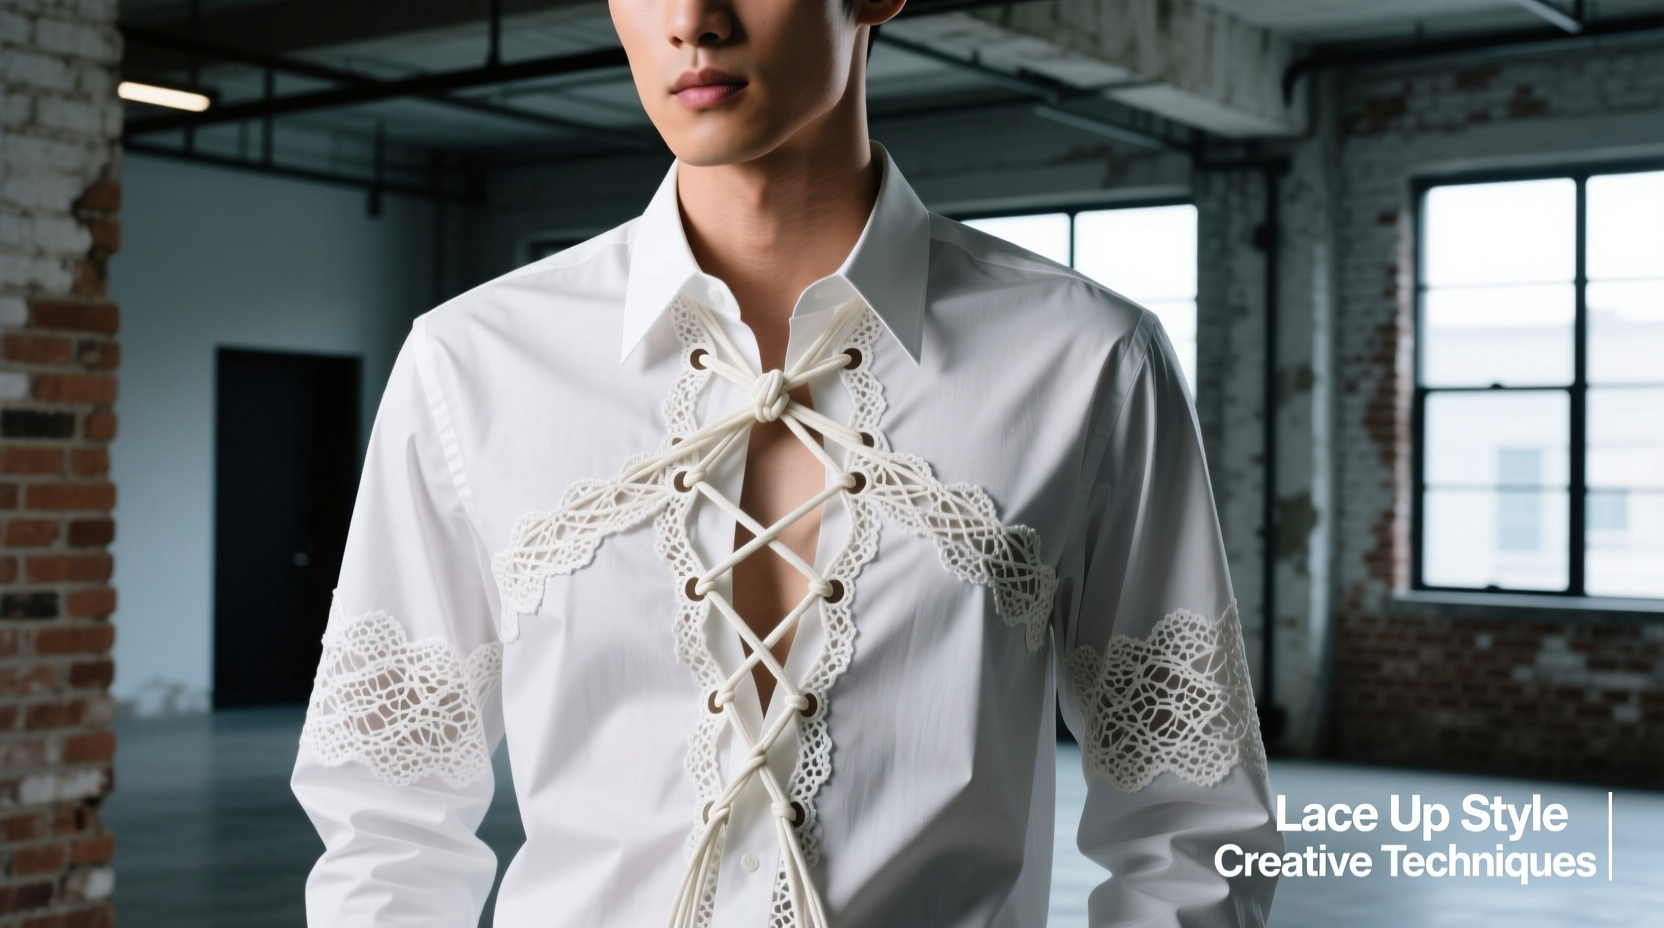
- Eyelets or grommets: Reinforced holes along the chest, back, or shoulders where the lacing passes through.
- Cords or ribbons: Typically made from cotton, silk, or synthetic blends; vary in thickness and length.
- Adjustable openings: Areas designed to be tightened or loosened, often at the center front, side waist, or upper back.
These elements are not merely decorative—they serve functional purposes. Proper tension controls fit, enhances comfort, and supports body shaping. A loose crisscross may suggest relaxed elegance, while a tightly pulled vertical line creates sharp definition. Understanding this interplay between form and function allows for more intentional styling.
“Lacing isn’t just about fastening fabric—it’s a design language. The knot you choose speaks volumes about your personal aesthetic.” — Lena Torres, Fashion Stylist & Editorial Consultant
Creative Tying Techniques for Maximum Impact
Below are five proven tying methods that go beyond the basic crisscross, each suited to different occasions and silhouettes.
1. The Asymmetrical Wrap (Ideal for Evening Wear)
This technique draws attention to one shoulder or collarbone, creating a bold, modern asymmetry.
- Start by feeding the left cord horizontally across the opening, leaving one-third of its length trailing.
- Weave it vertically upward in a straight bar lacing pattern (parallel lines).
- On the right side, wrap the cord diagonally down and across the torso, tucking the end beneath the final loop.
- Leave one side secured and the other slightly open for dramatic effect.
2. Hidden Knot Closure (Minimalist Daytime Look)
For clean lines and subtle detail, conceal the knot entirely within the placket.
- Tie a simple bow or surgeon’s knot behind the first set of eyelets.
- Let the excess cord ends drape naturally inside the shirt.
- Smooth the fabric outward to hide all hardware and ties.
This method works especially well with sheer or semi-sheer lace-up blouses, offering modesty without sacrificing design.
3. Double Loop Cascade (Statement Street Style)
Create visual depth by forming two stacked loops above a central knot.
- Cross the cords diagonally from bottom to top, creating a standard X-shape.
- Instead of finishing with a knot, form two large loops like bunny ears.
- Pull one loop through the other twice, then gently tighten to secure.
- Fluff the loops so they sit prominently over the chest.
Best used with chunky cotton ropes or braided cords for added texture.
4. Side Cinch Tie (Waist-Defining Silhouette)
Found on peplum or corset-style shirts, this technique emphasizes the waistline.
- Pull both cords tightly from the hip-level eyelets toward the natural waist.
- Cross them once, then tie a firm square knot at the side.
- Allow the ends to hang loosely or tuck them in discreetly.
Perfect for balancing oversized tops with fitted bottoms.
5. Reverse Ladder Lacing (Backless Elegance)
When wearing a lace-up shirt with an exposed back, this method ensures stability without compromising allure.
- Begin at the topmost eyelet, threading both ends downward.
- Create horizontal bars (like ladder rungs) instead of diagonal crosses.
- Knot at the base near the lower back or let the cords dangle as a design feature.
Offers even tension distribution and is less likely to loosen during movement.
Choosing the Right Cord: Material Matters
Not all cords behave the same. The material affects grip, drape, and durability. Consider the following when selecting or replacing laces:
| Material | Best For | Drawing Power | Hold Quality |
|---|---|---|---|
| Satin Ribbon | Evening wear, photo shoots | Moderate | Poor (slips easily) |
| Cotton Twill Tape | Daily wear, structured fits | High | Excellent |
| Leather Cord | Biker-inspired styles | Very High | Superior (requires break-in) |
| Elastic Rope | Active wear, stretch shirts | Flexible | Good (self-adjusting) |
Pro tip: Pre-wash cotton cords to prevent shrinkage after initial wear. Avoid ironing satin directly—use a press cloth to protect the sheen.
Mini Case Study: Transforming a Single Shirt Across Three Occasions
Take Maya, a marketing professional who owns one black silk-blend lace-up blouse with front chest lacing. In a single week, she wears it three ways:
- Monday (Client Meeting): Uses hidden knot closure with tucked-in ends. Paired with a tailored blazer and trousers, the look reads sophisticated and controlled.
- Thursday (Date Night): Applies the asymmetrical wrap, exposing one shoulder. Adds gold hoops and heels for glamour.
- Saturday (Brunch with Friends): Loosens the lacing into a deep V-neck, layers under a denim jacket, and pairs with jeans. Casual yet intentional.
By changing only the tying method, Maya achieves three distinct identities using one garment—proving that creativity trumps quantity in building a functional wardrobe.
Do’s and Don’ts of Lace-Up Shirt Styling
| Do’s | Don’ts |
|---|---|
| Match cord color to your outfit’s dominant tone for cohesion. | Use overly stiff cords that distort the fabric or strain eyelets. |
| Secure knots with a dab of clear nail polish if fraying occurs. | Leave long, dangling ends in professional settings unless styled intentionally. |
| Experiment with knot placement—higher for drama, lower for subtlety. | Over-tighten to the point of restricting movement or causing discomfort. |
| Store shirts flat or rolled to preserve lace integrity. | Machine wash lace-up garments frequently—hand wash only when possible. |
Frequently Asked Questions
Can I replace the original cords on my lace-up shirt?
Absolutely. Many designers sell replacement kits, or you can source custom lengths from fabric stores. Ensure the new cord diameter matches the eyelet size to avoid tearing or slipping.
How do I stop my laces from coming undone throughout the day?
Opt for a double knot or surgeon’s knot (add an extra twist before pulling tight). Alternatively, switch to waxed cotton cords, which naturally resist slippage.
Are lace-up shirts suitable for conservative workplaces?
Yes—with discretion. Choose high-neck styles with minimal exposure and use closed lacing techniques. Pair with blazers or cardigans to maintain professionalism.
Styling Checklist: Master Your Lace-Up Shirt in 5 Steps
- Assess the shirt’s structure: Identify eyelet placement and cord type.
- Select the occasion: Determine whether the look should be bold, subtle, or balanced.
- Choose a tying technique that complements your body shape and outfit.
- Test mobility and comfort—ensure you can move freely without constant readjustment.
- Finalize with accessories: Necklaces, scarves, or outer layers can enhance or tone down the focal point.
Conclusion: Elevate Your Wardrobe One Knot at a Time
Mastering lace-up shirts isn’t about following trends—it’s about reclaiming control over your personal style narrative. Each knot, loop, and tuck becomes a deliberate choice, turning clothing into self-expression. These techniques empower you to adapt a single piece across contexts, seasons, and moods, reducing clutter while increasing impact.


 浙公网安备
33010002000092号
浙公网安备
33010002000092号 浙B2-20120091-4
Comments
No comments yet. Why don't you start the discussion?