
Packing a large-capacity backpack can feel like solving a three-dimensional puzzle—especially when you're trying to fit everything you need without turning it into an unmanageable jumble. Whether you're preparing for a multi-day hike, a business trip with extended stays, or a weekend adventure, how you organize your gear directly impacts your comfort, efficiency, and peace of mind. A well-packed backpack isn’t just about fitting more; it’s about accessing what you need, when you need it, with minimal effort. This guide breaks down proven methods for mastering organization in high-volume packs, combining ergonomic logic, smart packing techniques, and real-world tested habits.
Understand Your Backpack’s Design and Zones
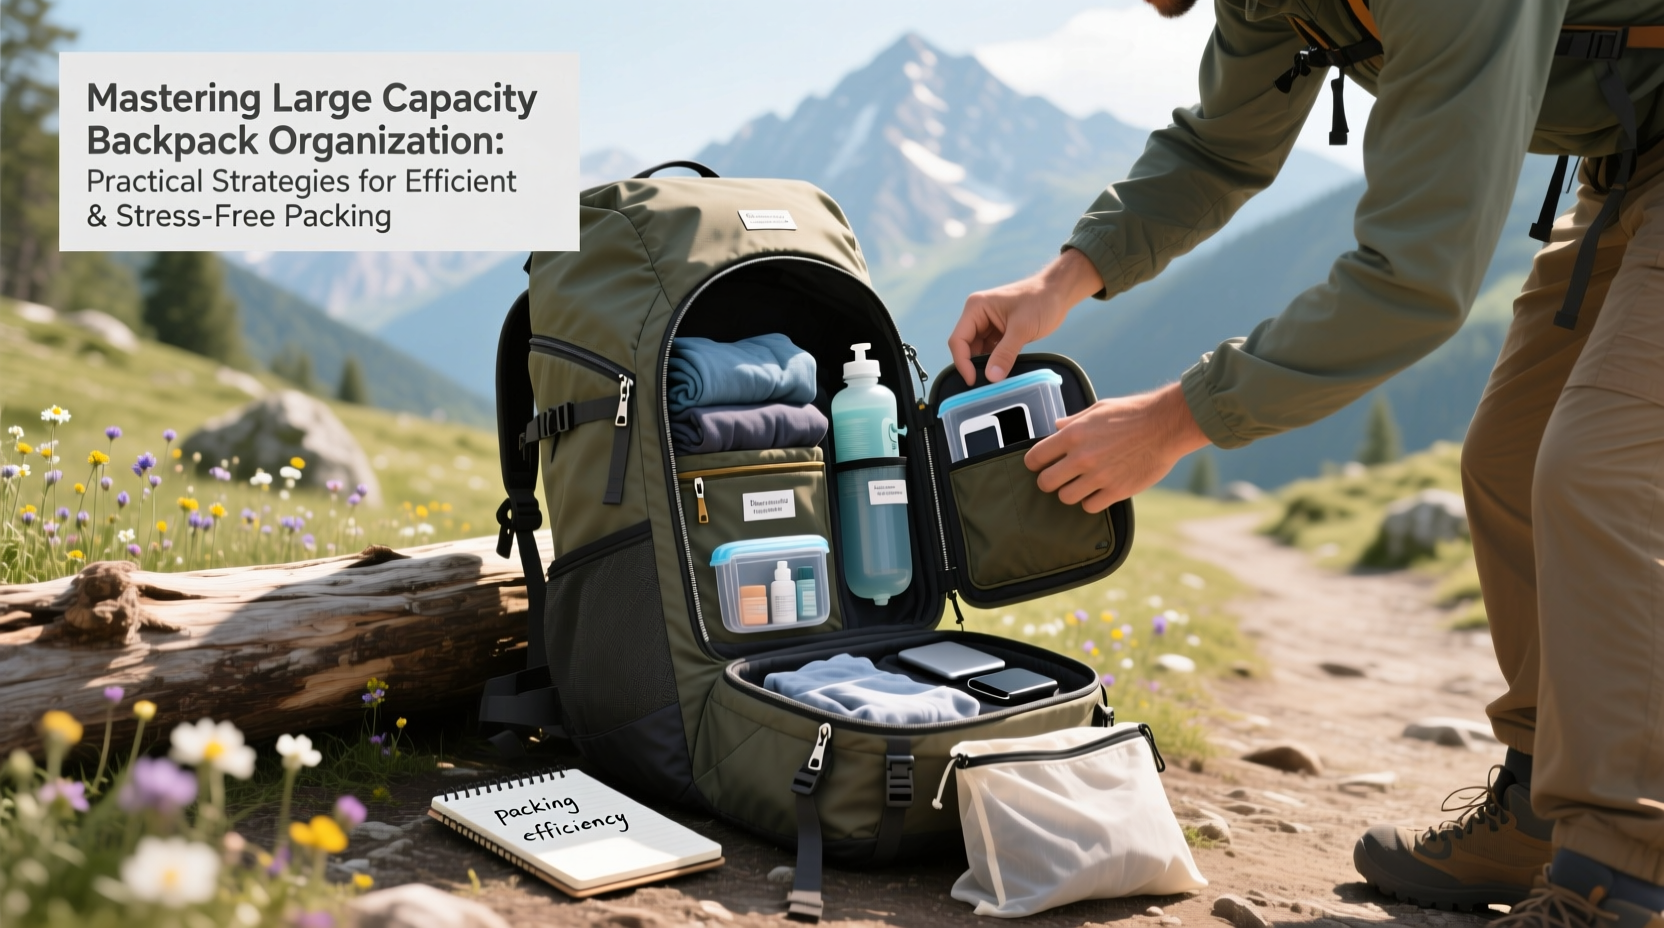
Before you begin packing, take time to assess your backpack’s internal structure. Most large-capacity models (50L and above) are designed with specific compartments and access points that support functional layering:
- Main compartment: Ideal for bulkier, less frequently accessed items like clothing, sleeping bags, or toiletry kits.
- Front panel or clamshell access: Allows full opening for organized layering, similar to a suitcase.
- Secondary compartments: Often include padded laptop sleeves, hydration pockets, or mesh organizers for small essentials.
- External attachment points: Compression straps, daisy chains, or gear loops let you carry bulky items like trekking poles or jackets externally.
Recognizing these zones helps you assign items based on frequency of use, weight, and sensitivity. For example, heavy items should be packed close to your back and centered between your shoulder blades to maintain balance and reduce strain.
Adopt the Packing Cube System
Packing cubes are not just for suitcases—they’re transformative tools for backpacks. These lightweight fabric containers compress contents, prevent shifting, and create designated zones within your pack. Use them strategically:
- Clothing cubes: Group outfits or categories (e.g., tops, bottoms, undergarments). Roll clothes tightly to save space and minimize wrinkles.
- Toiletry pouch: Choose a leak-proof, hanging-style bag to keep wet items separate and visible.
- Electronics organizer: Store chargers, cables, power banks, and adapters in a padded cube with labeled sections.
- Snack or daily essentials pouch: Keep energy bars, sunscreen, hand sanitizer, and maps in an easily accessible side pocket or top compartment.
The psychological benefit is just as valuable: knowing exactly where each category lives eliminates rummaging and reduces decision fatigue during travel.
Apply the Layered Packing Method
Efficient packing follows a vertical layering strategy, much like loading a moving truck. The goal is to build stability while maintaining accessibility. Follow this sequence:
- Bottom layer: Soft, bulky, infrequently used items (sleeping bag, down jacket, extra pillow).
- Middle layer: Heavier gear (laptop, food supplies, water bladder) centered against your back.
- Top layer: Items you’ll need first at camp or destination (rain jacket, snacks, passport).
- External pockets: Reserve for quick-grab items: phone, wallet, sunglasses, lip balm.
This method ensures weight distribution supports posture and prevents lower back strain. It also means you won’t have to unpack half your bag to retrieve a single item at the bottom.
| Backpack Zone | Recommended Contents | Avoid Storing Here |
|---|---|---|
| Bottom Compartment | Sleeping bag, spare shoes, soft linens | Heavy electronics, fragile items |
| Central Main Space | Clothes in cubes, packed meals, books | Sharp objects without padding |
| Top Lid | Headlamp, medication, earplugs | Bulk clothing, liquids without sealing |
| Side Pockets | Water bottles, trekking poles, umbrella | Fragile devices, loose papers |
| Front Panel Pocket | Passport, tickets, wallet, phone | Wet items, heavy tools |
Real Example: Sarah’s Weekend Hiking Trip
Sarah, an experienced hiker, used to struggle with disorganized gear until she implemented a system for her 65L backpack. She assigned color-coded cubes: blue for base layers, green for outerwear, red for cooking supplies. Before departure, she laid out all items and grouped them by function. During the trip, she accessed her rain shell from the top lid in seconds during a sudden downpour. At camp, her cooking set came out neatly from its dedicated cube—no digging. By the end of the weekend, fellow hikers were asking for her packing tips. Her transformation wasn’t due to better gear, but better organization.
Minimize Clutter with a Pre-Packing Checklist
Overpacking is one of the biggest obstacles to efficient organization. Use a targeted checklist to filter necessity from impulse. Categorize items by function and duration of trip:
Packing Checklist: 3-Day Outdoor Adventure
- ✅ Clothing (3 tops, 2 bottoms, 1 insulating layer, sleepwear)
- ✅ Toiletries (toothbrush, biodegradable soap, mini towel)
- ✅ Cooking kit (spork, collapsible cup, stove, fuel)
- ✅ Electronics (phone, charger, headlamp)
- ✅ Safety (first aid kit, whistle, map, multitool)
- ✅ Food (3 breakfasts, 3 lunches, 3 dinners, 2 snacks)
- ✅ Documents (ID, permit, emergency contact list)
Check off each item only after placing it in its designated cube or pocket. If something doesn’t make the cut, question whether it’s truly essential. As outdoor educator Mark Rivera notes:
“Every ounce counts when you’re carrying your home on your back. Discipline in selection leads to freedom in movement.” — Mark Rivera, Wilderness Guide and Gear Instructor
Avoid Common Packing Mistakes
Even experienced travelers fall into organizational traps. Watch for these frequent errors:
- Packing too early: Last-minute changes lead to overstuffing. Pack 24–48 hours before departure to allow adjustments.
- Ignoring weather forecasts: Bringing inappropriate gear wastes space. Check conditions and adjust layers accordingly.
- Leaving zippers open: This causes items to spill during transit. Always zip cubes and compartments shut.
- Distributing weight poorly: Heavy items at the top cause forward lean; those at the bottom shift your center of gravity.
- Using non-compression bags: Standard stuff sacks trap air. Opt for compression cubes to maximize space.
Frequently Asked Questions
How do I prevent my backpack from becoming top-heavy?
Ensure the heaviest items are packed in the middle section, close to your spine. Avoid placing dense gear like books or water bottles in the top compartment unless absolutely necessary.
Are packing cubes worth the investment?
Yes. They reduce packing time, improve visibility, and help maintain cleanliness by separating dirty laundry or damp clothes. Even one or two cubes can dramatically improve organization.
What’s the best way to clean a packed backpack?
Empty completely and wipe down interior surfaces with a damp cloth and mild soap. Air dry fully before repacking. Never machine-wash unless specified by the manufacturer.
Final Thoughts: Organization Is Freedom
A well-organized large-capacity backpack isn’t just easier to carry—it gives you mental clarity and physical ease. When every item has a place, you spend less energy managing gear and more on enjoying your journey. The strategies outlined here—zoning, layering, using cubes, and disciplined packing—are not rigid rules, but adaptable principles. Start small: pick one technique, like labeling your cubes or refining your checklist, and build from there. Over time, efficient packing becomes second nature.


 浙公网安备
33010002000092号
浙公网安备
33010002000092号 浙B2-20120091-4
Comments
No comments yet. Why don't you start the discussion?