
Lumbar pillows are more than just decorative accents—they provide essential lower back support, improving posture and comfort on sofas, chairs, and car seats. Yet, many people overlook the importance of precise measurements when designing or ordering custom covers. A poorly fitted cover can slip, bunch, or fail to protect the pillow, defeating its purpose. Whether you're a DIY enthusiast, interior designer, or simply upgrading your home furnishings, understanding how to accurately measure and tailor lumbar pillow covers ensures both function and aesthetic harmony.
Why Accurate Measurements Matter
The success of a custom lumbar pillow cover hinges on precision. Unlike standard throw pillows, lumbar pillows have unique proportions—typically longer than they are tall, designed to cradle the curve of the lower spine. Off-the-shelf covers often compromise fit, leading to excess fabric, sagging seams, or tight tension that strains zippers and stitching.
A well-fitted cover enhances durability by reducing friction and stress on seams. It also preserves the pillow’s shape, ensuring consistent support. For designers and homeowners aiming for a tailored look, accurate measurements allow seamless integration with upholstery, color schemes, and room proportions.
“Even a half-inch deviation in measurement can result in a visibly ill-fitting cover. Precision is non-negotiable in professional upholstery work.” — Daniel Reyes, Interior Design Consultant
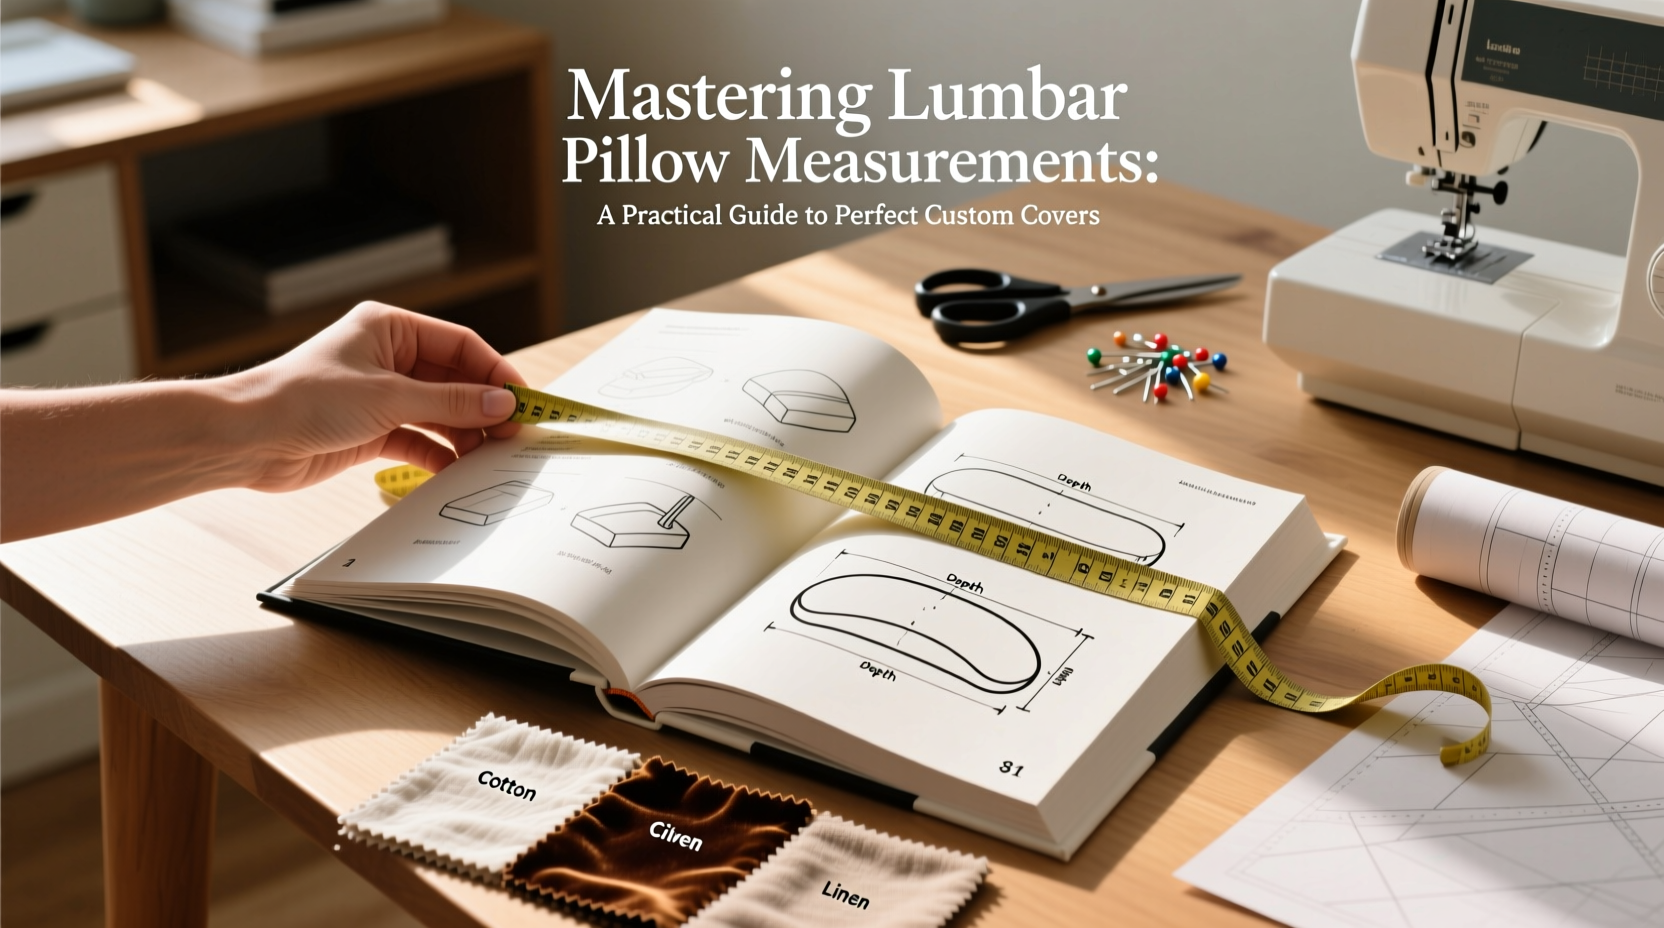
Step-by-Step Guide to Measuring Your Lumbar Pillow
Before cutting fabric or placing an order, follow this systematic approach to capture all necessary dimensions. Use a flexible measuring tape and record each value in inches and centimeters for flexibility.
- Measure Length: Stretch the tape across the widest part of the pillow from left to right. This is typically the horizontal dimension when the pillow rests against a sofa back.
- Measure Height: Measure from the top edge to the bottom edge, perpendicular to the length. Most lumbar pillows range between 12” and 16” in height.
- Check Depth (Thickness): Compress the pillow gently and measure front to back. This determines seam allowance and closure type.
- Note Shape: While most lumbar pillows are rectangular, some have curved edges or tapered ends. Trace the outline on paper if needed.
- Inspect Existing Cover (if available): Lay it flat and measure seam-to-seam. Subtract ½ inch from each dimension to account for seam allowances in the original construction.
Design Considerations for Custom Covers
Measurement is only the first step. To create a functional and attractive cover, consider these design elements:
- Fabric Stretch: Knit or spandex-blend fabrics require tighter tolerances, while cotton canvas or linen may need extra ease for a clean drape.
- Seam Allowance: Add ½ inch (1.27 cm) to both length and height for standard sewing seams. For French seams or piping, adjust accordingly.
- Closure Type: Zippers, buttons, or envelope backs affect fit. Hidden zippers allow snug fits; envelope closures need overlap (typically 4–6 inches).
- Patterning and Directionality: Stripes, florals, or textured weaves must be aligned. Record the vertical orientation during measurement.
Do’s and Don’ts of Lumbar Pillow Cover Design
| Do | Don't |
|---|---|
| Use a rigid ruler or board behind the tape measure for consistency | Measure over loose fabric or wrinkled surfaces |
| Add seam allowance before cutting fabric | Assume all lumbar pillows are standard size |
| Label measurements clearly: L x H x D | Forget to check zipper length—it should match the cover’s shortest side minus 1 inch |
| Test fit with a muslin prototype for complex shapes | Ignore fabric shrinkage—pre-wash natural fibers before sewing |
Real-World Example: The Home Office Chair Upgrade
Sarah, a remote worker in Portland, struggled with lower back fatigue after long days at her desk. She purchased a high-density foam lumbar pillow but found no ready-made cover in her preferred charcoal gray performance fabric. Using a measuring tape, she recorded her pillow at 18” long, 14” high, and 4” deep. She added ½ inch per side for seams and opted for a YKK nylon zipper along the bottom edge.
After sewing a test cover from inexpensive muslin, she adjusted the height by ¼ inch to eliminate puckering. The final wool-blend cover not only fit perfectly but also complemented her office decor. Within two weeks, her posture improved, and colleagues complimented the polished look during video calls.
Expert Tips for Flawless Fit and Finish
Professional upholsterers and tailors rely on proven techniques to achieve crisp, durable results. Incorporate these insights into your process:
- Double-Check Before Cutting: Lay the pillow on the wrong side of the fabric and trace around it with chalk, adding seam margins.
- Use Pins Strategically: Place pins perpendicular to seams and remove them as you sew to avoid misalignment.
- Press Seams Flat: After stitching, use a warm iron to set seams. This reduces bulk and creates a tailored appearance.
- Reinforce Stress Points: Backstitch at the ends of zippers and corners to prevent tearing.
“The best custom covers disappear into the furniture—they don’t draw attention to themselves but elevate the whole look.” — Lena Park, Bespoke Upholstery Artist
FAQ: Common Questions About Lumbar Pillow Covers
How much ease should I add to my measurements?
For non-stretch fabrics, add ½ inch to both length and height for seam allowance. If using elasticized fabric, reduce the total dimensions by 1–2% to ensure a snug fit.
Can I make a cover without a zipper?
Yes. An envelope-style back with overlapping flaps eliminates the need for zippers or buttons. Ensure the back panels extend 5–6 inches beyond the front for adequate coverage.
What if my pillow isn’t a perfect rectangle?
Trace the pillow onto craft paper to create a template. Cut the fabric using this pattern, adding ½ inch around the entire edge for seams. Curved edges may require stay stitching to prevent distortion.
Essential Checklist for Perfect Custom Covers
- Measure pillow length, height, and depth accurately
- Determine desired closure type (zipper, button, envelope)
- Select appropriate fabric based on use (durable for high-traffic areas)
- Add ½ inch seam allowance to all sides
- Create a paper or muslin prototype for testing
- Pre-wash fabric if prone to shrinkage
- Align patterns and cut carefully
- Sew with strong thread and reinforced corners
- Press seams and inspect fit before finalizing
- Label care instructions on the inside seam
Conclusion: Elevate Comfort and Style Through Precision
Creating a custom lumbar pillow cover is a small project with significant impact. Proper measurement ensures structural integrity, visual appeal, and lasting comfort. By following a disciplined approach—from exact dimensions to thoughtful design choices—you transform an ordinary accessory into a personalized element of wellness and style.


 浙公网安备
33010002000092号
浙公网安备
33010002000092号 浙B2-20120091-4
Comments
No comments yet. Why don't you start the discussion?