
The Milanese loop watch band has become a hallmark of modern elegance and comfort, especially since its popularization with devices like the Apple Watch. Its seamless, magnetic closure and sleek stainless steel mesh offer both style and functionality. Yet, despite its premium feel, many users struggle with achieving the ideal fit. Too loose, and it slides around; too tight, and it pinches or restricts circulation. The good news: with the right technique, you can master Milanese loop adjustments quickly and confidently—no tools required.
This guide walks you through every detail of fine-tuning your Milanese loop band for a secure, breathable, and personalized fit. Whether you're new to the band or have been wearing it for months, these insights will help you avoid common pitfalls and enjoy all-day comfort.
Understanding the Milanese Loop Design
Invented in the early 20th century and revived for modern wearables, the Milanese loop is a finely woven mesh strap made from interlaced stainless steel wires. Unlike traditional watch bands with fixed links or holes, the Milanese loop uses a continuous, flexible weave that glides smoothly through a magnetic clasp. This allows for micro-adjustments at nearly any point along the band’s length.
The key components include:
- Magnetic Clasp: Holds the band securely closed using opposing magnets embedded in the two ends.
- Adjustable Weave: The mesh itself can be repositioned within the clasp to tighten or loosen the fit.
- Smooth Glide Mechanism: Lets the band slide effortlessly during adjustment but locks firmly when tension is applied.
Because there are no physical links or pins, the risk of misalignment or improper sizing is significantly reduced. However, the absence of predefined notches means users must rely on tactile feedback and visual cues to achieve the correct fit.
Step-by-Step Guide to Adjusting Your Milanese Loop Band
Proper adjustment ensures the band stays securely in place without cutting off circulation or causing discomfort. Follow this timeline to achieve an optimal fit in under five minutes.
- Put the Band On Loosely: Begin by placing the band around your wrist with the magnetic clasp open. Let the mesh hang freely so you can access the adjustment area.
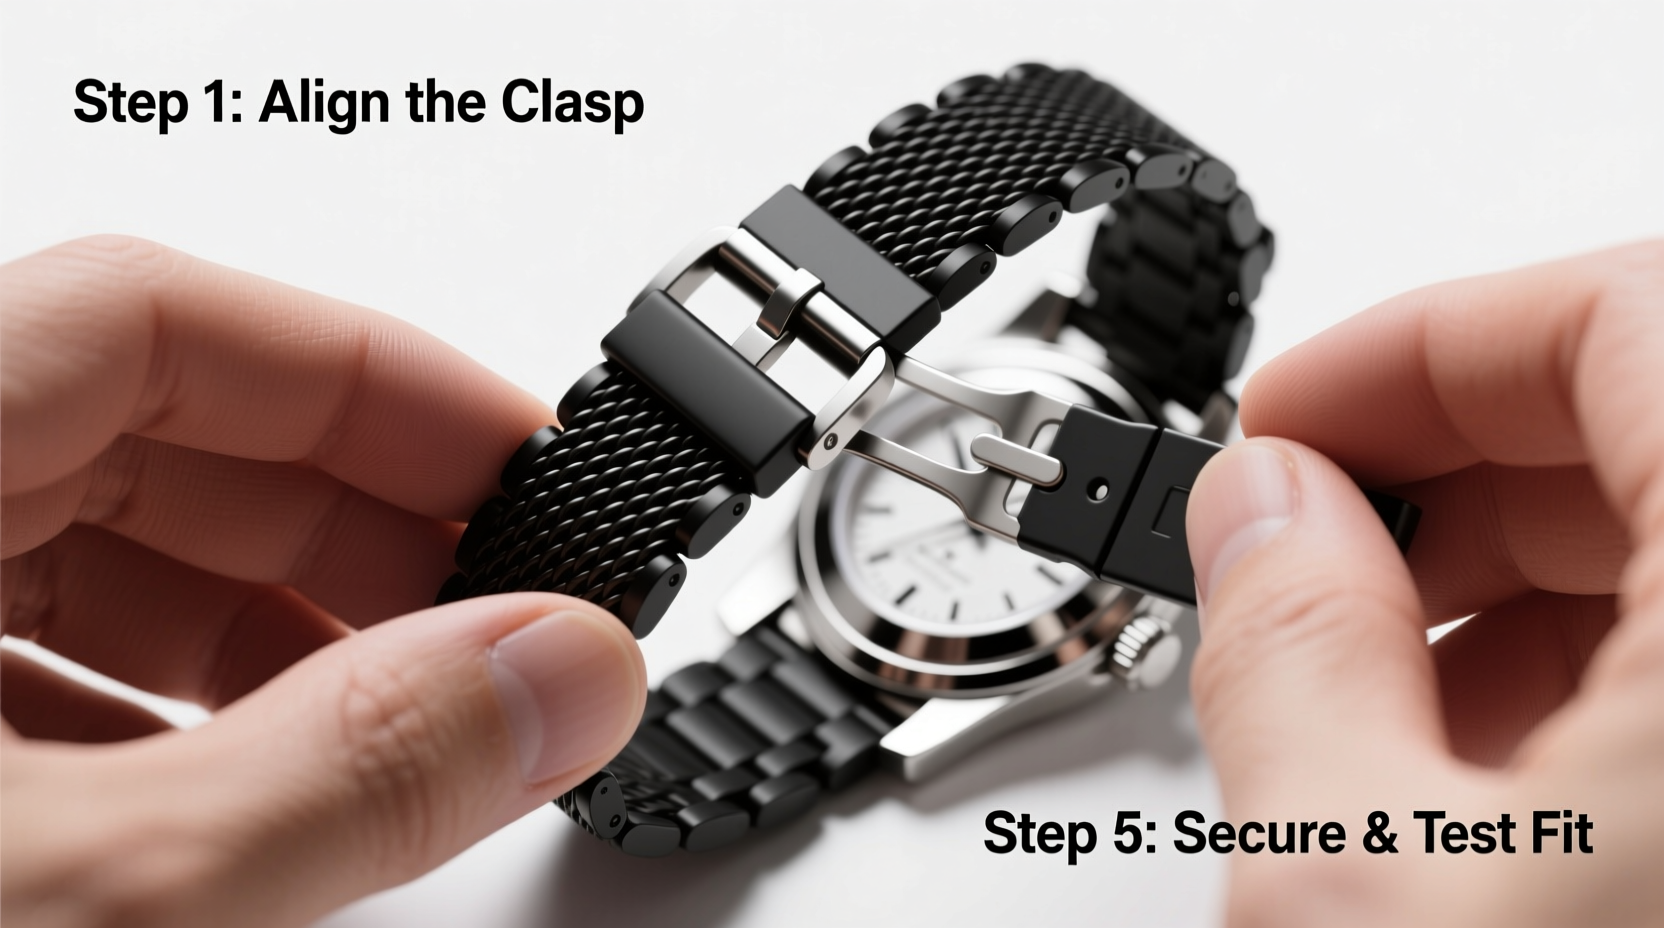
- Position the Clasp: Align the two magnetic ends until they snap together gently. At this stage, the fit should be noticeably loose—this gives you room to refine it.
- Locate the Adjustment Zone: Find where the mesh enters the lower portion of the clasp (the side that doesn’t have the visible magnet). This is the primary adjustment point.
- Slide to Tighten: Hold the clasp steady with one hand. With the other, gently pull the excess mesh upward and away from the clasp. You’ll feel slight resistance as the weave tightens.
- Test the Fit: Close the clasp fully. The band should sit snug against your wrist but allow one finger to slide underneath comfortably. It should not shift more than 2–3mm during normal movement.
- Loosen If Needed: To reduce tension, press lightly on the mesh near the clasp entrance and push it back into the mechanism. Do this incrementally until the fit improves.
- Final Check: Perform a range-of-motion test—bend your wrist, rotate your arm, and shake gently. The band should stay put without digging in.
Repeat the process over the first few days as your perception of “ideal” fit evolves. Many users find their preferences change slightly after extended wear.
Common Mistakes and How to Avoid Them
Even experienced users make errors when adjusting their Milanese loop bands. These issues often stem from misunderstanding how the magnetic glide system works.
| Mistake | Why It’s Problematic | Solution |
|---|---|---|
| Over-tightening the band | Can restrict blood flow, cause skin irritation, or warp the mesh structure over time | Always allow space for one fingertip beneath the band; prioritize comfort over security |
| Adjusting off-wrist | Leads to inaccurate sizing due to lack of natural wrist contour and swelling variation | Make all final adjustments while the band is on your wrist |
| Pulling the mesh aggressively | Risks fraying individual wires or weakening the weave integrity | Use slow, controlled movements when sliding the mesh through the clasp |
| Ignoring temperature effects | Cooler temperatures may make the band feel looser; heat causes expansion and tighter sensation | Reassess fit during seasonal changes or after exercise |
Real-World Example: Finding Balance After Daily Wear
Consider Mark, a software developer who started using a Milanese loop band with his Apple Watch for work meetings and weekend hikes. Initially, he tightened the band aggressively to prevent slippage during typing. Within a week, he noticed red marks on his inner wrist and occasional numbness in his fingers.
After reading about proper fit guidelines, Mark reset his approach. He loosened the band to allow fingertip clearance and adjusted it midday depending on activity—slightly tighter for workouts, slightly looser during long desk sessions. Over time, he learned to recognize subtle signs of poor circulation versus secure placement. Now, he enjoys consistent comfort without compromising performance.
His experience underscores a critical truth: the perfect fit isn't static. It adapts to your lifestyle, environment, and even hydration levels.
“Many people treat the Milanese loop like a traditional strap, but it's designed for dynamic adjustment. The best fit evolves throughout the day.” — Lena Torres, Wearable Ergonomics Consultant
Expert Tips for Long-Term Comfort and Care
Beyond initial setup, maintaining your Milanese loop band enhances both longevity and comfort. Here are proven strategies used by professionals and frequent wearers alike.
- Rotate your bands if possible—giving the Milanese loop a break every few days reduces metal fatigue and skin exposure.
- Avoid exposing the band to chlorine, saltwater, or strong chemicals. These can corrode the stainless steel over time.
- If you notice reduced magnetic strength, inspect the clasp for debris. A gentle wipe with a cotton swab often restores full function.
- For sensitive skin, consider wearing the band slightly looser and cleaning it more frequently to minimize sweat accumulation.
Frequently Asked Questions
Can I resize the Milanese loop band permanently?
No—unlike link bracelets, the Milanese loop is not meant to be cut or permanently altered. Its entire design philosophy revolves around infinite micro-adjustability. Permanent modification risks ruining the glide mechanism and voids warranties on branded versions.
Why does my band feel tighter in the morning?
This is often due to mild fluid retention overnight, which increases wrist circumference slightly. As your body circulates fluids during the day, the band may feel looser. Adjust accordingly upon waking and again after 30 minutes of activity.
Is the Milanese loop suitable for small or large wrists?
Yes. The continuous adjustment range accommodates most adult wrist sizes (typically 140mm to 220mm in circumference). Those at the extremes may need to verify compatibility before purchase, but standard models cover the vast majority of users.
Checklist: Perfect Fit Verification
Before finalizing your adjustment, go through this quick verification checklist:
- ✅ Band secures firmly with no accidental opening
- ✅ One fingertip fits comfortably beneath the band
- ✅ No pinching, redness, or pressure points after 10 minutes of wear
- ✅ Mesh lies flat against the skin without twisting
- ✅ Clasp aligns naturally with the watch case and doesn’t tilt
- ✅ Band remains stable during wrist flexion and extension
Conclusion: Take Control of Your Comfort
Mastering Milanese loop adjustments is more than a technical skill—it’s an investment in daily comfort and confidence. Once you understand how the magnetic glide system works and learn to trust subtle feedback from your body, the process becomes second nature. The result? A watch band that feels custom-made for your wrist, adapting seamlessly to your routine.


 浙公网安备
33010002000092号
浙公网安备
33010002000092号 浙B2-20120091-4
Comments
No comments yet. Why don't you start the discussion?