
In the blocky world of Minecraft, managing inventory is as critical as surviving your first night. As your base expands and farms multiply, so does the volume of items you collect—wheat from automated farms, cobblestone from generators, or loot from mob grinders. Without an efficient storage system, clutter becomes chaos. The key lies in mastering the hopper: a simple yet powerful tool that, when connected correctly to chests, transforms disorganized drops into seamless automation.
Hoppers move items at a steady pace—one stack every 40 game ticks (about 2 seconds)—and can pull from containers above or push into those adjacent. But simply placing a hopper under a chest isn’t enough. Strategic placement, timing, and layout determine whether your system runs smoothly or clogs under pressure. This guide breaks down how to connect hoppers to chests with precision, avoid common pitfalls, and scale your storage for long-term efficiency.
Understanding Hopper Mechanics and Flow Control
Before building complex networks, it’s essential to understand how hoppers operate. A hopper has five sides: four for input/output and one for the chute (the pointed end). It pulls items from containers on its top side and pushes items out through its bottom or sides into adjacent blocks. When placed beneath a container like a chest, furnace, or dropper, it automatically extracts items and transfers them toward its output direction.
The transfer rate is fixed: one item every 8 ticks (0.4 seconds), meaning a full stack (64 items) takes 5.12 seconds to move. While this may seem slow, chaining multiple hoppers or using powered states can optimize throughput. Importantly, hoppers only activate every 8 ticks, even if powered continuously. Redstone signals can disable a hopper temporarily, allowing for precise control over item flow.
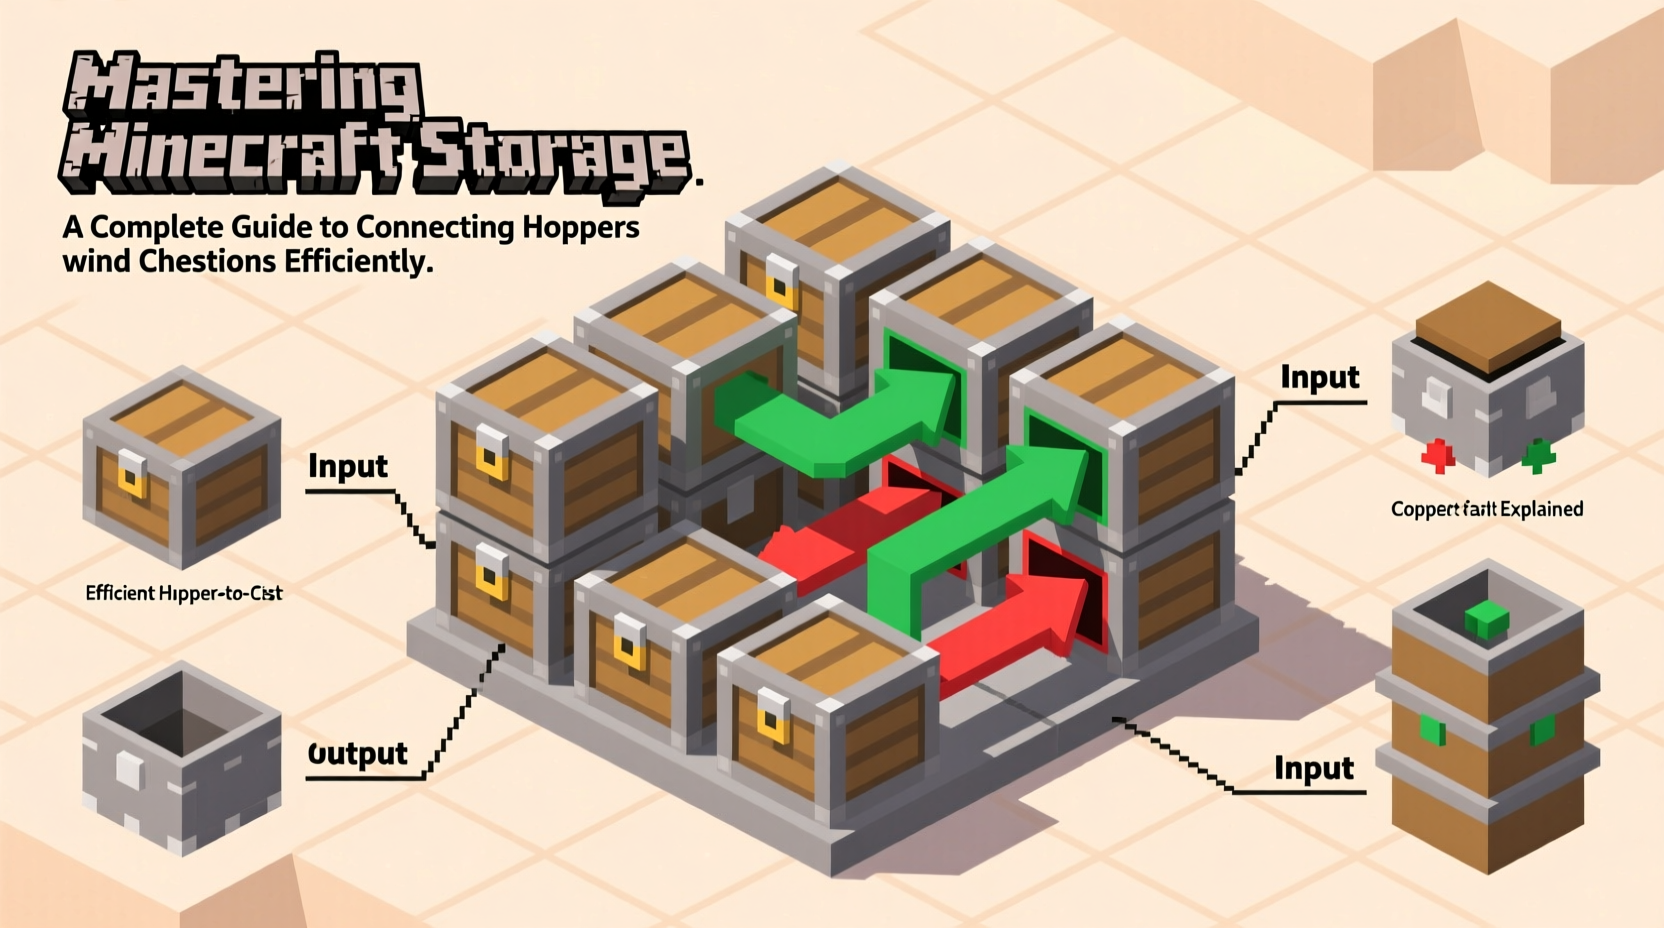
Step-by-Step: Connecting a Single Hopper to a Chest
For beginners, setting up a basic hopper-to-chest connection is the foundation of all advanced systems. Follow these steps to ensure reliability:
- Place a chest where you want stored items to go.
- Right-click the bottom face of the chest with a hopper in hand. This attaches the hopper directly beneath it.
- Ensure no blocks obstruct the hopper’s output path—only containers accept items.
- Test by dropping items into the chest; they should not move (hoppers extract downward).
- To feed items into the chest, place the hopper above the chest and drop items above it.
This configuration works well for single-item collection, such as gathering crops from a composter or collecting smelted goods from a furnace. However, bottlenecks occur when multiple sources feed into one hopper. To solve this, layering and spacing become crucial.
Optimizing Multi-Hopper Systems for High-Throughput Storage
When dealing with farms producing hundreds of items per minute, a single hopper cannot keep up. For example, a fully upgraded bamboo farm can generate more than 10 stacks per minute—far exceeding a hopper’s capacity. The solution? Parallel processing.
Arrange multiple hoppers side by side beneath your item source. Each feeds into a shared row of chests. This distributes the load and prevents overflow. Use a double chest as the endpoint to maximize storage density and minimize transfer hops.
| Setup Type | Throughput Capacity | Best Use Case |
|---|---|---|
| Single Hopper → Chest | ~7.8 stacks/minute | Low-yield farms, crafting stations |
| Dual Hopper Line → Double Chest | ~15.6 stacks/minute | Moderate farms (e.g., melon/pumpkin) |
| Quad Hopper Array → Storage Row | ~31.2 stacks/minute | High-output farms (sugar cane, tree farms) |
| Hopper Minecart System | Variable, scalable | Long-distance transport across bases |
Spacing matters. Avoid chaining more than five hoppers in a line without power regulation, as each hopper introduces a delay. Instead, use powered rails or comparator-based gating to synchronize flow and prevent jamming.
“Efficiency in Minecraft automation isn’t about speed—it’s about consistency. A well-timed hopper system beats a rushed one every time.” — Alex Turner, Redstone Engineer & Server Administrator
Avoiding Common Mistakes in Hopper-Chest Networks
Even experienced players make errors that degrade performance. Recognizing these early saves time and resources:
- Overloading a single hopper: Never route multiple droppers or dispensers into one hopper unless pulsed properly.
- Incorrect orientation: Always verify the hopper points toward the intended chest. Misalignment causes total failure.
- Ignoring redstone interference: Adjacent pistons or repeaters can accidentally power hoppers, disabling them.
- Using non-container blocks: Dropping items onto slabs or fences won’t trigger hopper collection unless items fall directly into range.
Real-World Example: Automating a Wheat Farm
Consider a player named Jordan who built a large-scale wheat farm using pistons and water flushes. Initially, all harvested items fell into a central pit with one hopper feeding into a chest. After 10 minutes, wheat began piling up, and chickens spawned in the overflow, causing lag.
Jordan redesigned the system by adding four hoppers spaced evenly under the water channel, each feeding into a separate section of a double chest. A comparator detected when the first chest filled and redirected new inputs to the second via a redstone gate. This reduced backlog by 90% and eliminated entity lag. The upgrade required only 12 additional hoppers and three comparators—minimal cost for maximum gain.
Checklist: Building an Efficient Hopper-to-Chest System
Use this checklist before finalizing any storage setup:
- ✅ Verify hopper output faces the correct chest
- ✅ Ensure no solid blocks block item entry
- ✅ Test with rapid item drops to simulate peak load
- ✅ Use redstone dust or comparators to monitor fullness
- ✅ Incorporate overflow protection (e.g., secondary chest chain)
- ✅ Power hoppers selectively to regulate flow if needed
- ✅ Label sections for easy maintenance and upgrades
Frequently Asked Questions
Can hoppers pull items from players?
No, hoppers cannot extract items directly from player inventories. They only interact with containers such as chests, furnaces, brewing stands, and other hoppers.
Why isn’t my hopper moving items into the chest?
First, confirm the hopper is pointing into the chest. Second, check if the chest is full. Third, ensure the hopper isn’t receiving a redstone signal—if powered, it stops functioning. Finally, verify the item type isn’t being filtered unintentionally (e.g., via filter hoppers in modded versions).
How far can hoppers transport items?
Hoppers can only transfer items to adjacent containers. For long-distance transport, create a hopper chain (not recommended beyond 20 due to lag) or use a hopper minecart on a powered rail system for better performance.
Scaling Up: From Basic Storage to Centralized Logistics
Once mastered, hopper-chest systems form the backbone of larger logistics networks. Players often integrate them with sorting systems using comparators and droppers to categorize items by type. For instance, enchanted books can be routed to a library wing, while raw ores go to a smelting chamber.
In multiplayer servers, centralized storage rooms with labeled rows of double chests—each fed by dedicated hopper lines—are standard. These are often paired with item elevators (using water or slime blocks) to bring collected goods to accessible heights.
As projects grow, consider transitioning to minecarts with hoppers for cross-base transport. They move faster and don’t cause tick lag like long hopper chains, which strain server performance due to constant block updates.
Conclusion
Mastering Minecraft storage isn’t just about having enough chests—it’s about designing intelligent systems that work silently in the background. By understanding hopper mechanics, avoiding common design flaws, and scaling thoughtfully, you turn chaotic drops into orderly abundance. Whether you’re running a small survival base or managing a sprawling skyblock empire, efficient hopper-to-chest connections are the unsung heroes of smooth gameplay.


 浙公网安备
33010002000092号
浙公网安备
33010002000092号 浙B2-20120091-4
Comments
No comments yet. Why don't you start the discussion?